DIY: Dining Chair? Re-cover

Rae, Blogger, Fort Collins, CO
September 25, 2019
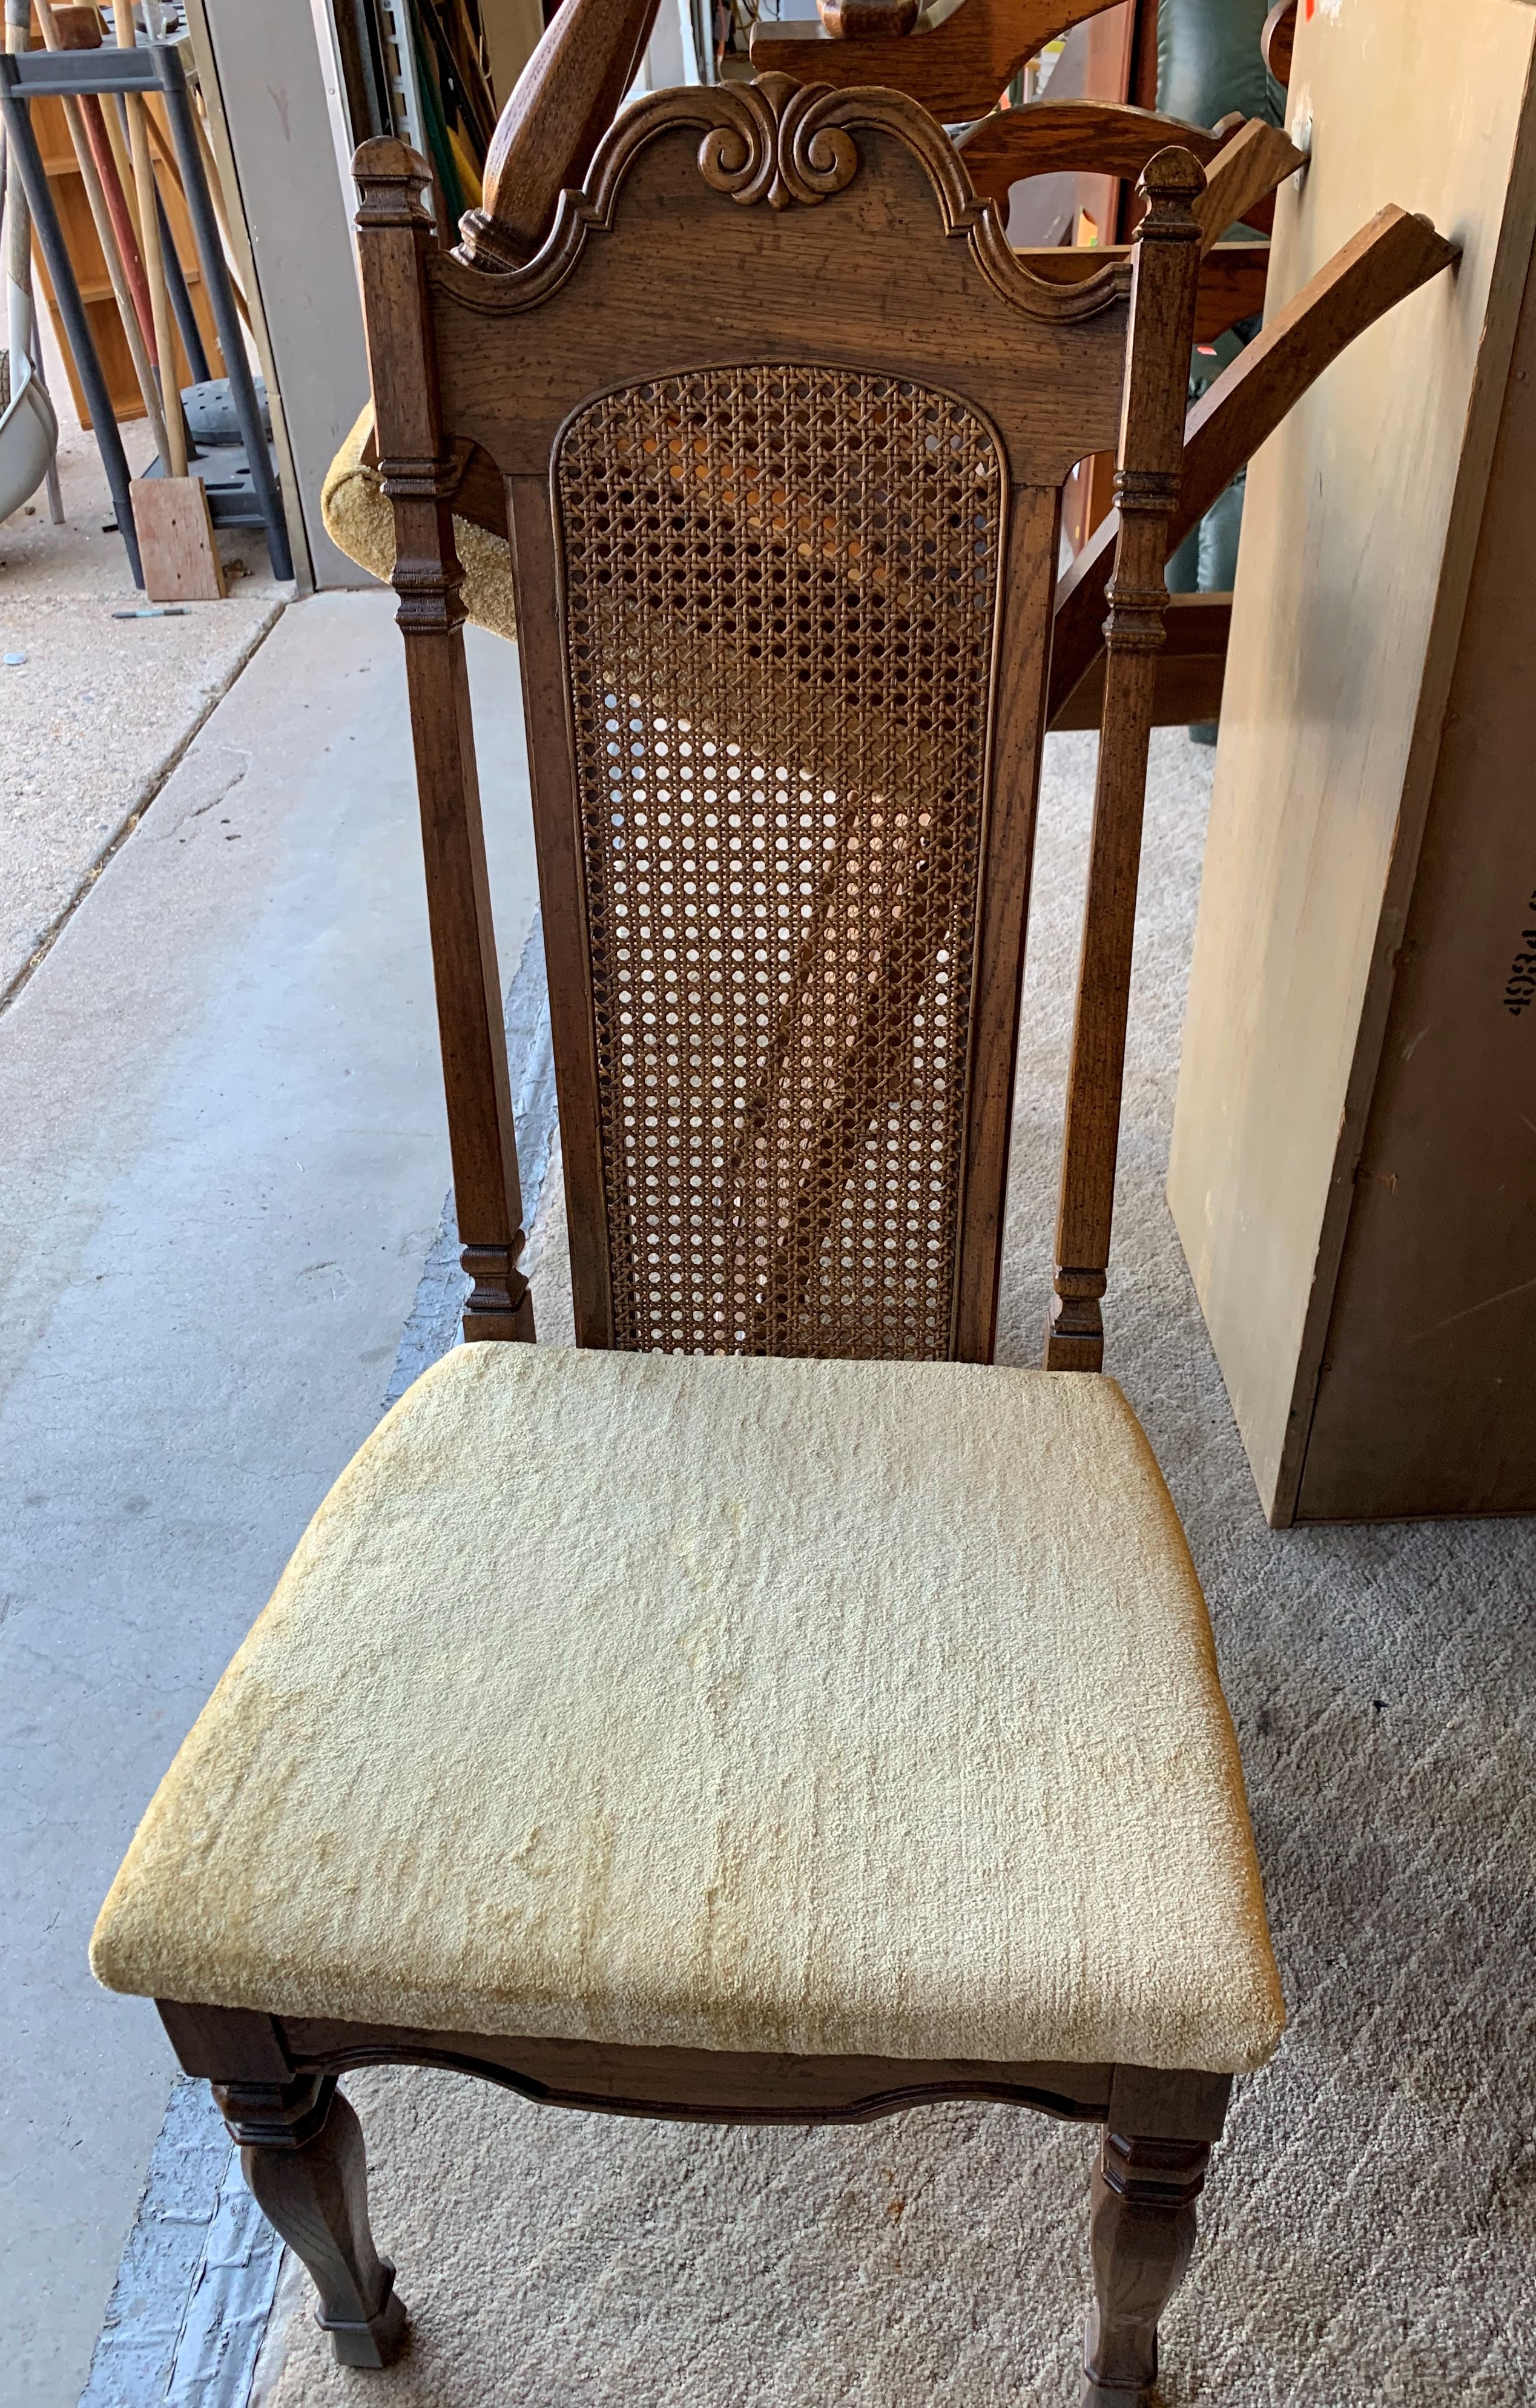
Do your old dining room chairs need a lift?
Often the bones of a chair are still in good shape even after the upholstery has become too worn.? But don’t dispair, you don’t need to throw that old chair out.? Just give it a new life with a small reupholstery job.
Materials List:
To recover a basic dining room chair you will need:
- A solid dining room chair
- 1 yard or less (depending on your chair size) of upholstery fabric
- Flat head screw driver
- Staple gun with?1/4 inch staples
- Scissors
- Drill with Philip’s head screwdriver bit
- Extra padding (optional)
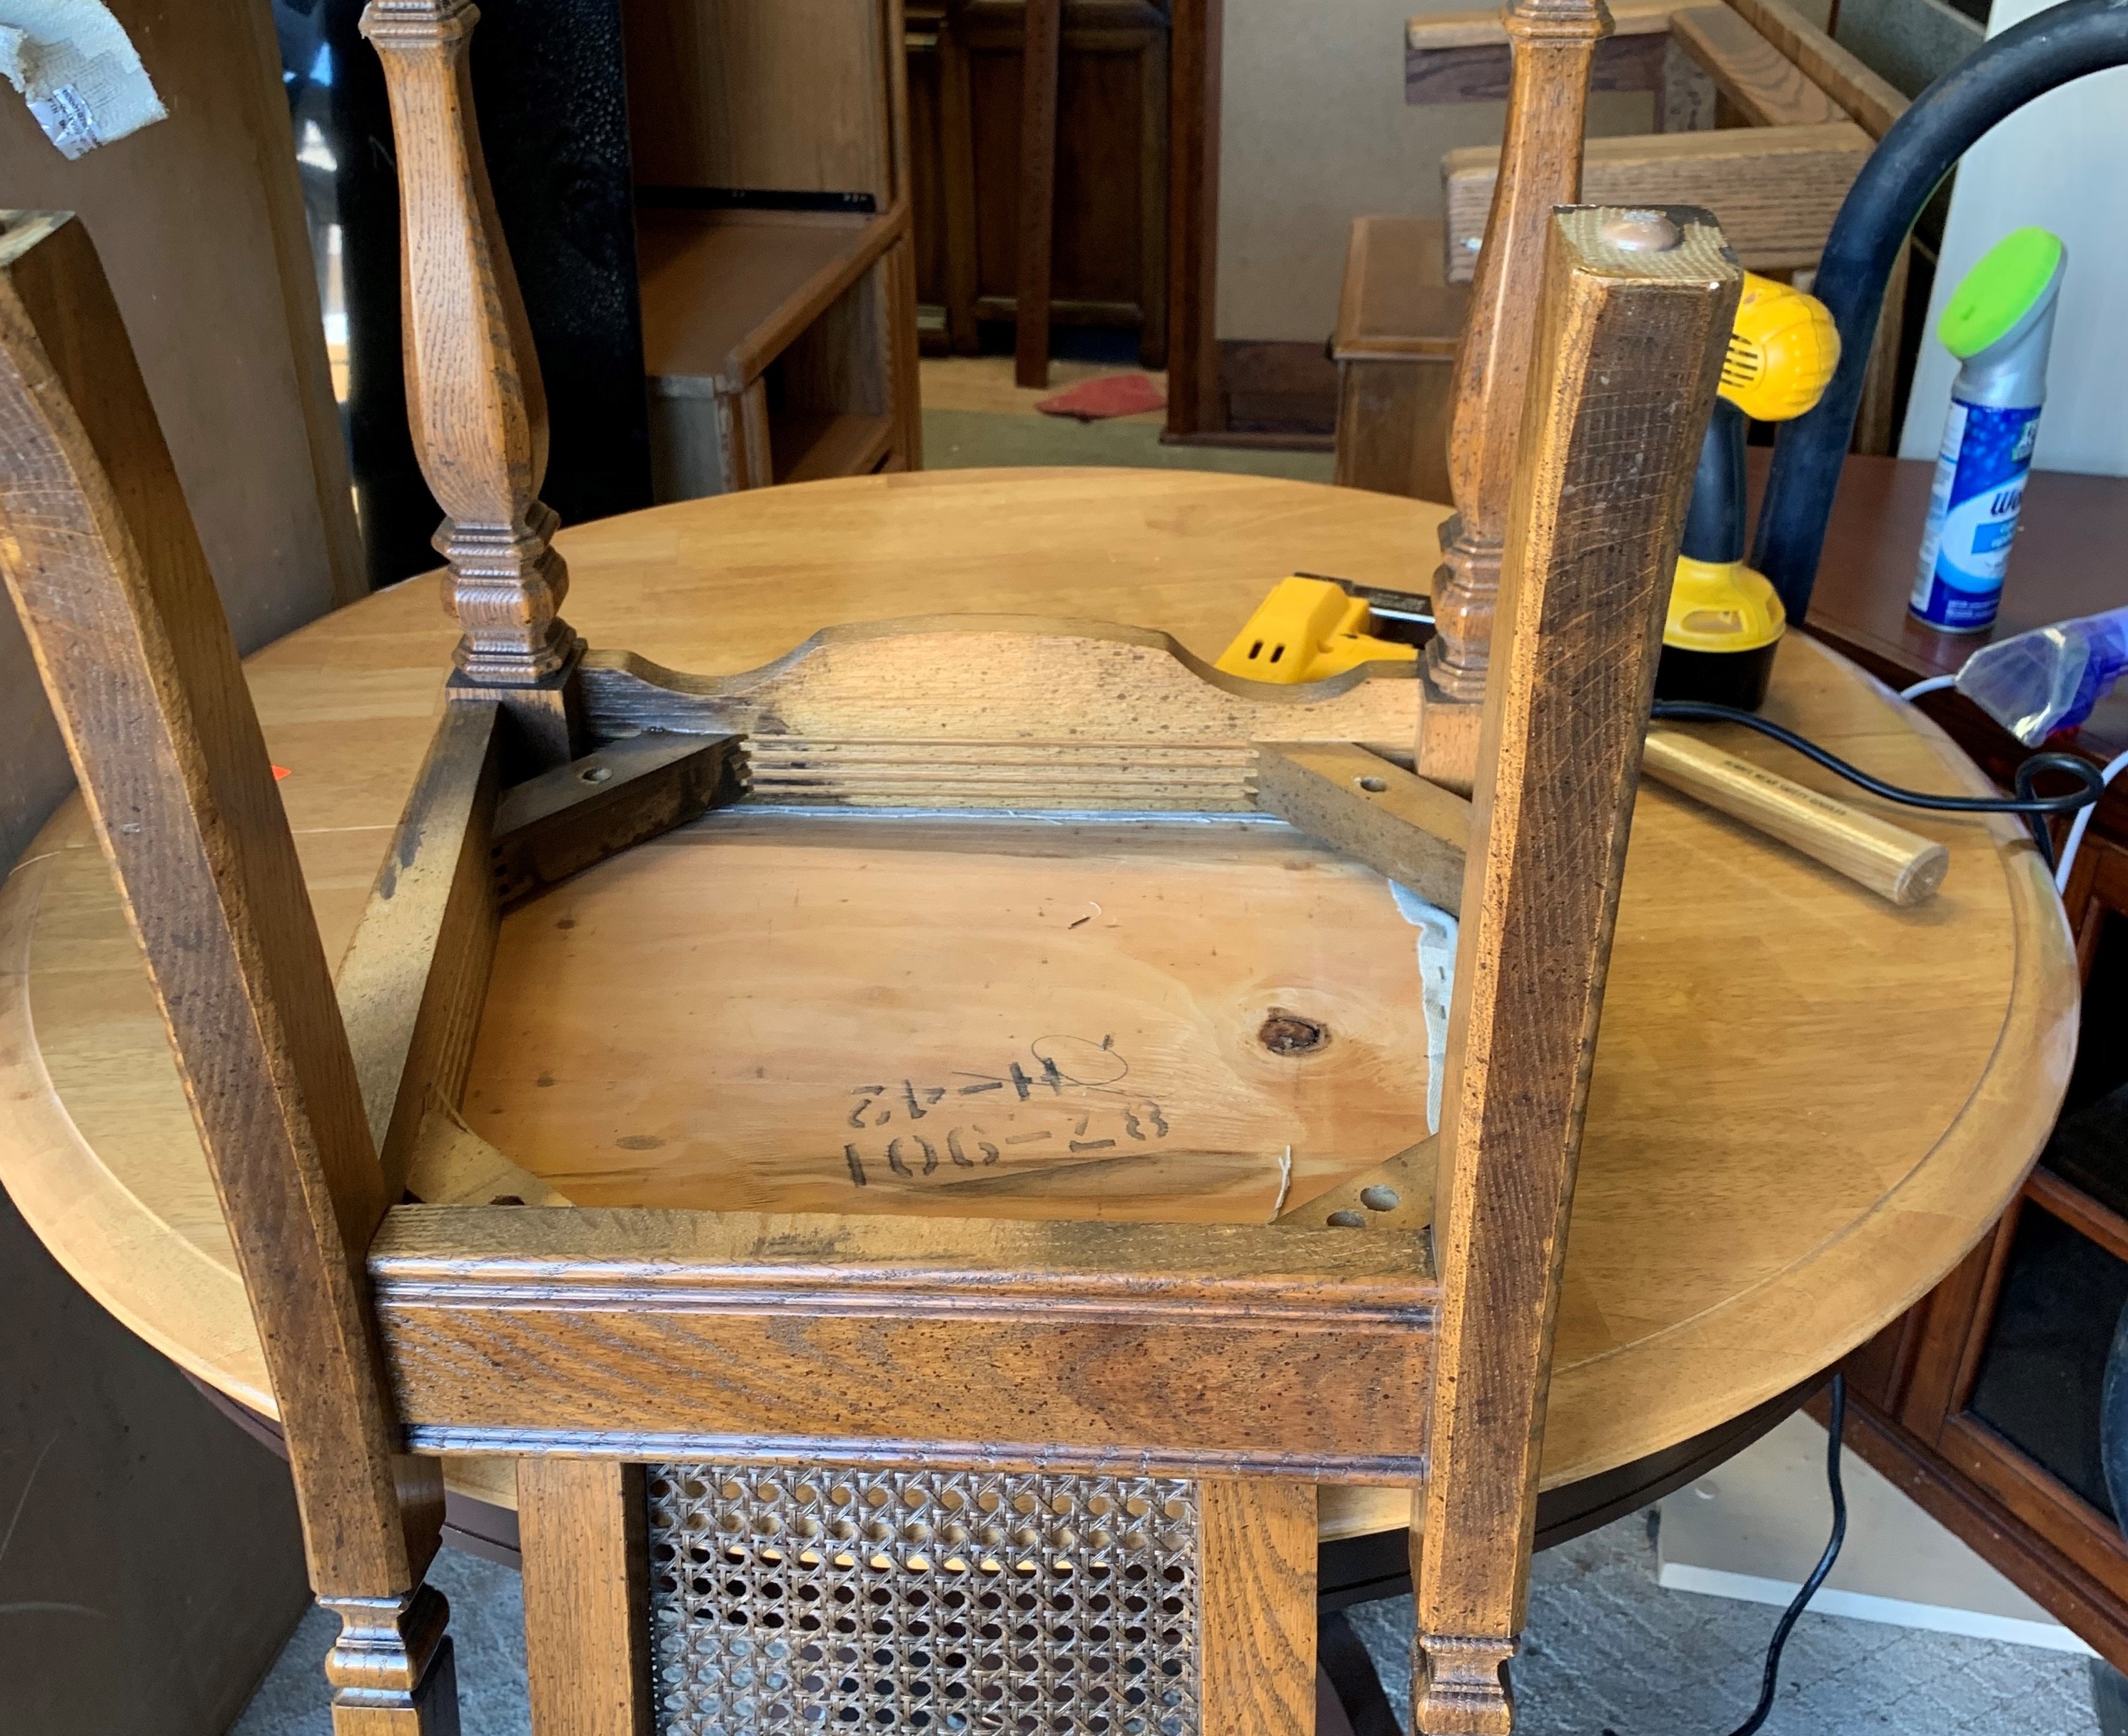
Turn the chair upside down and see how the seat is connected.? Most of the time Philips head screws attach the seat.
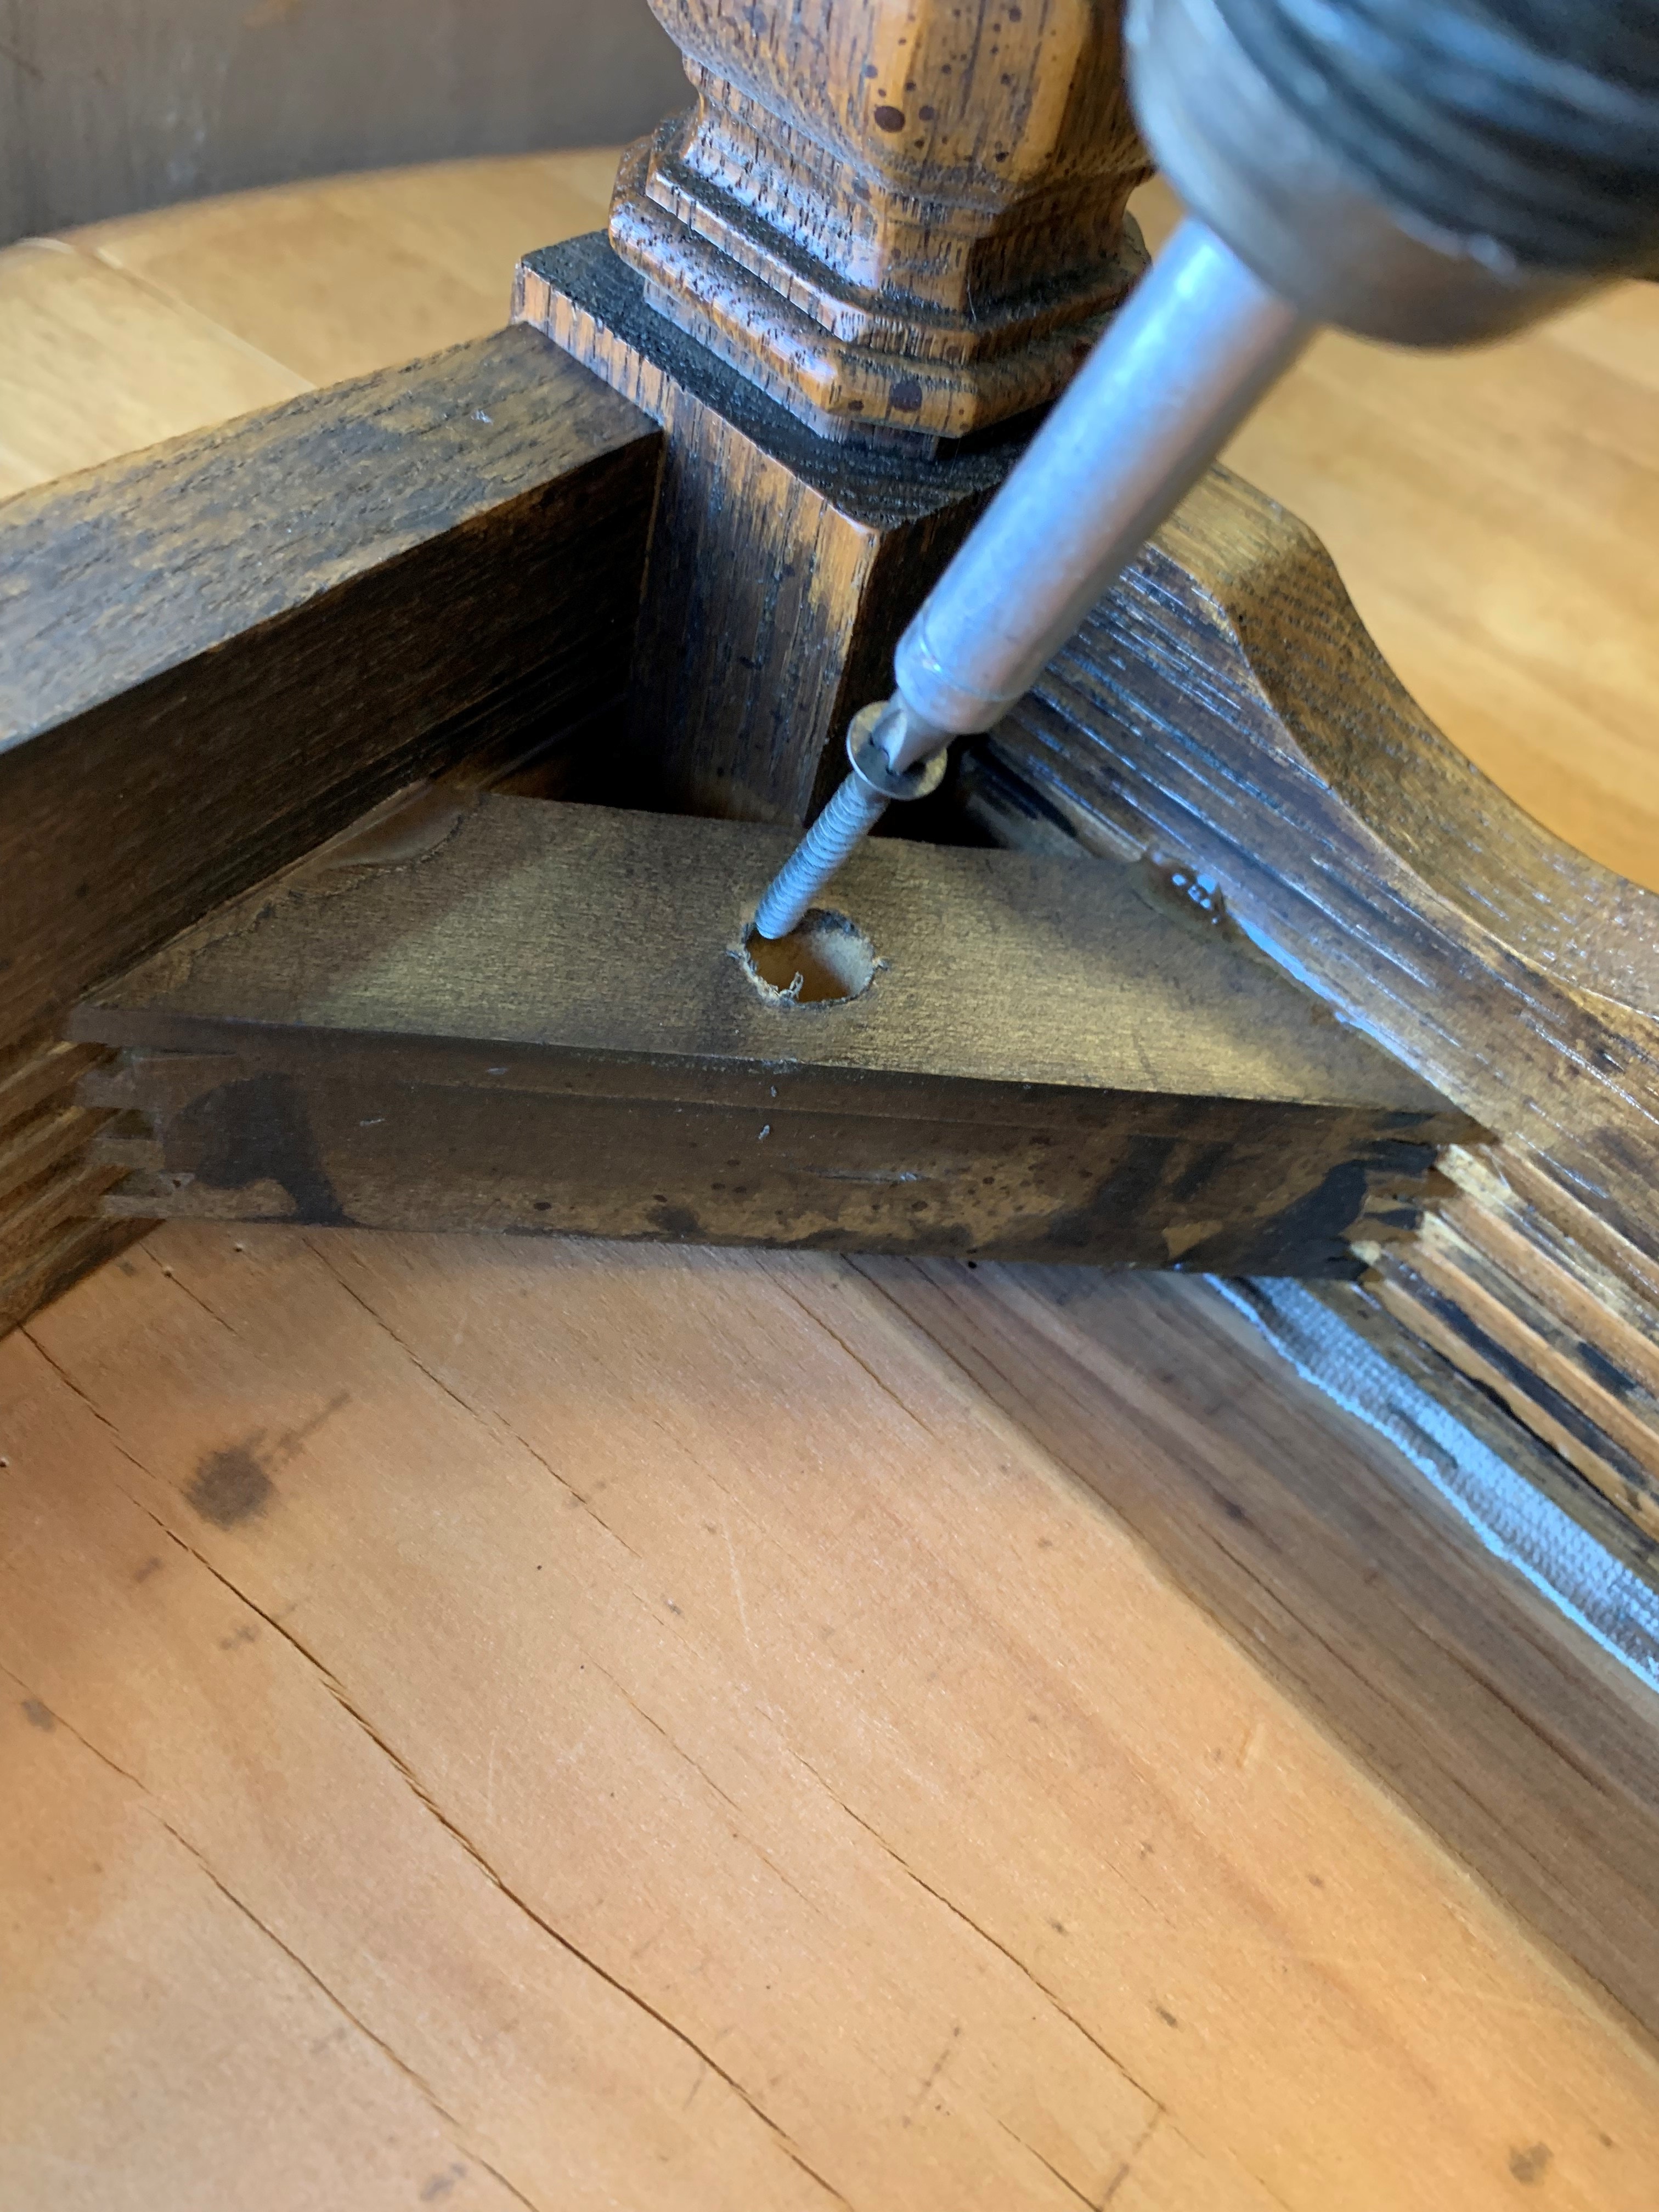
Using an electric drill with a Philips head screwdriver attachment, remove the screws attaching the chair seat from the rest of the chair.
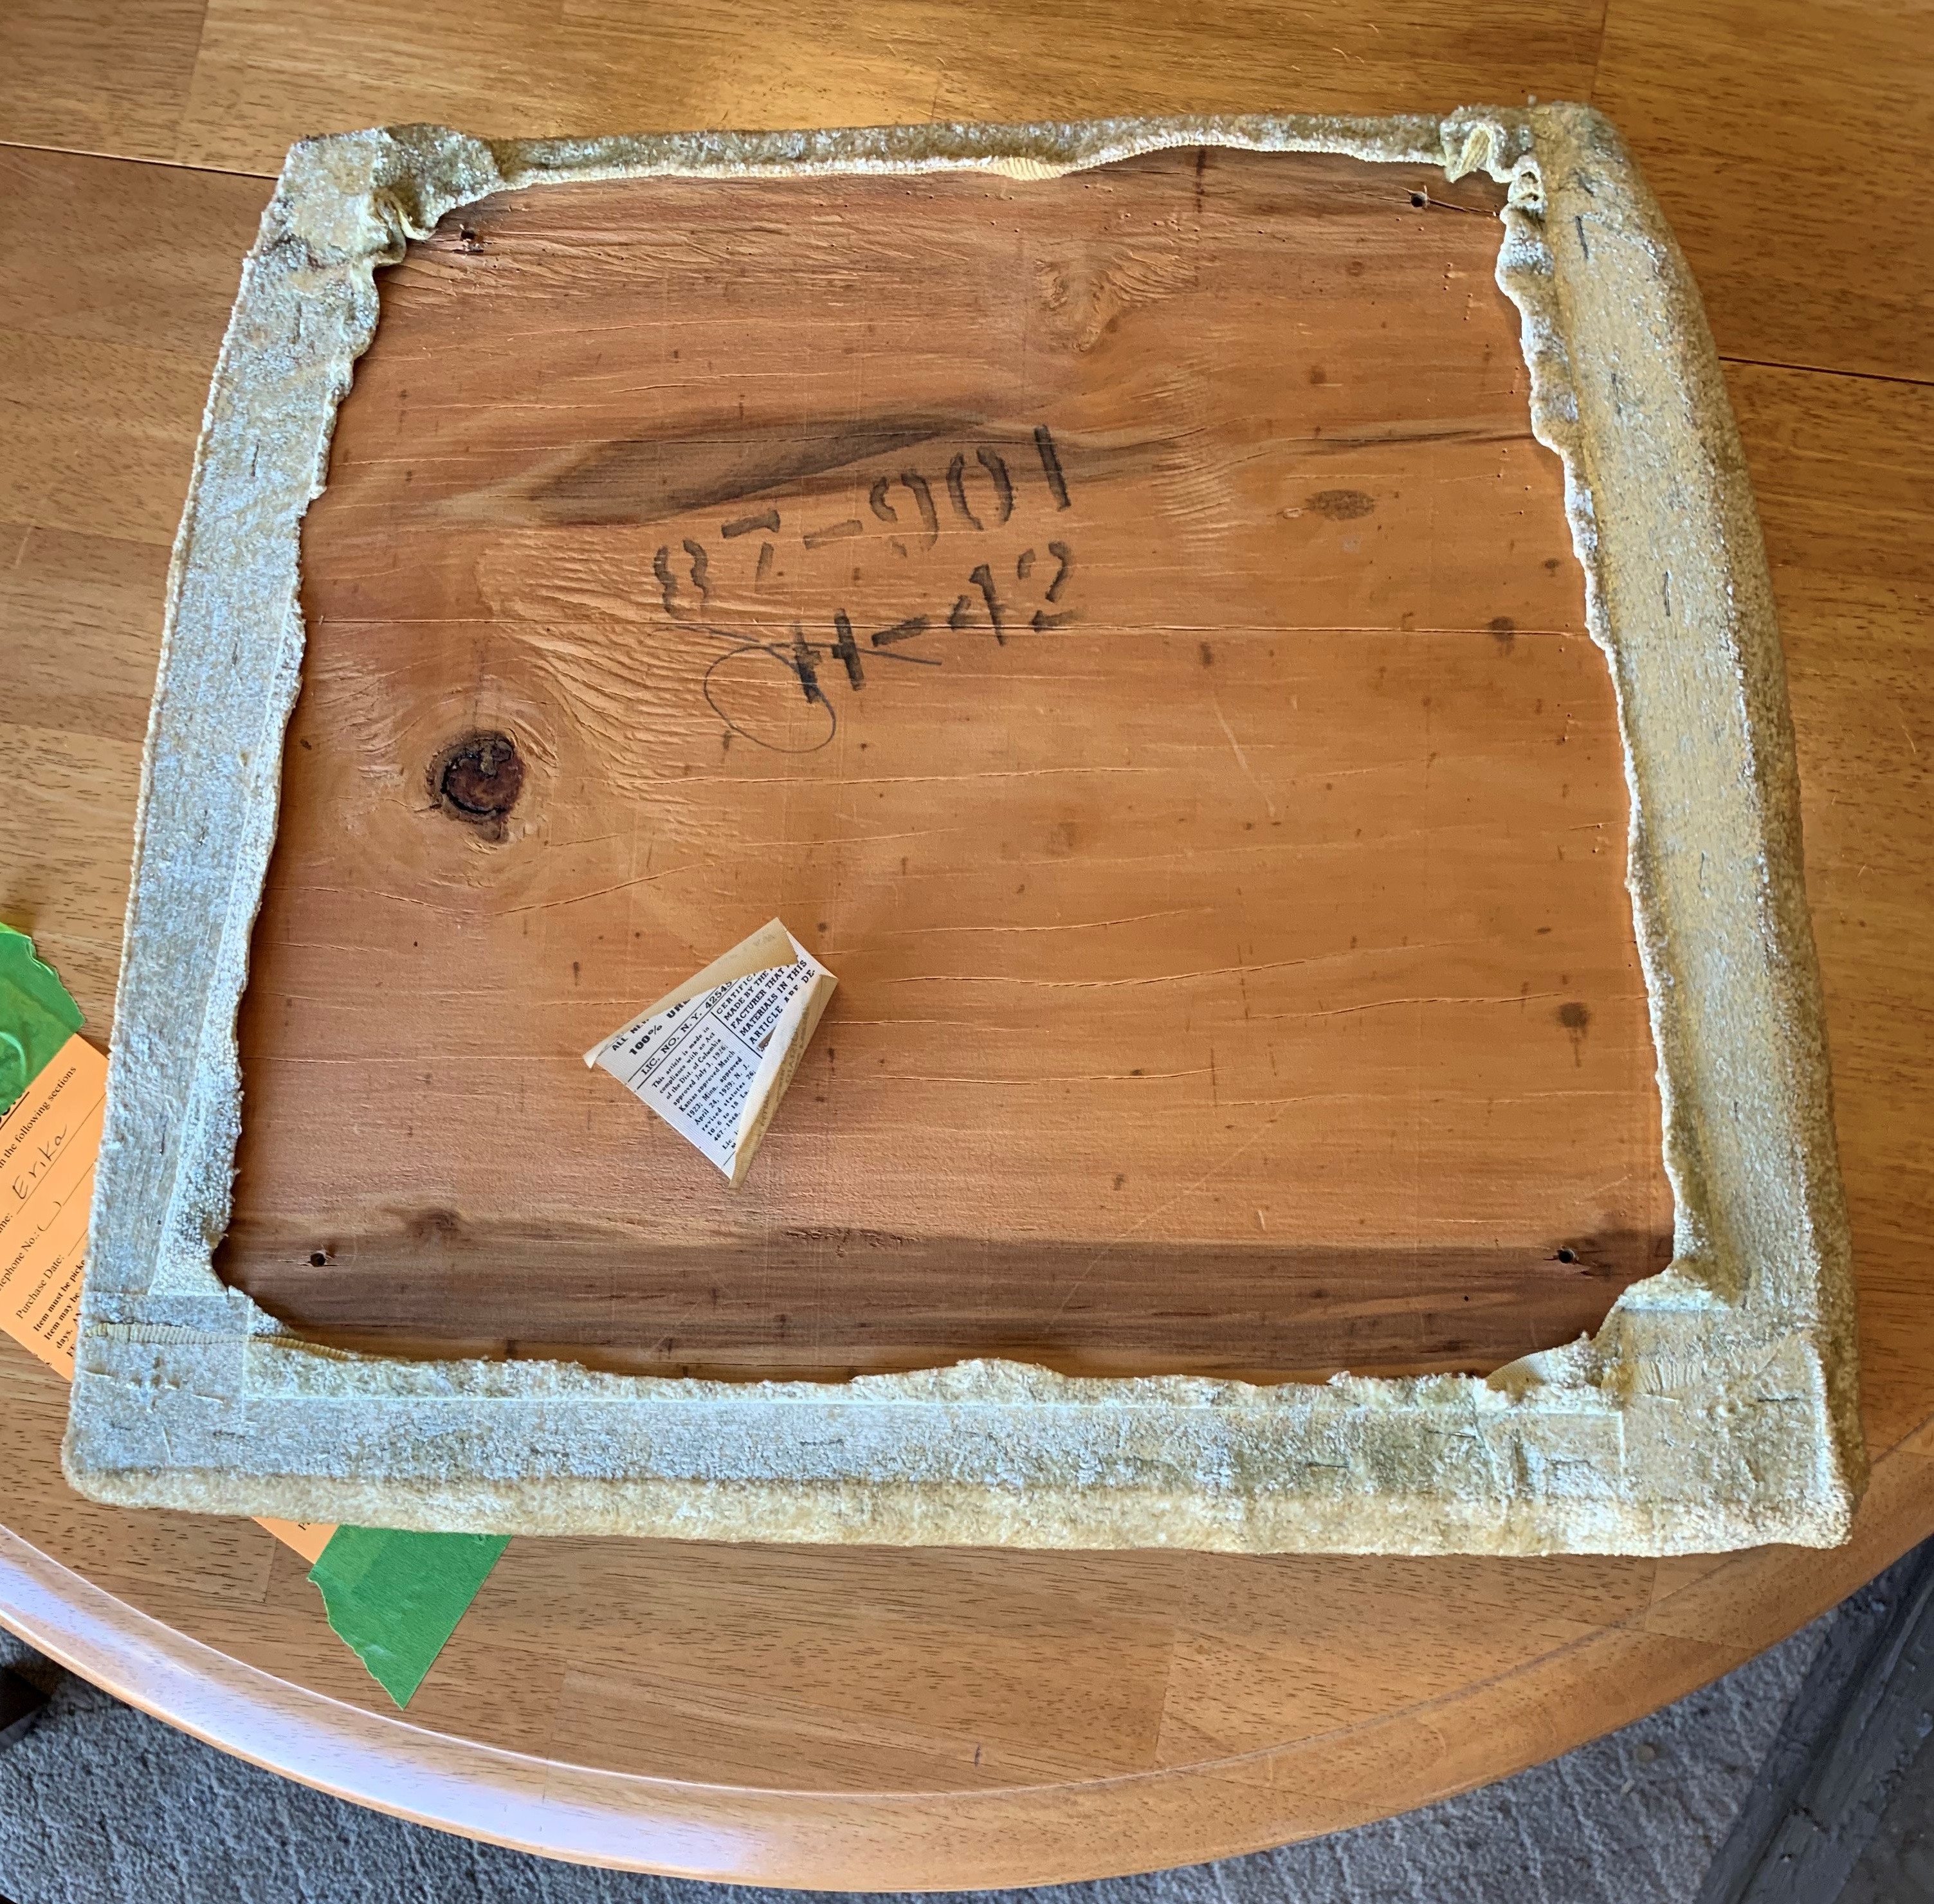
Place the seat on a flat surface, bottom side up.
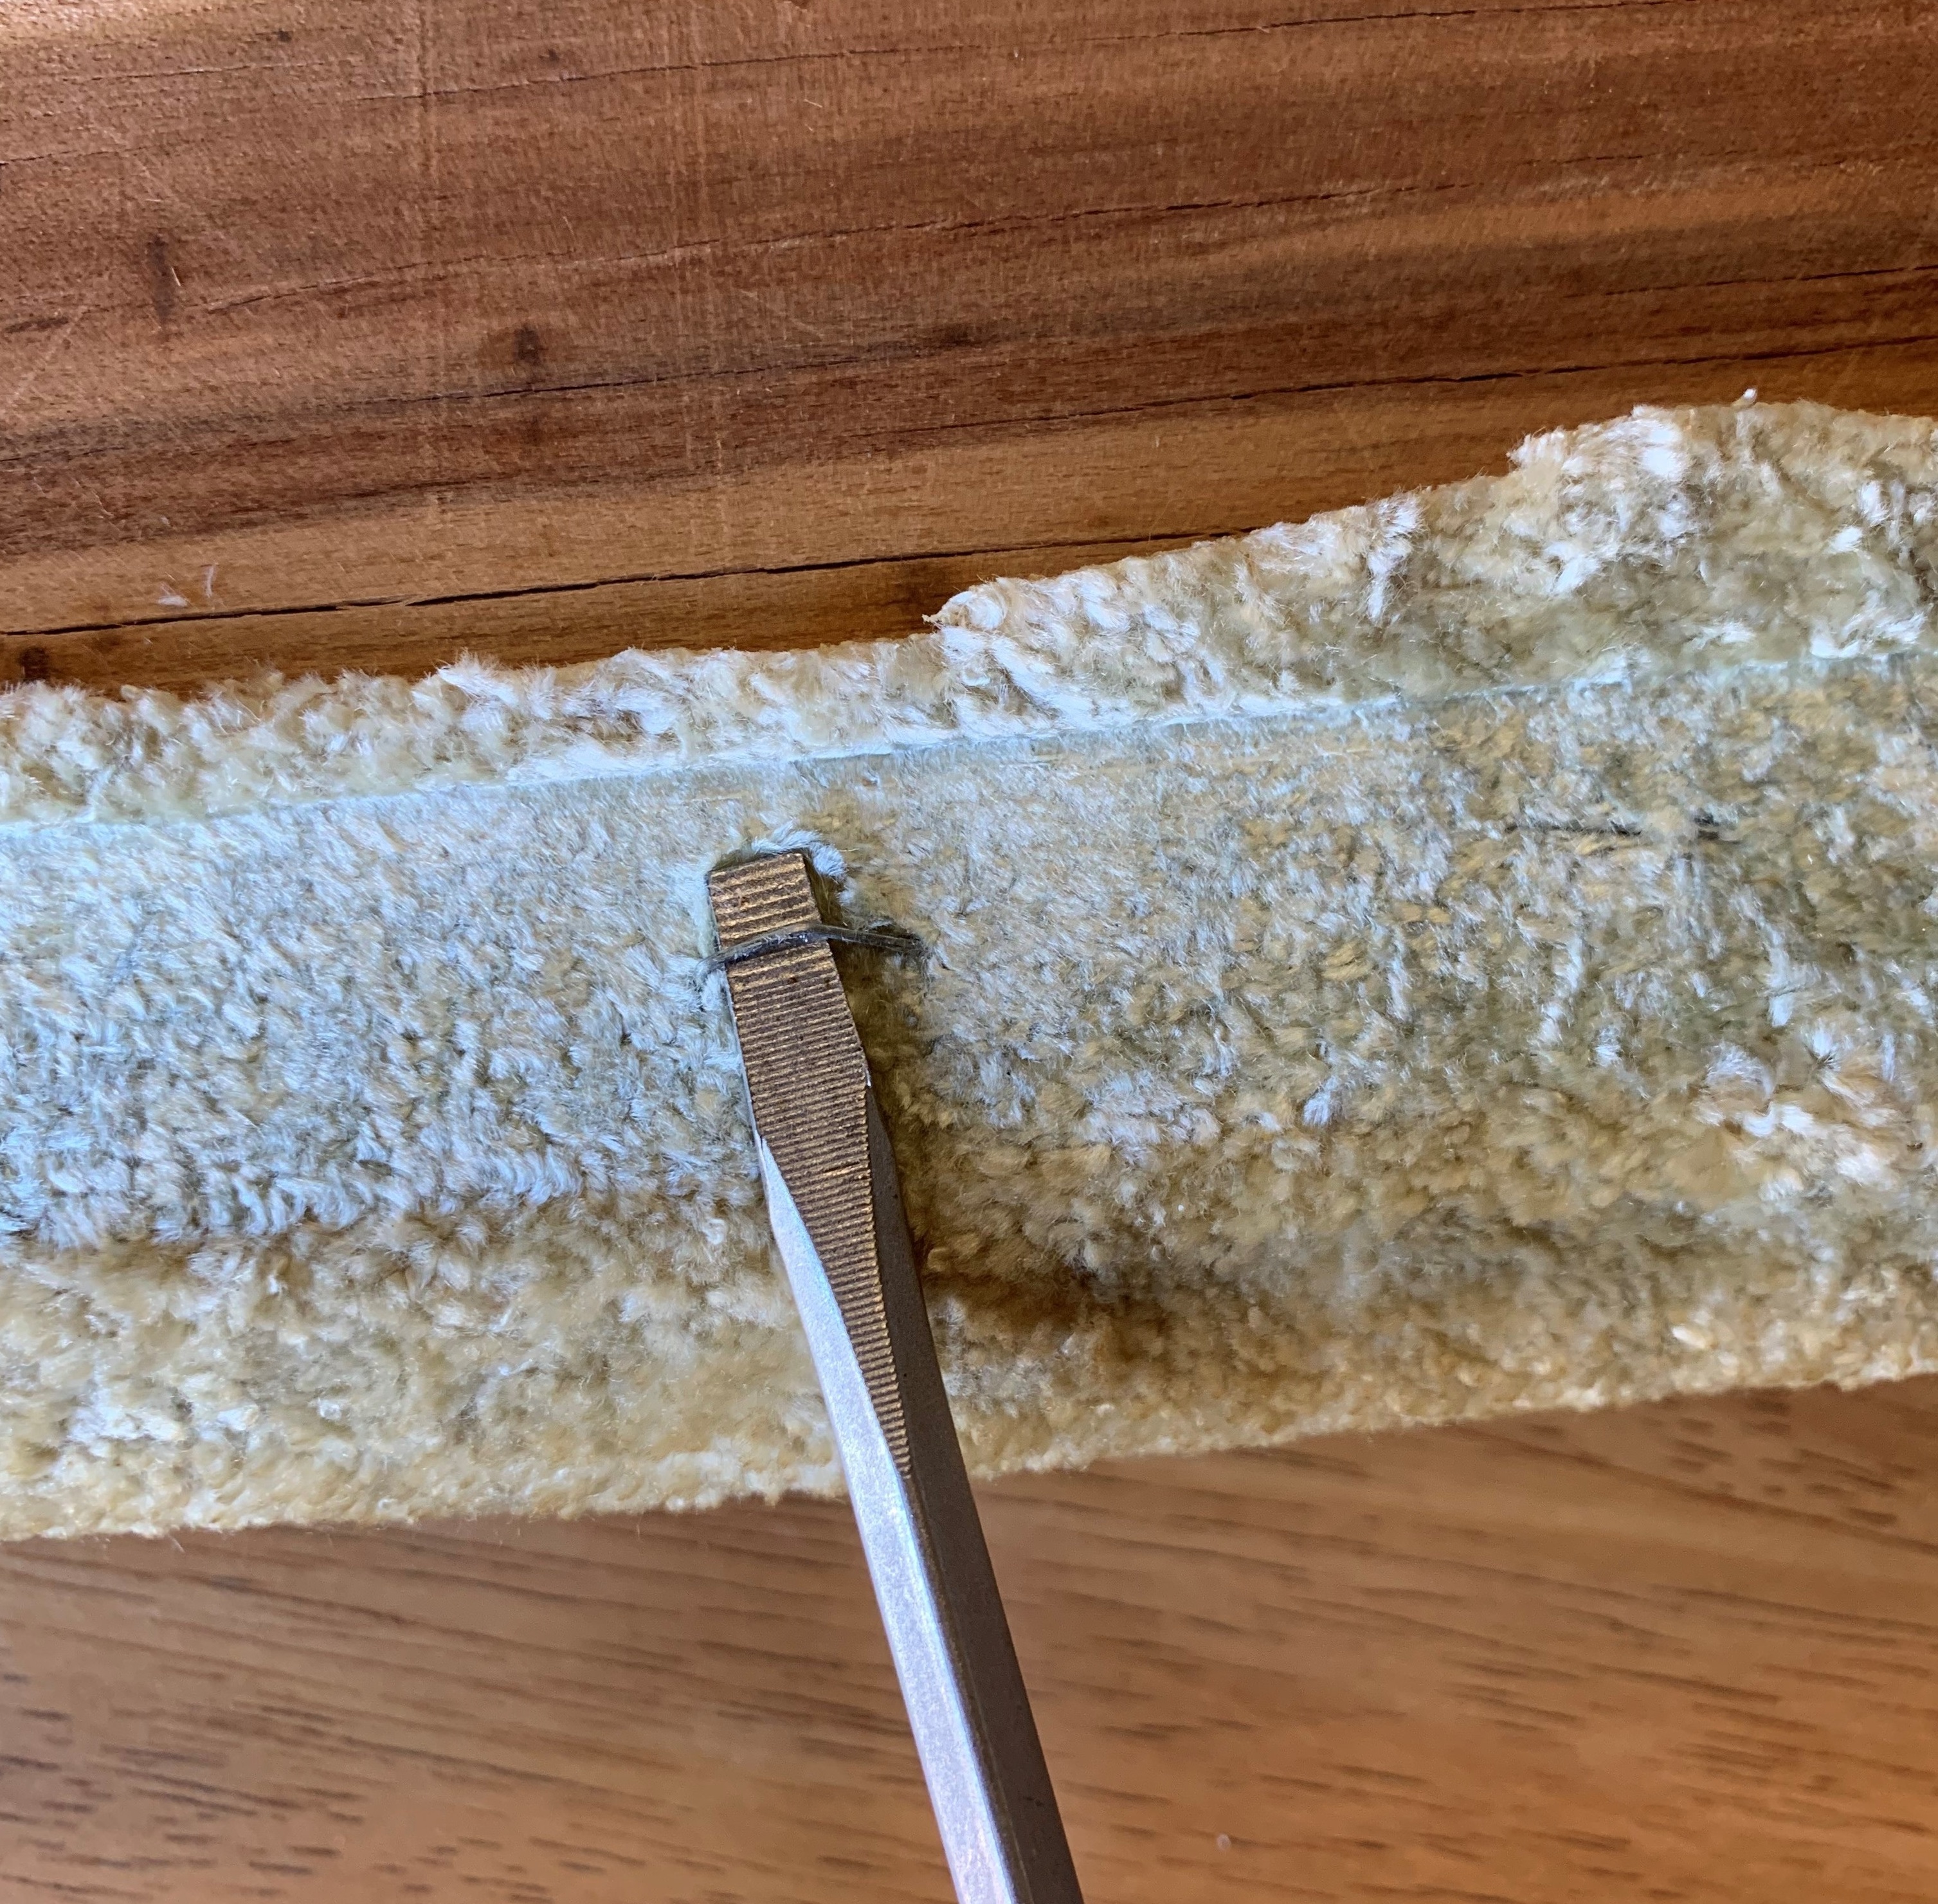
Using the flat head screw driver pry out the old staples.
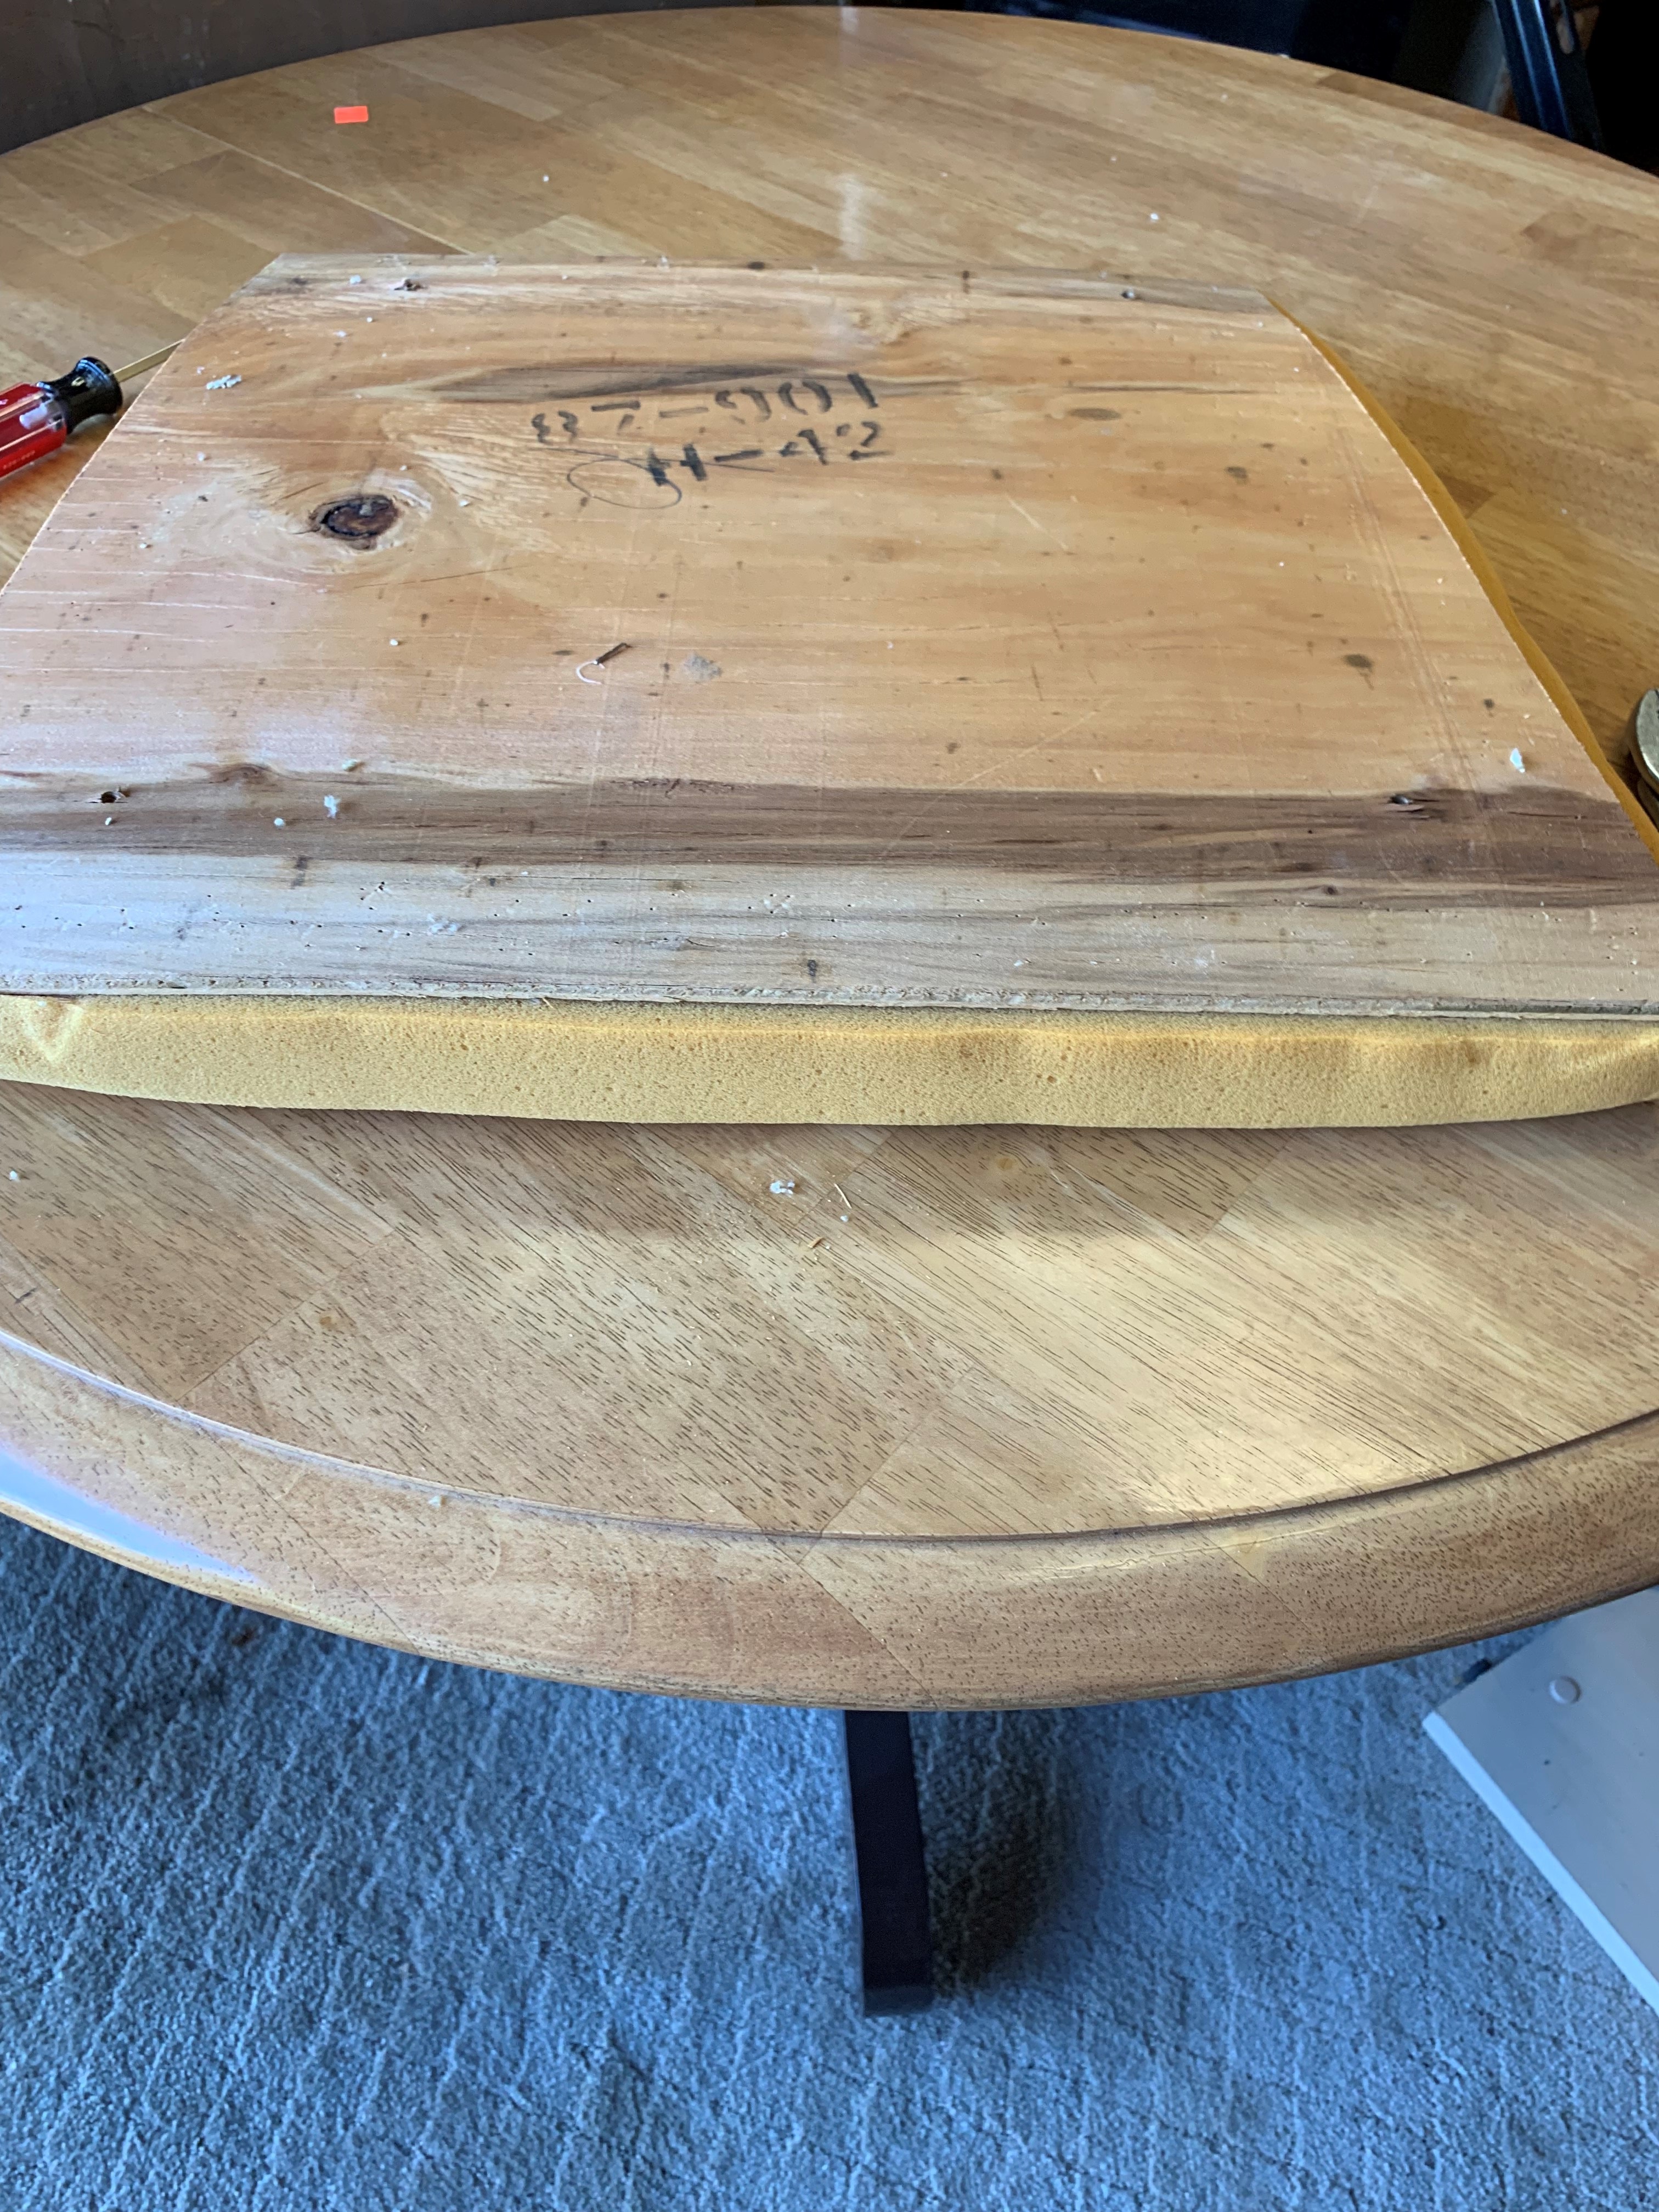
Once the cover is removed you should be able to see the foam padding and the wooden bottom board, at this point you can add extra padding if needed.
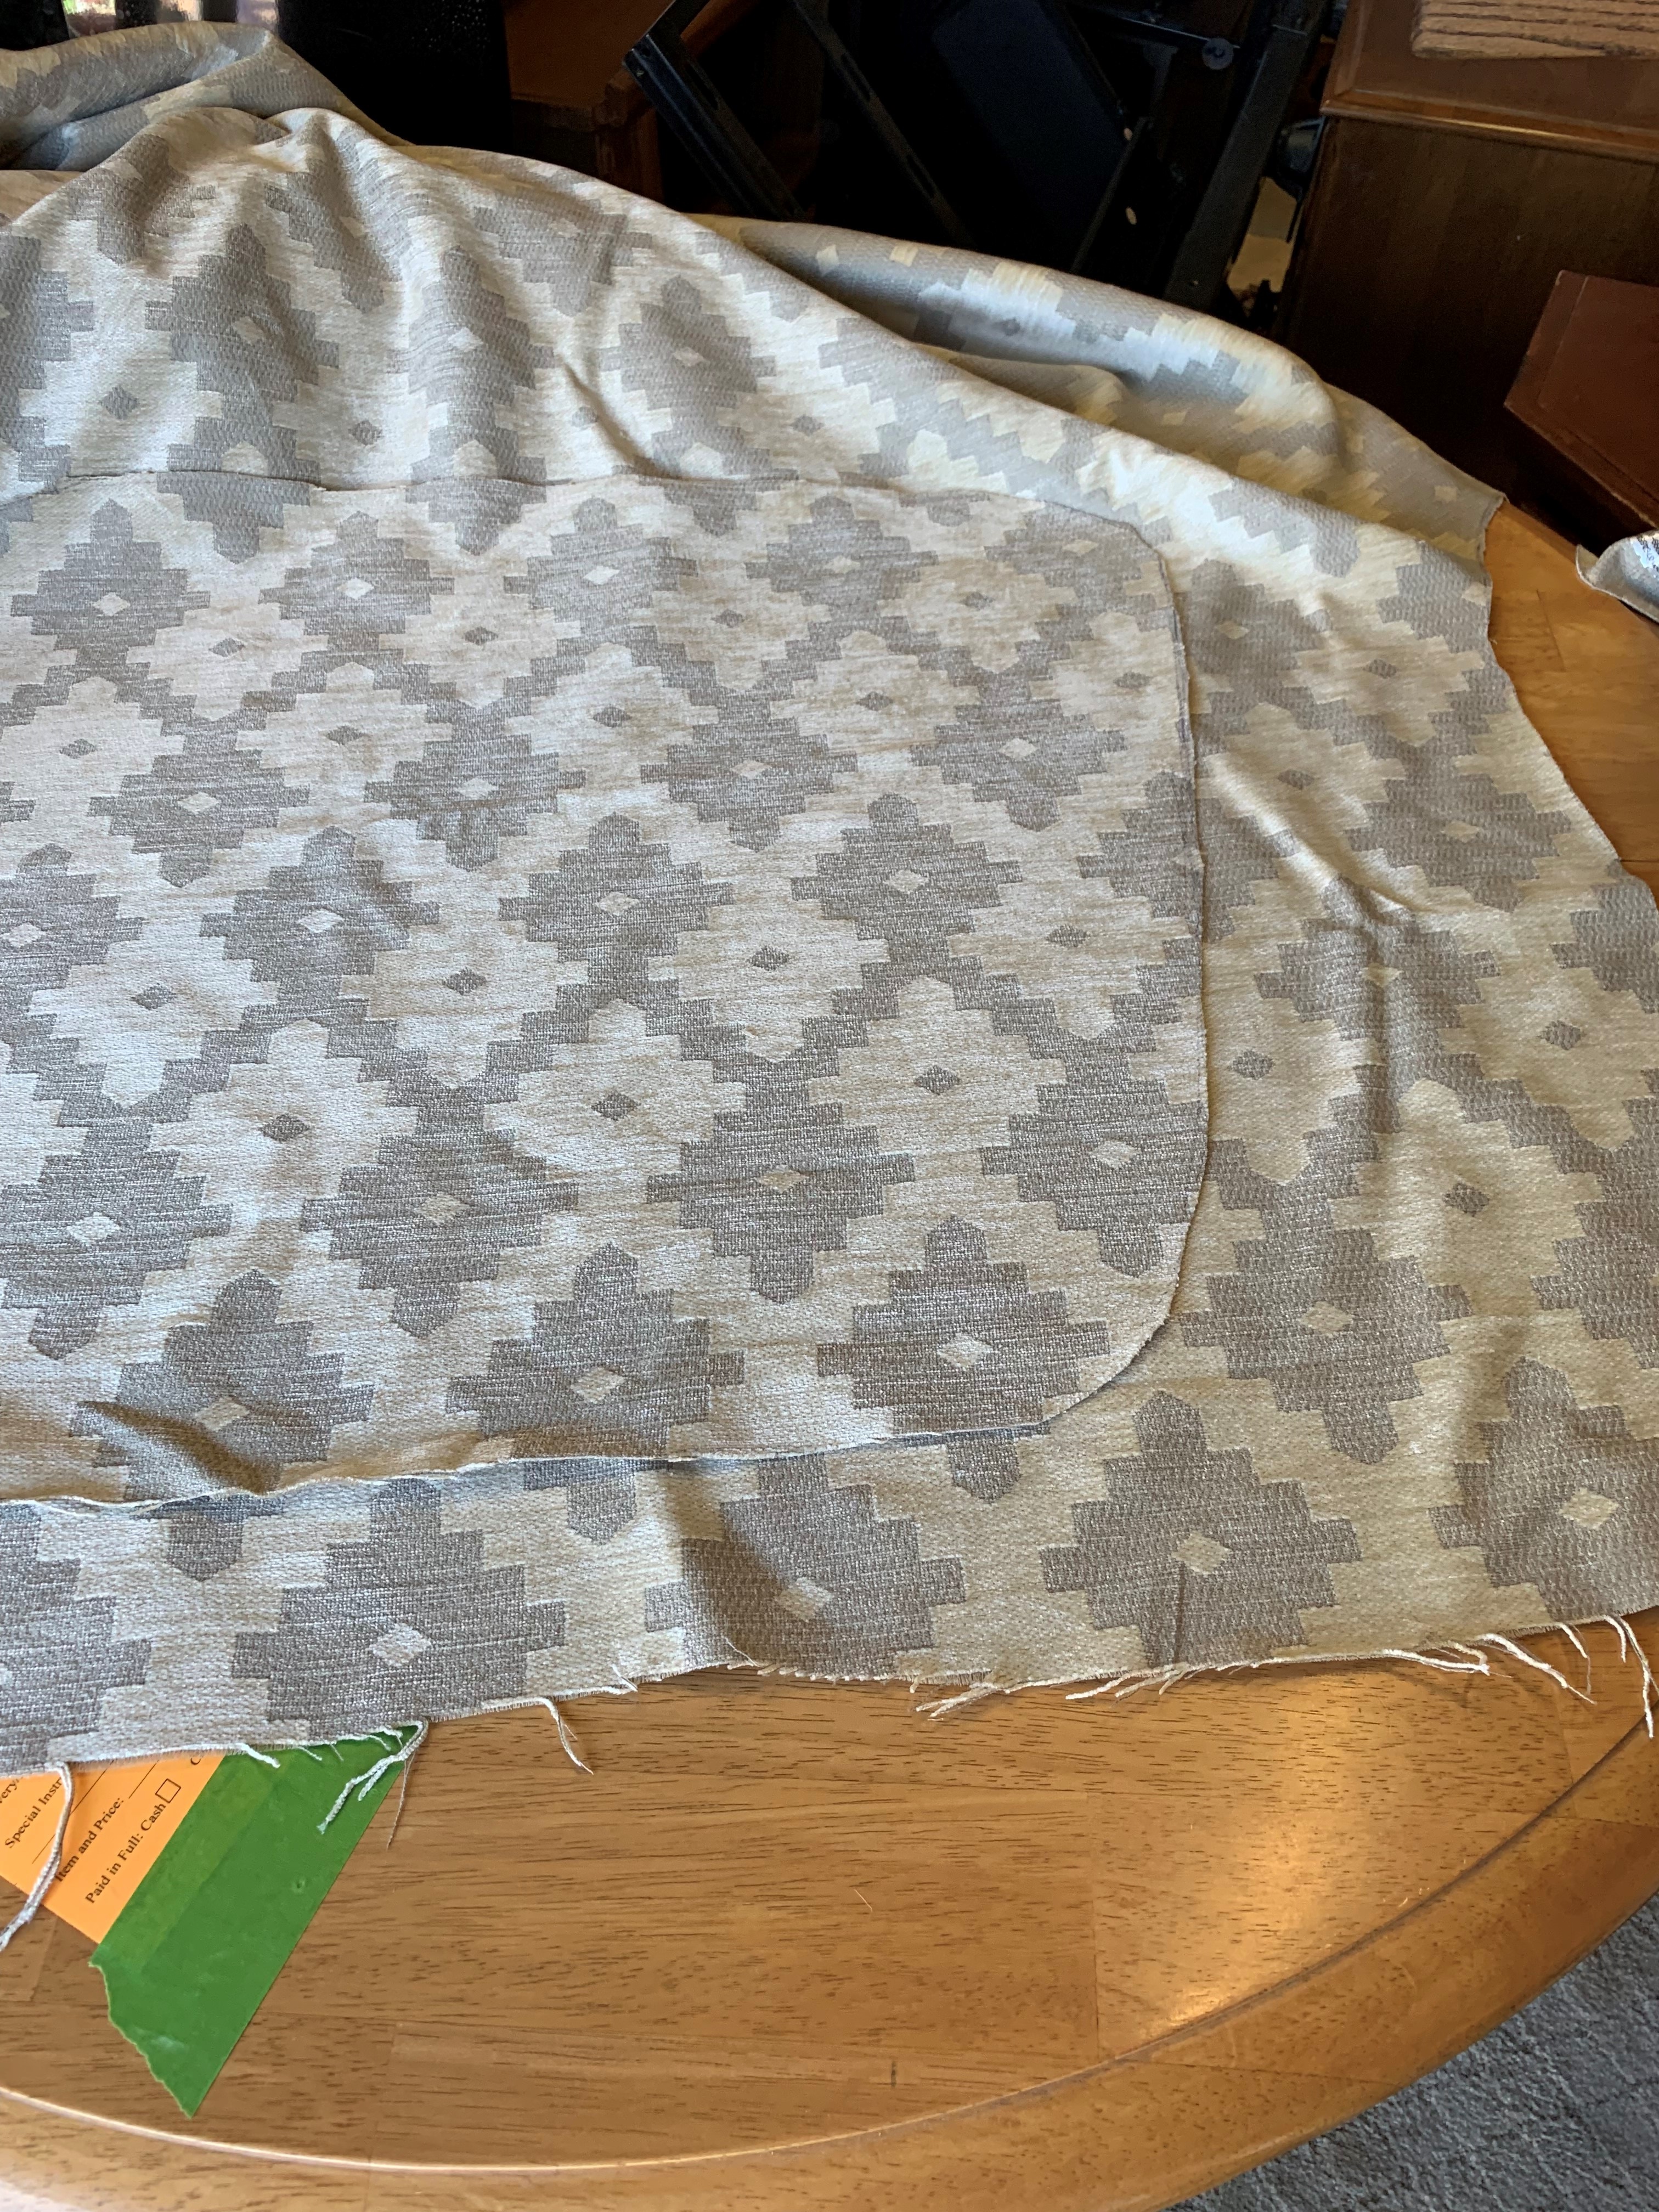
Next, cut your fabric in the shape of the seat, be sure to add an extra three inches all the way around.? If you are doing more than one chair, make sure that the fabric pattern matches on each chair.
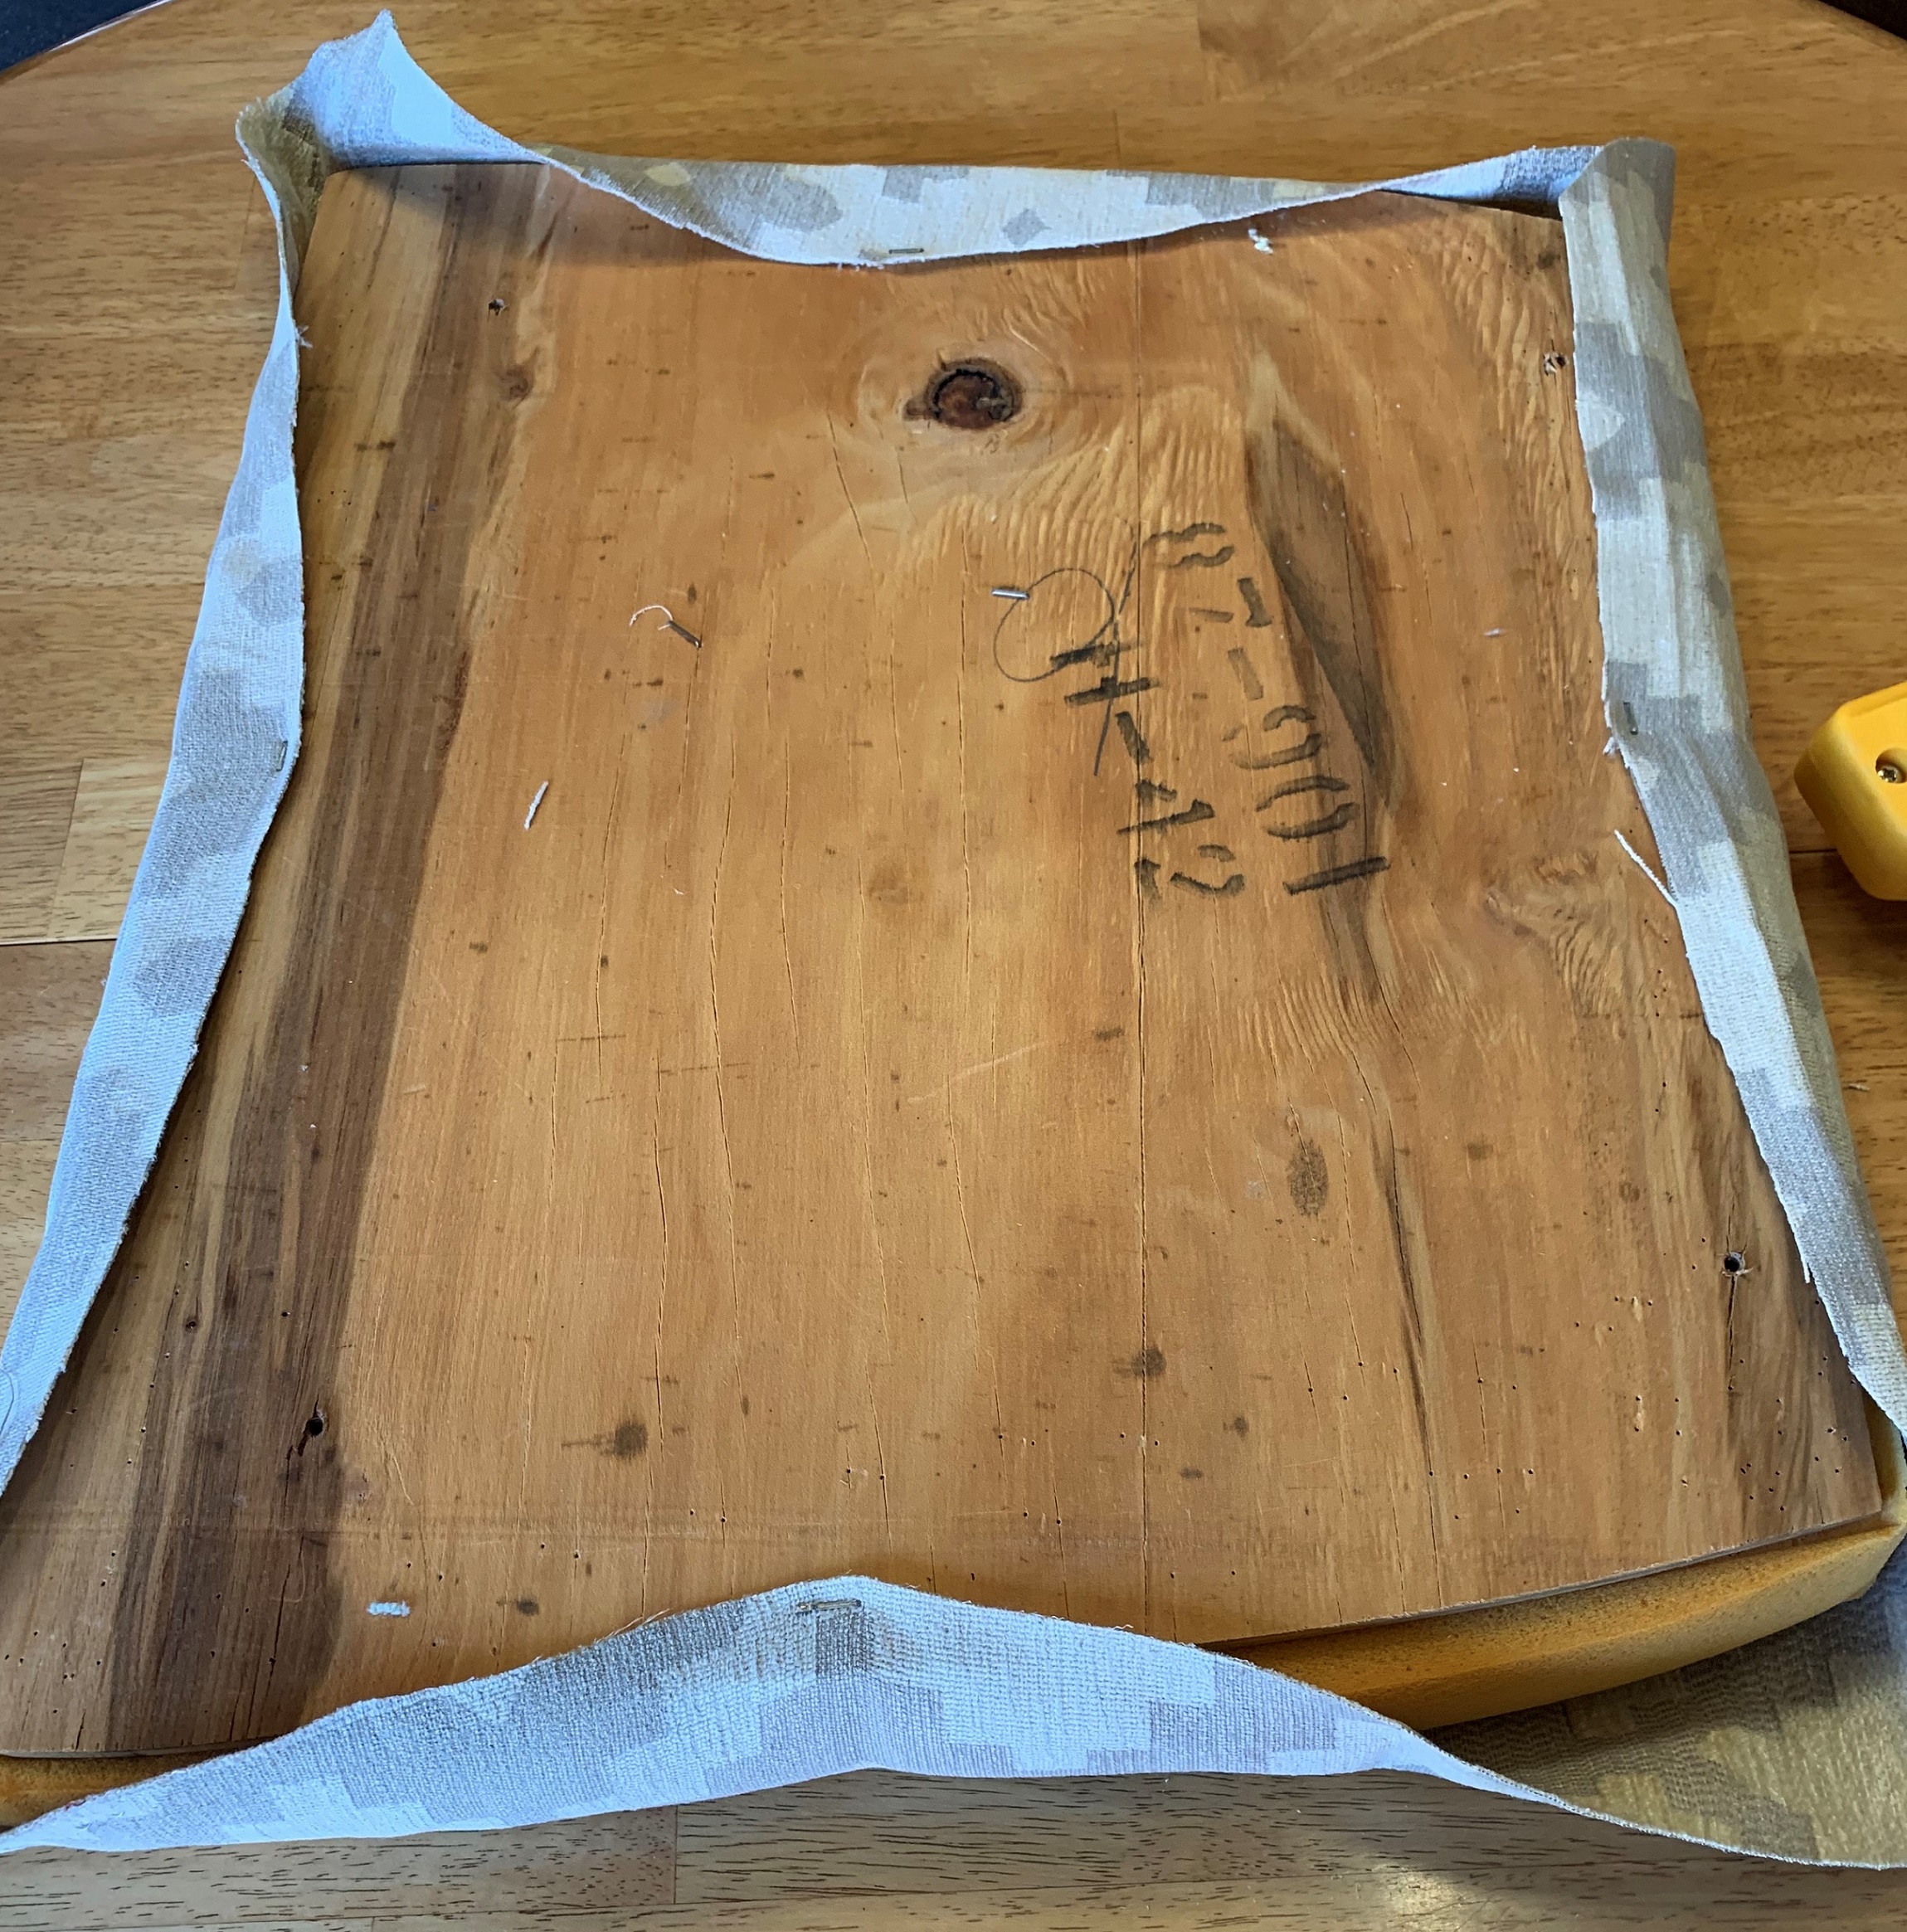
Center the seat on the fabric and pull and staple each side.
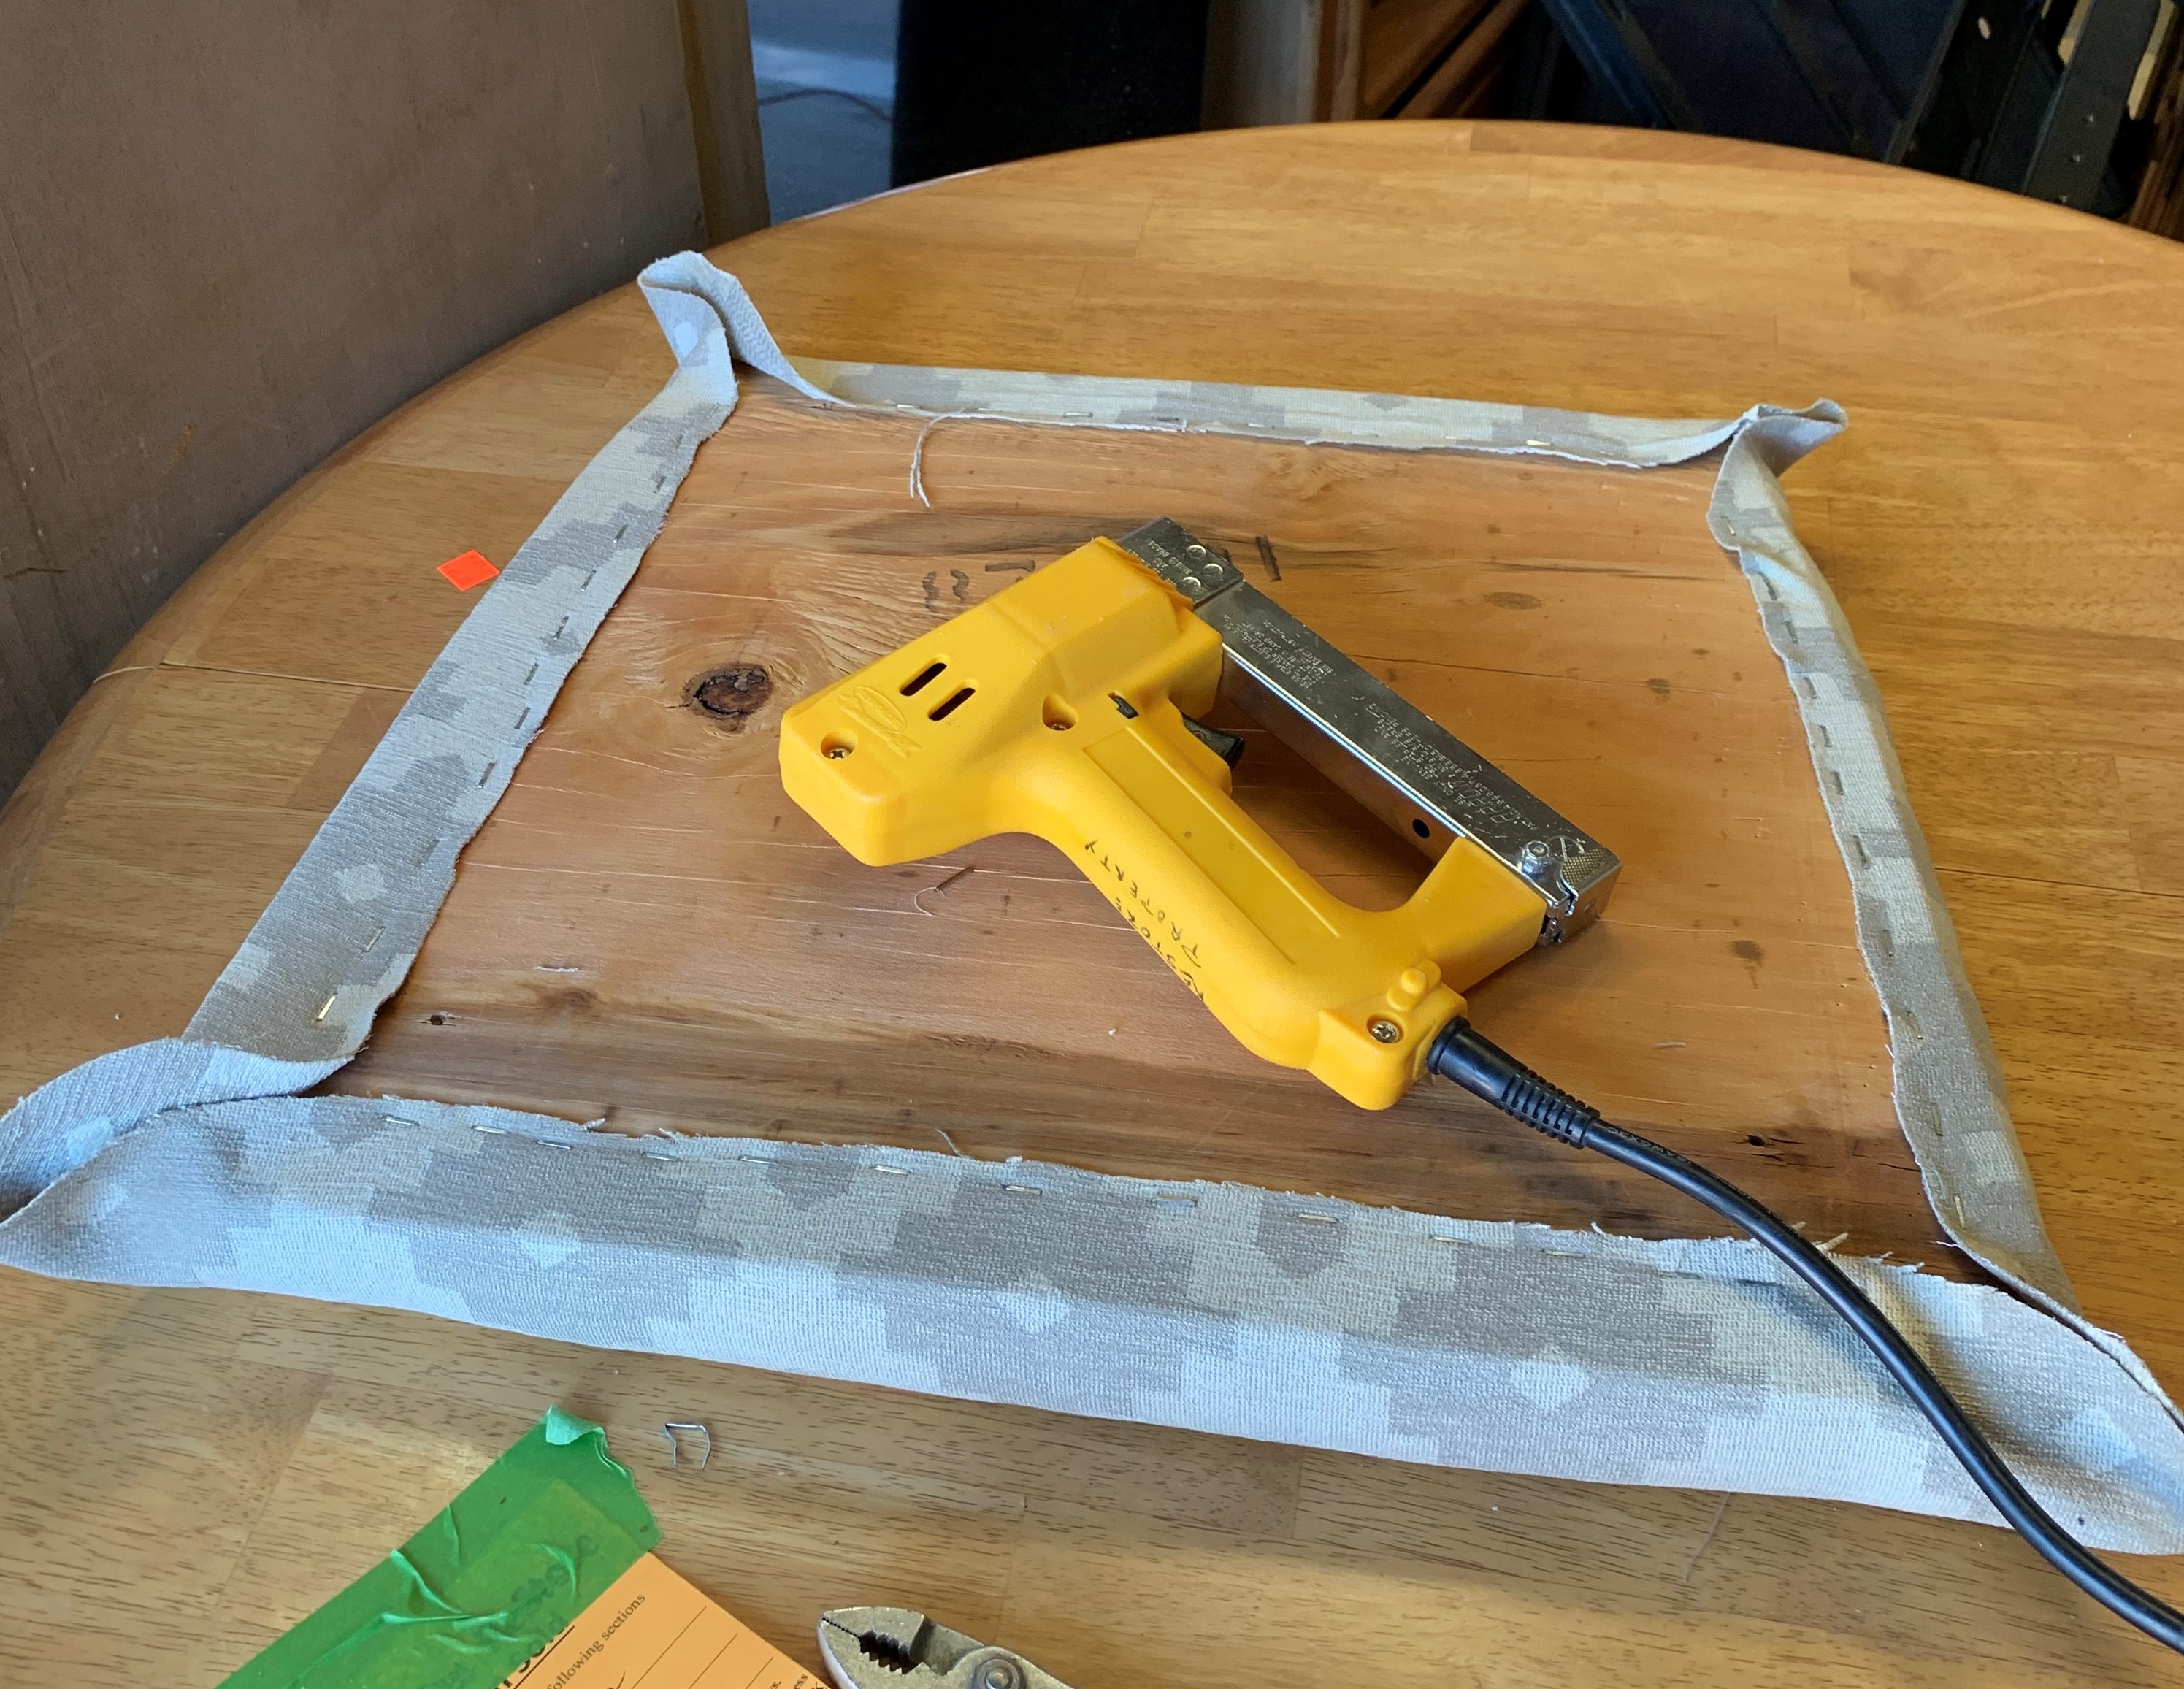
Pulling the fabric snug, add staples on each side of the center staple, about one or two inches apart, until you are about three inches from the corner. Make sure to pull the fabric evenly so there are no puckers or tight spots on the cushion.
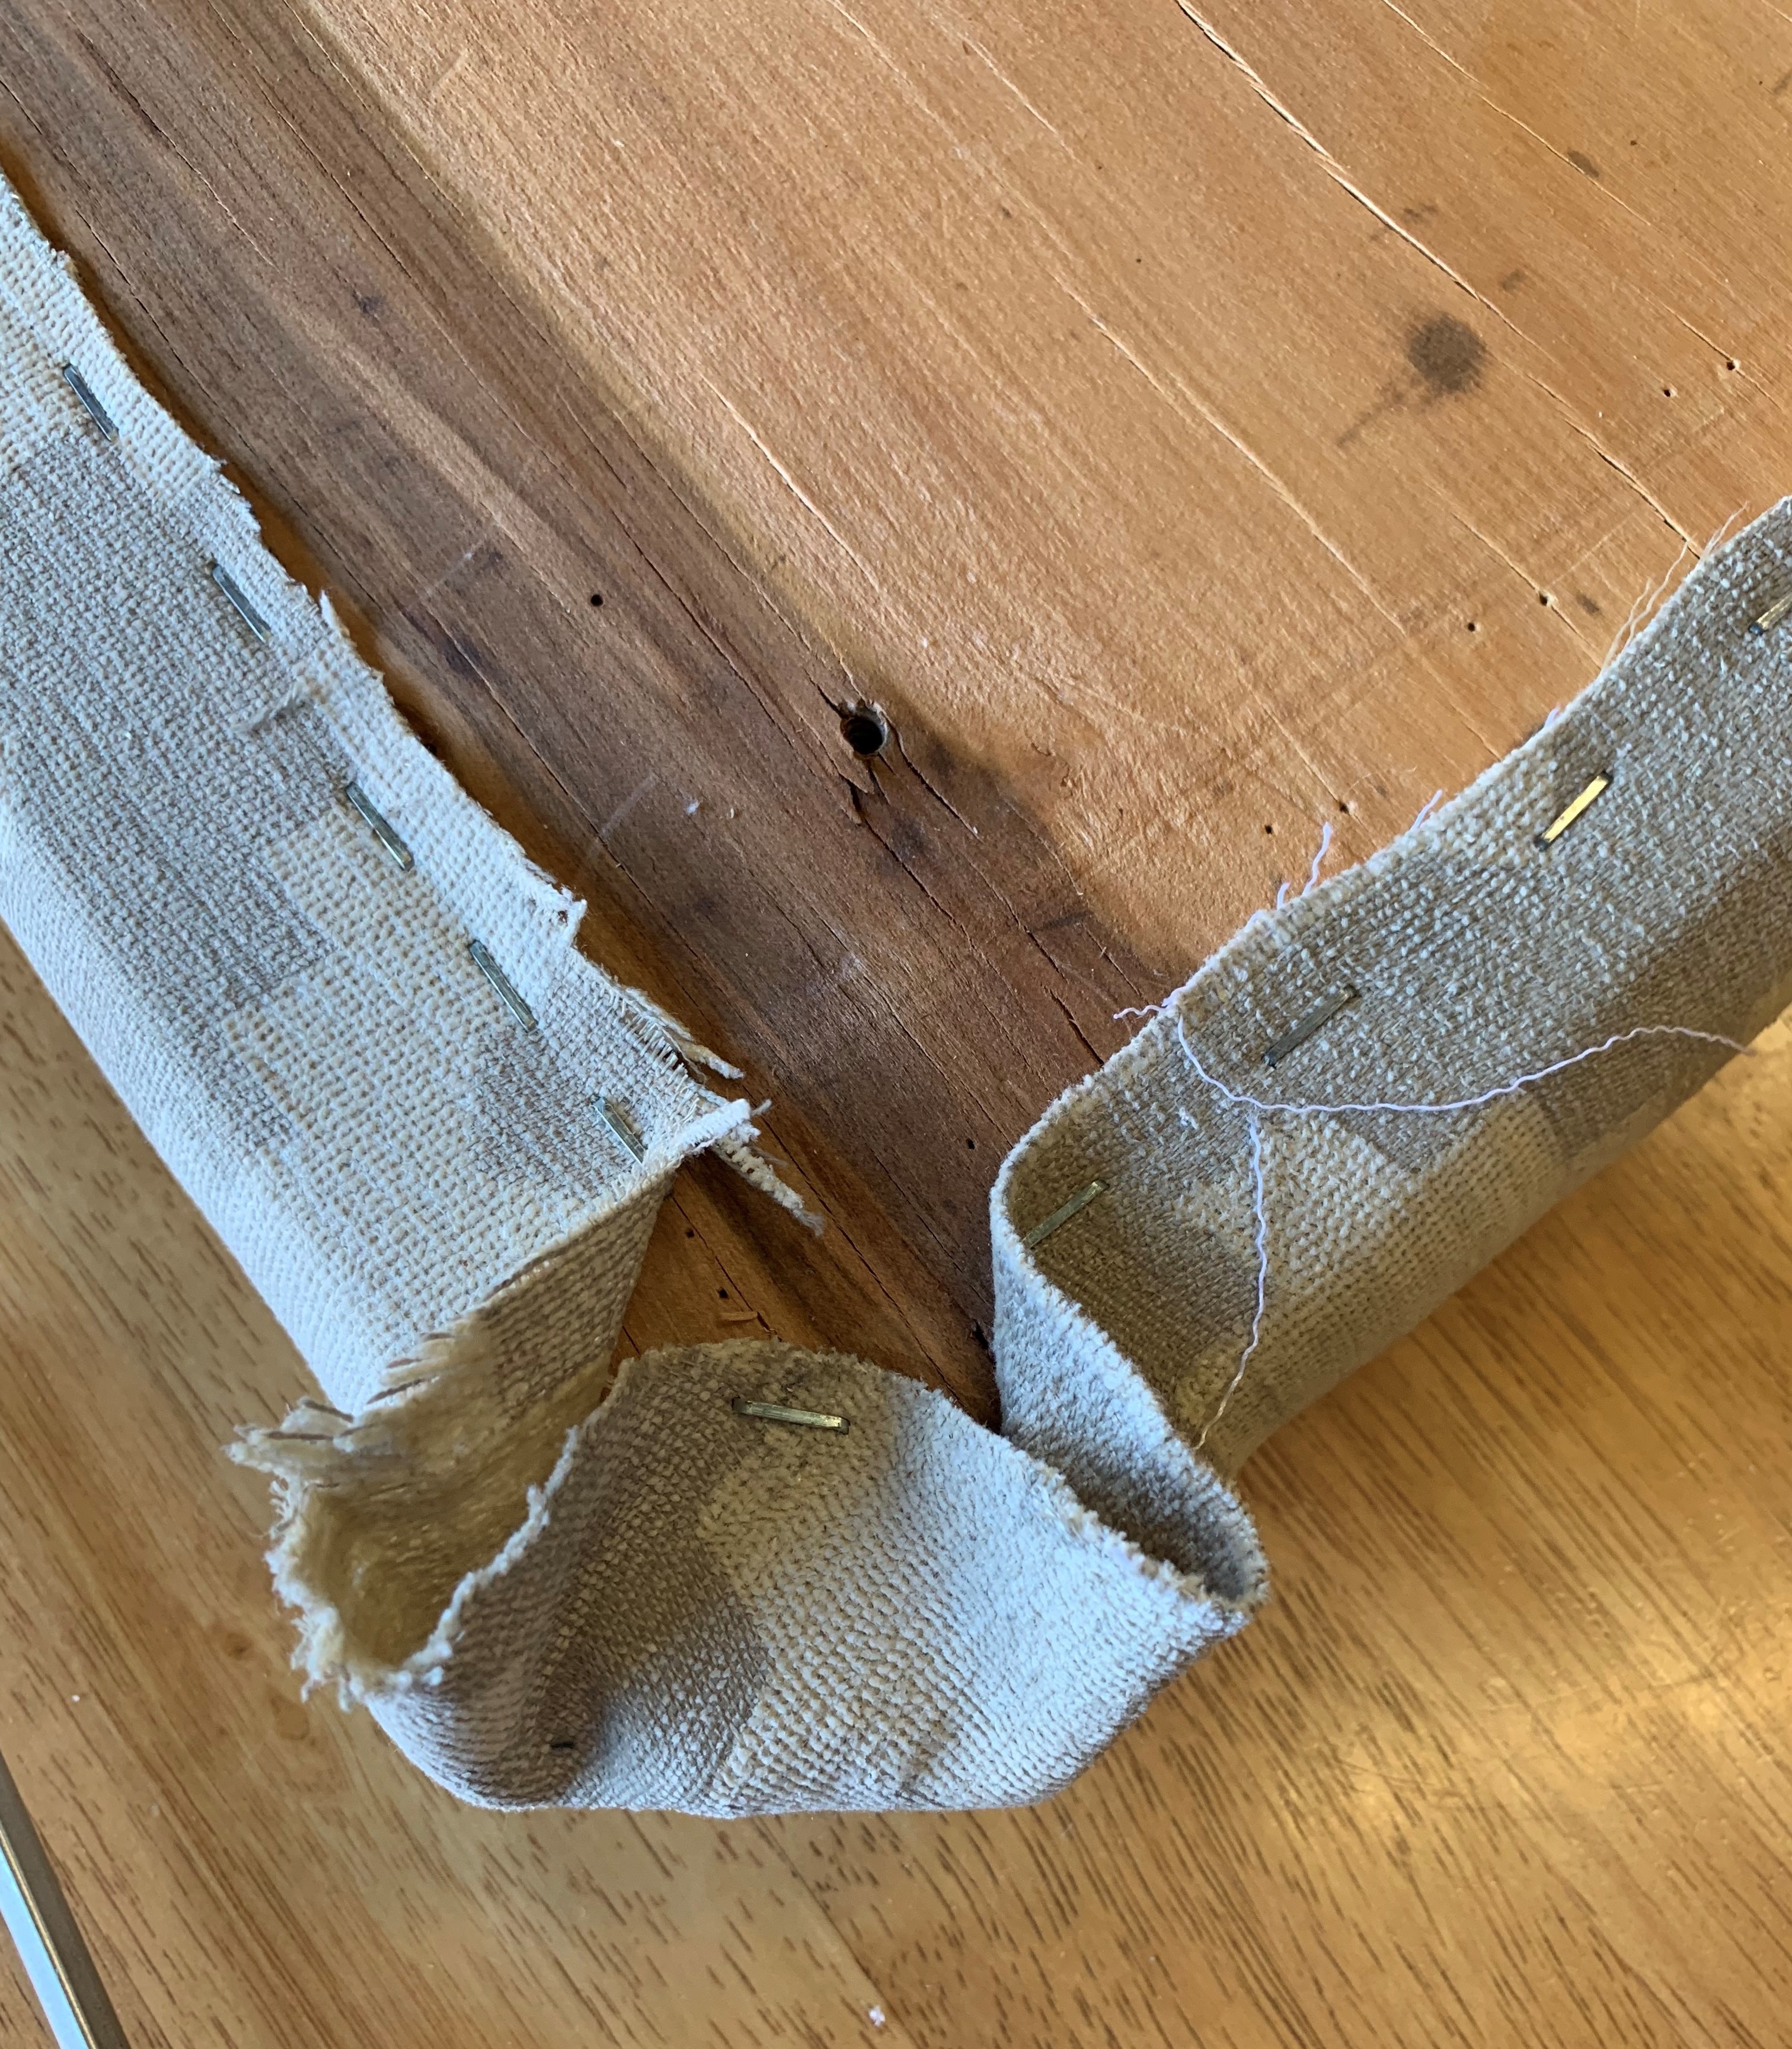
Pull the center of corner in and staple.
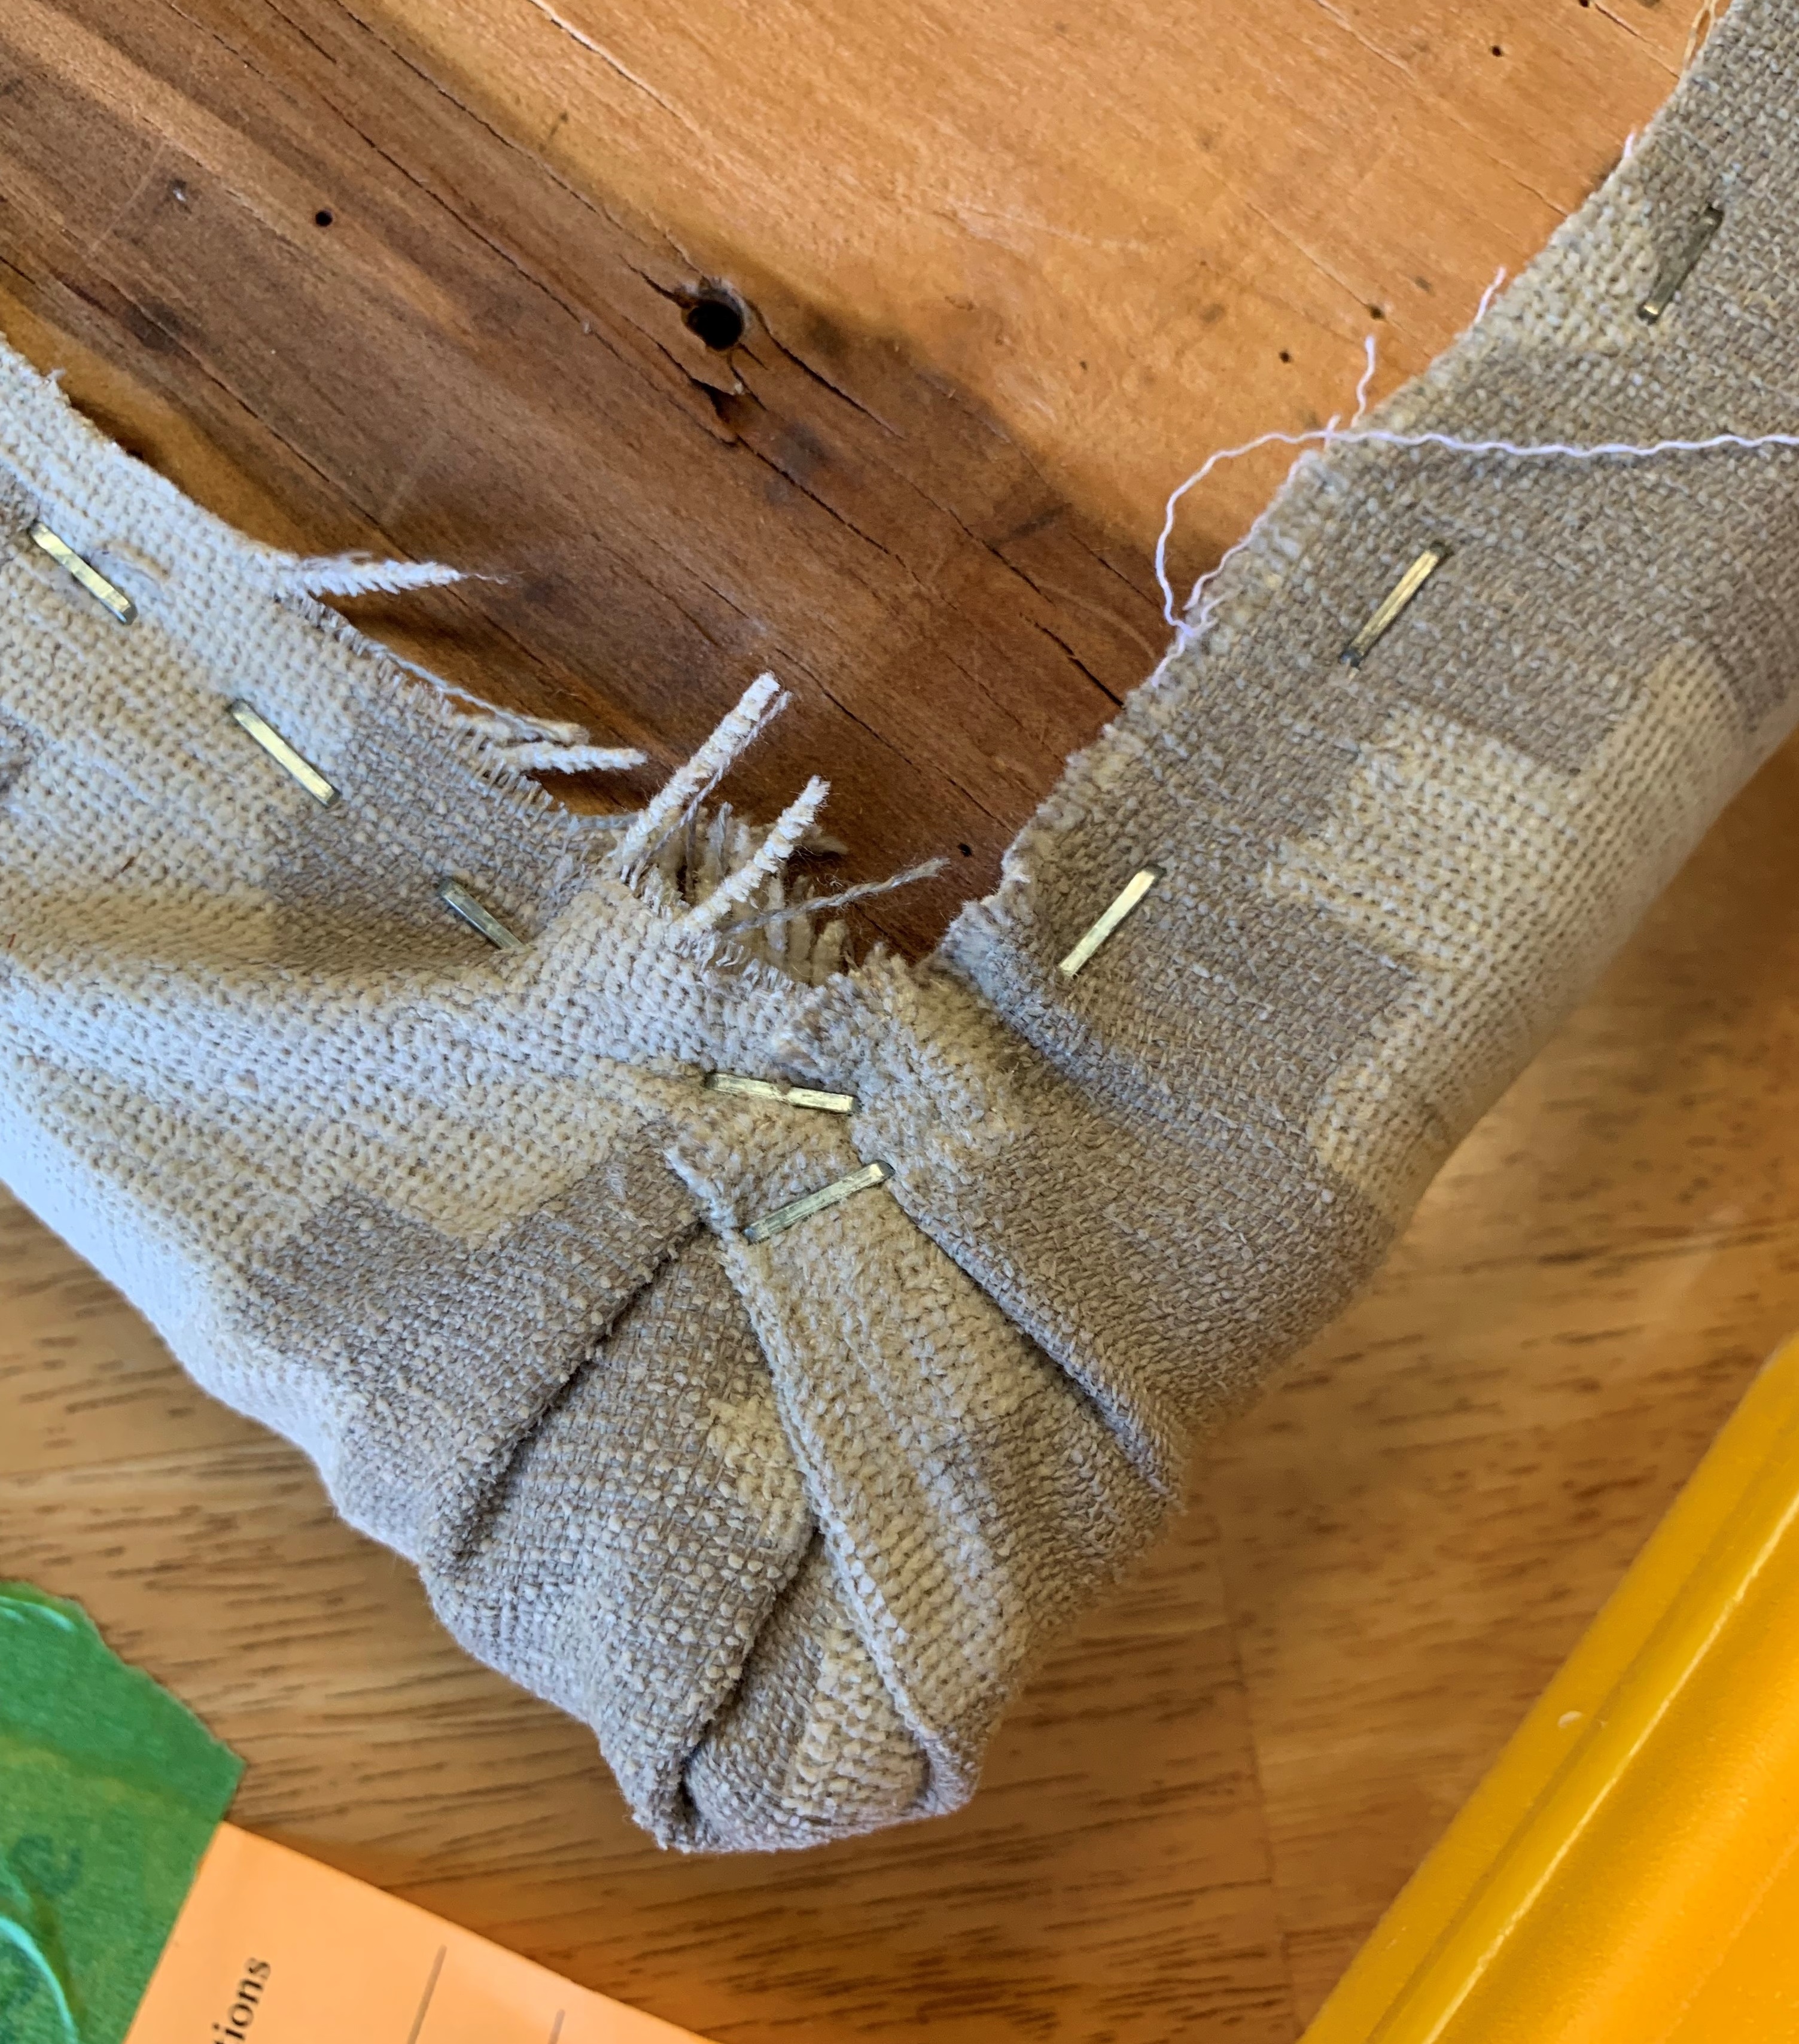
Make four pleats. Then pulling and smoothing the fabric, staple in place. Finish all four corners.
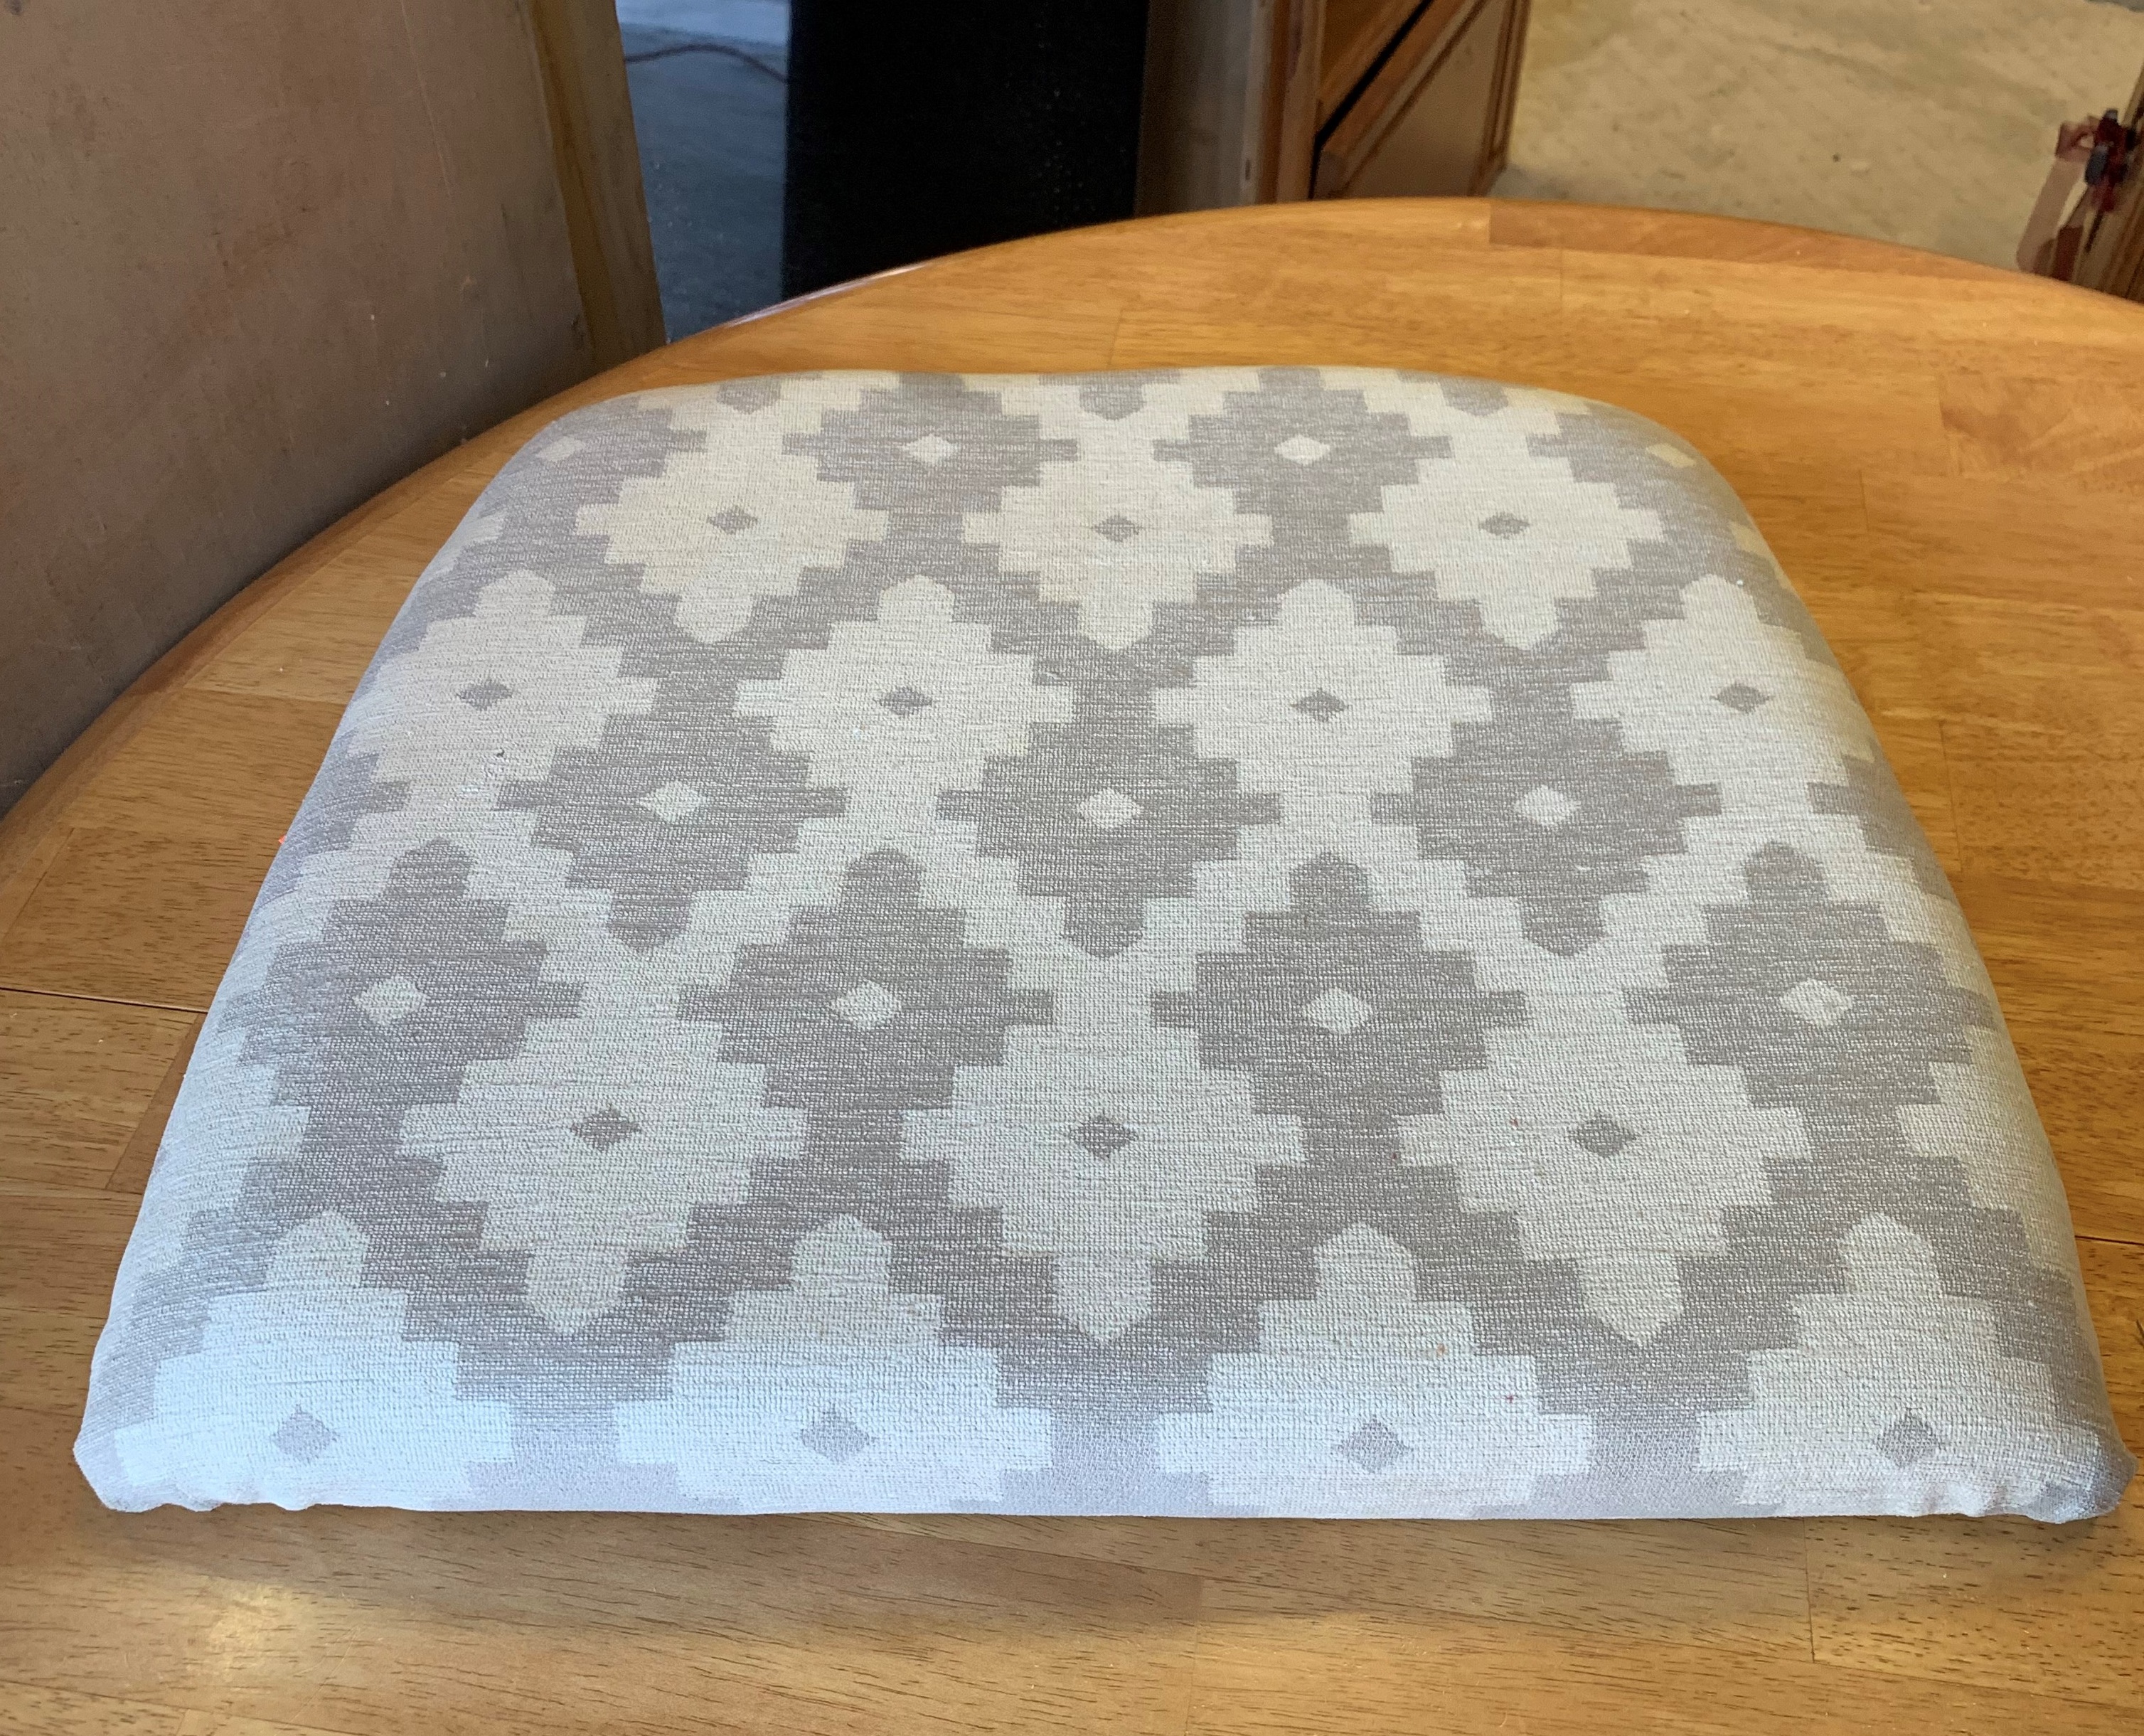
Here is a completed cushion.
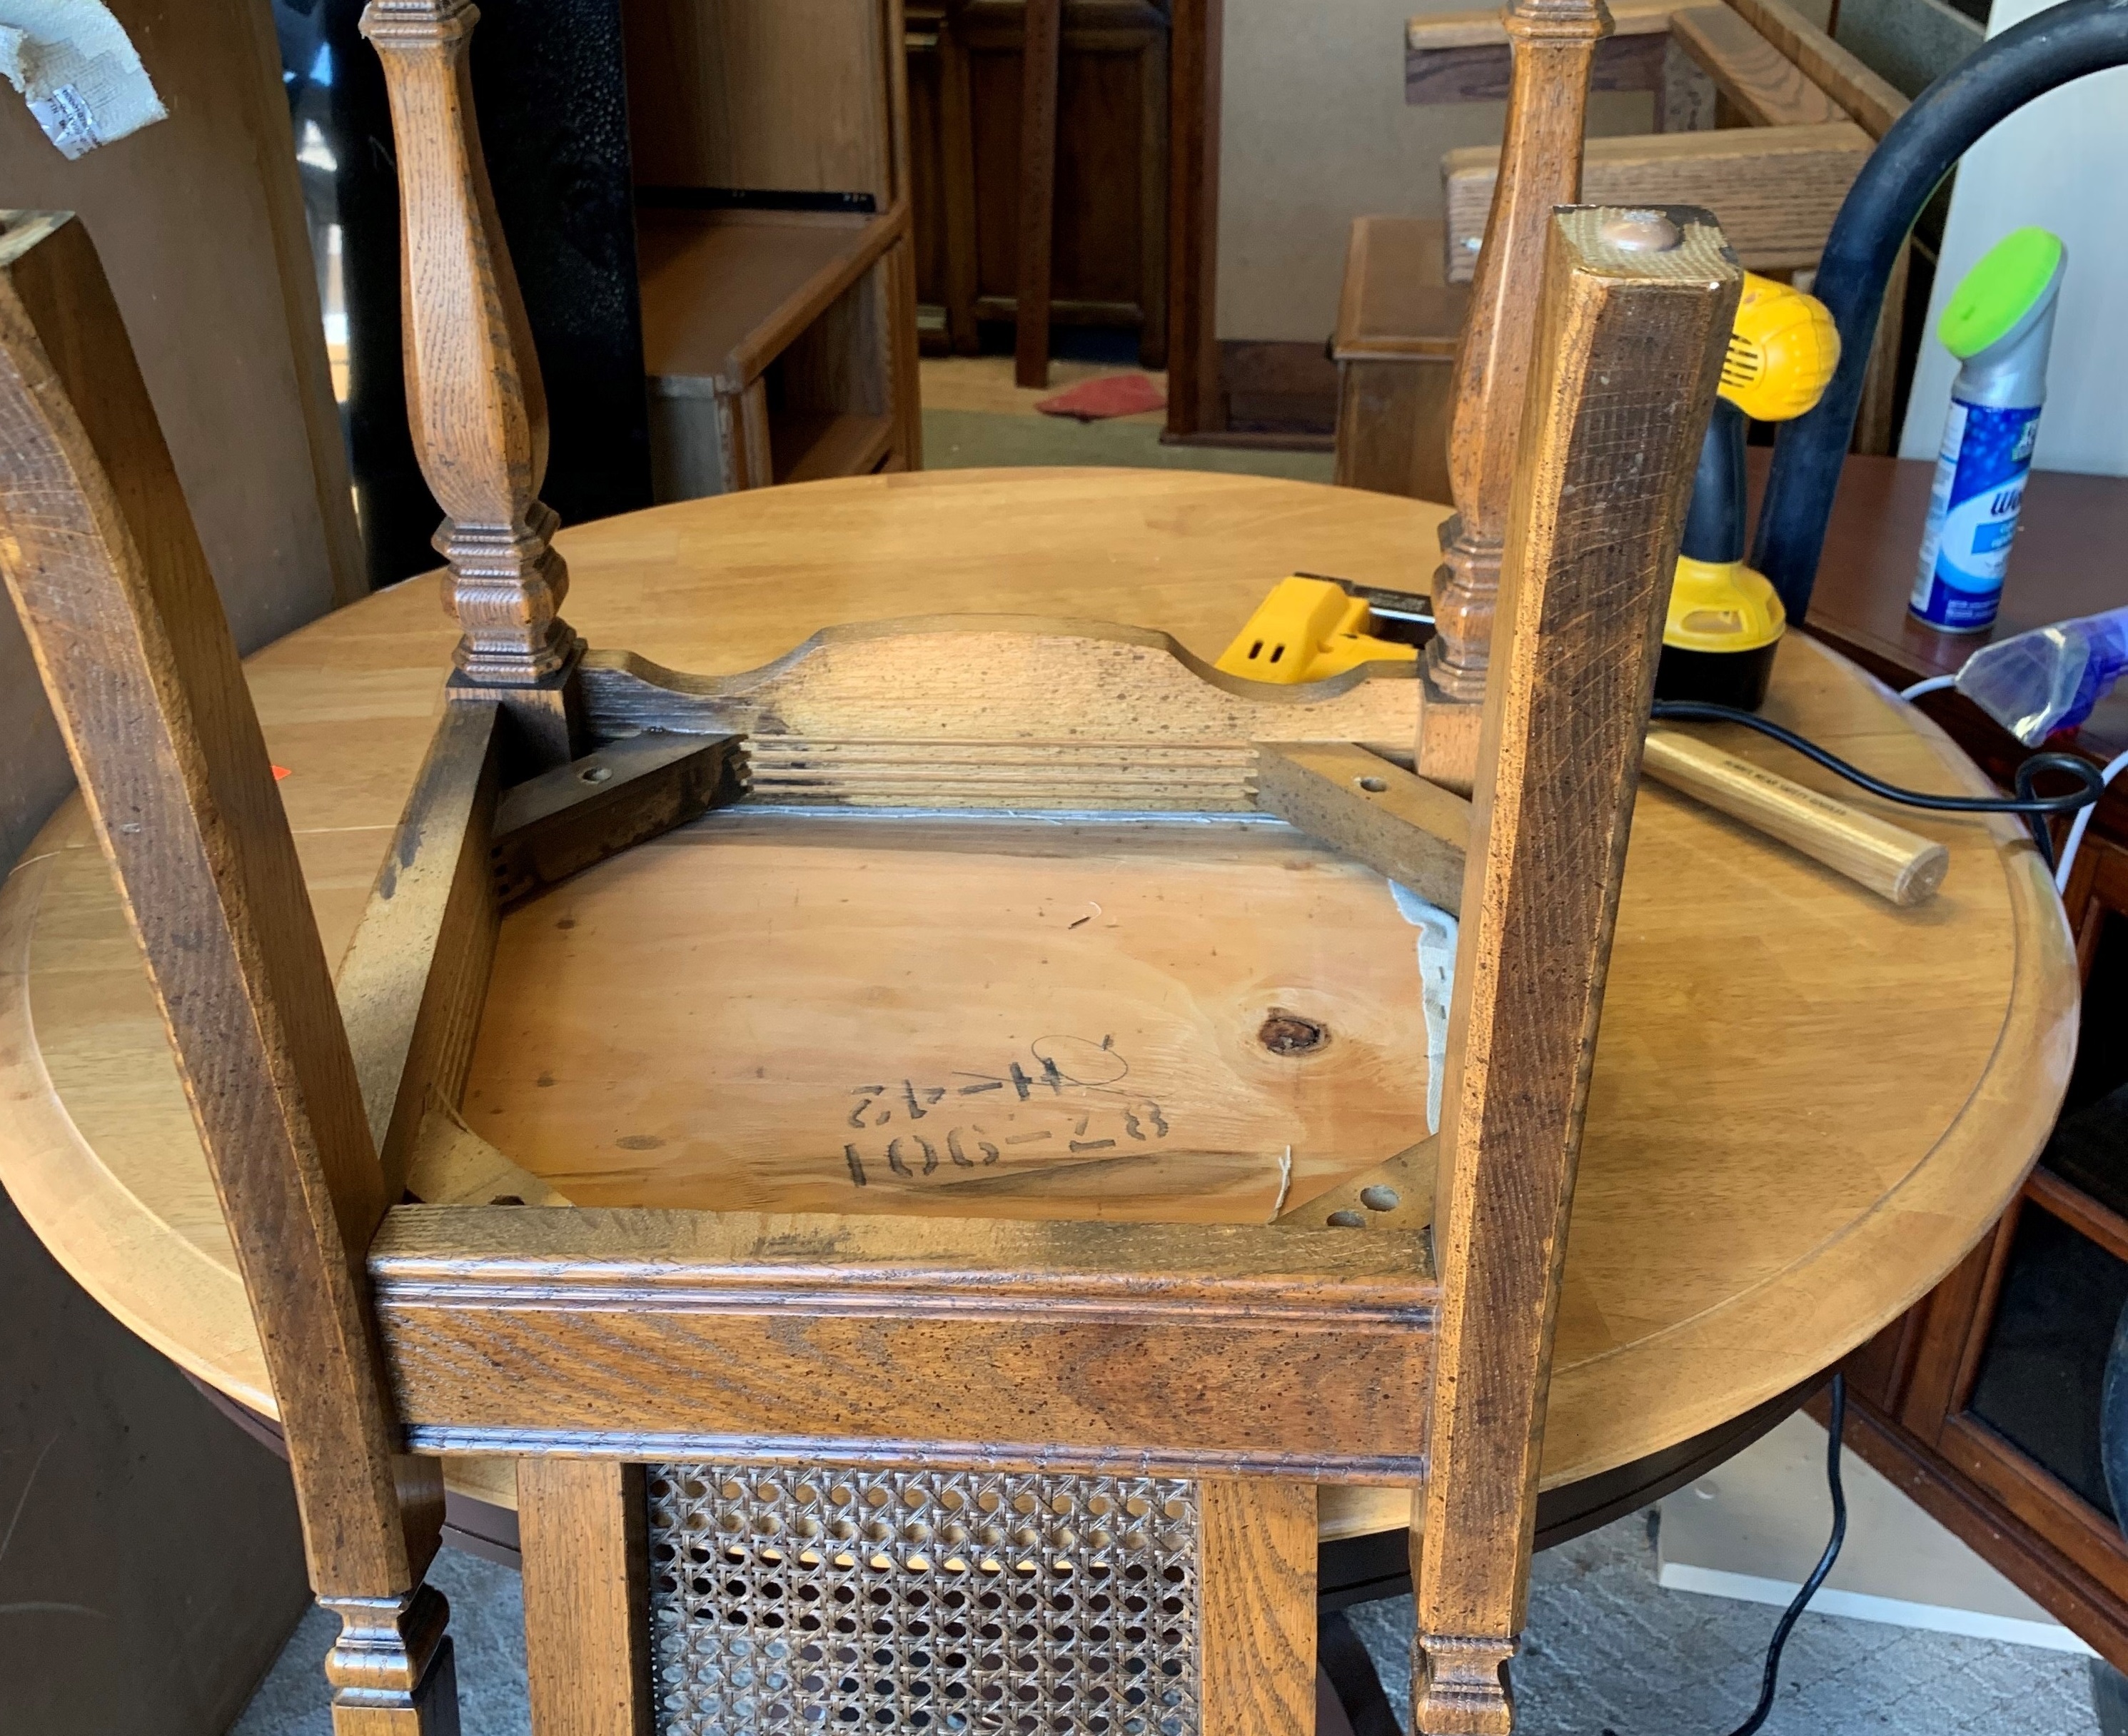
Turn chair upside down and center over the recovered cushion. Then just screw the four corners of the seat back to the chair.
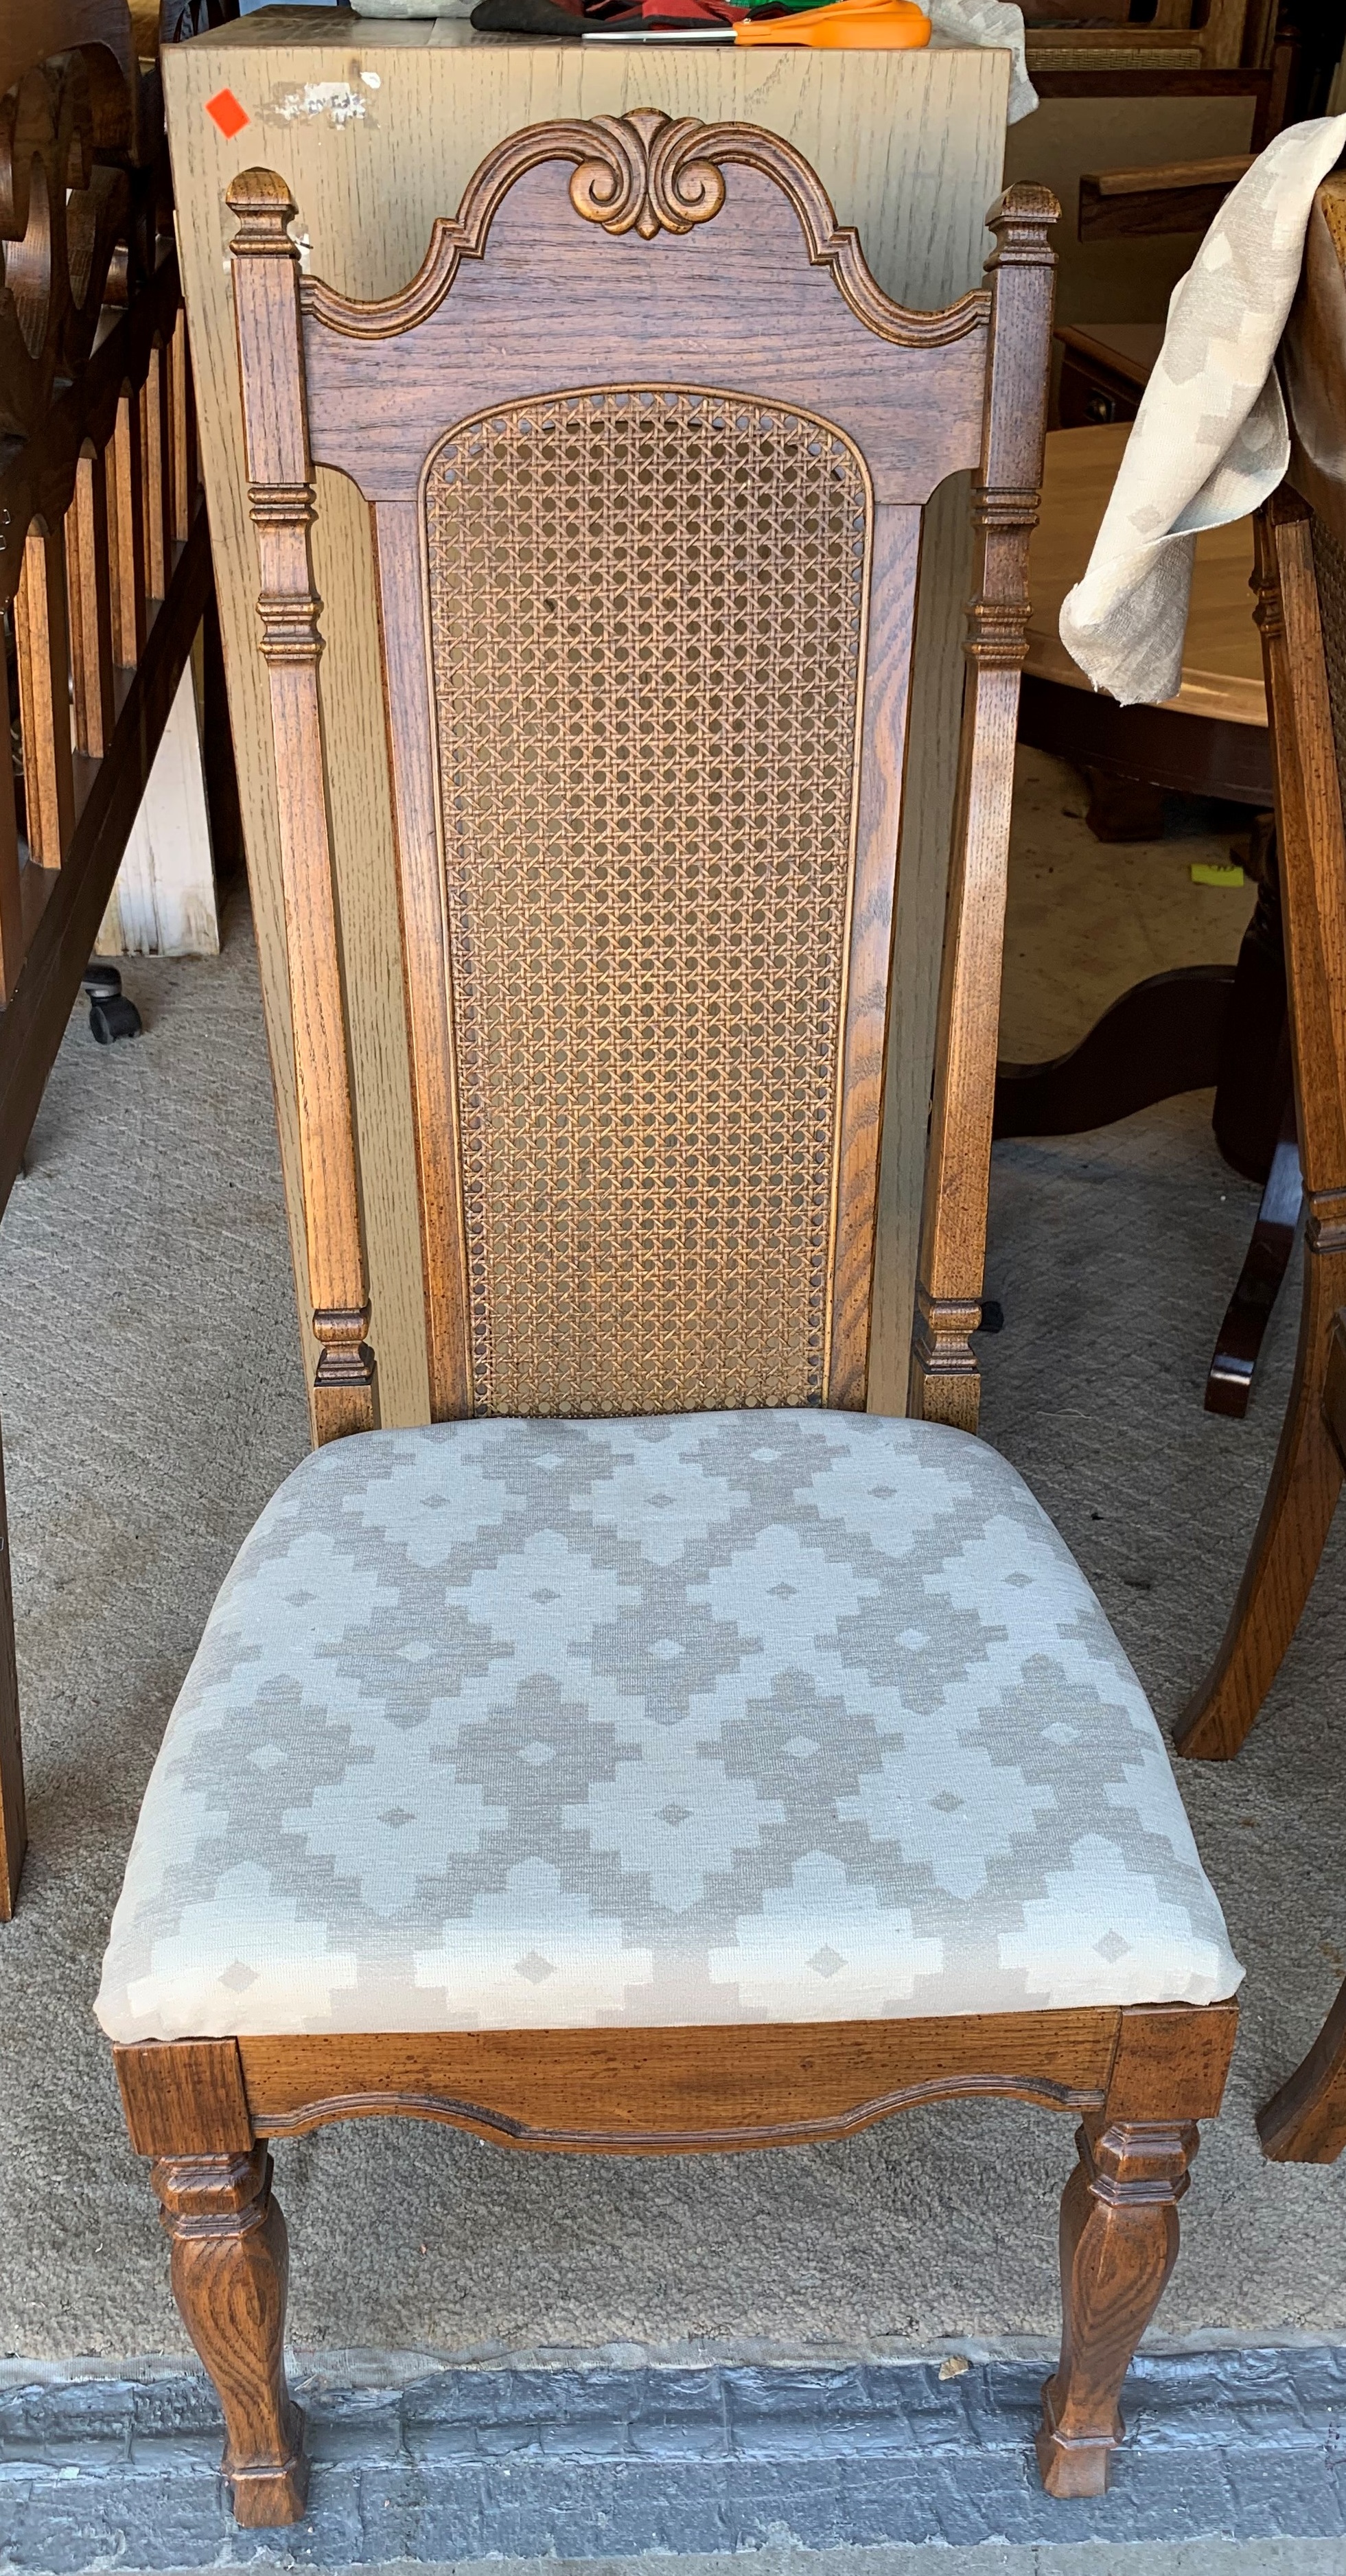
Your chair is complete, you are ready to move on to the next one!
