Habitat for Humanity
Stripped Screw Repair

Rae, Blogger, Fort Collins, CO
23 July 2019
Got a wobble that won’t go away? Maybe it’s a stripped screw.
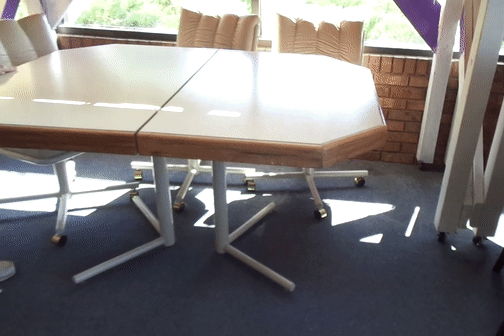
Often times an otherwise solid piece of furniture does not feel sturdy.? If you check the leg connections you will usually find that one or more of the screws in the piece have stripped out and left a hole. Don’t dispair, this is a relatively easy fix and very satisfying to complete.
“The physical act of gluing something together was really formative for me.” Miranda July
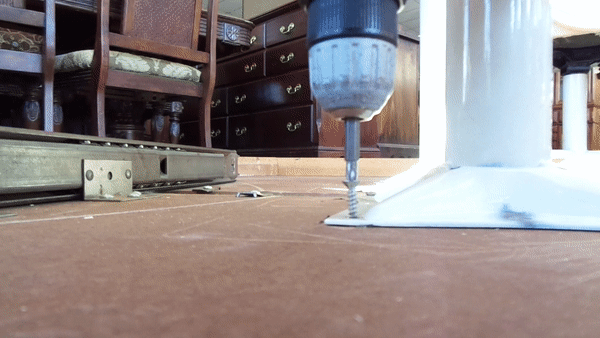
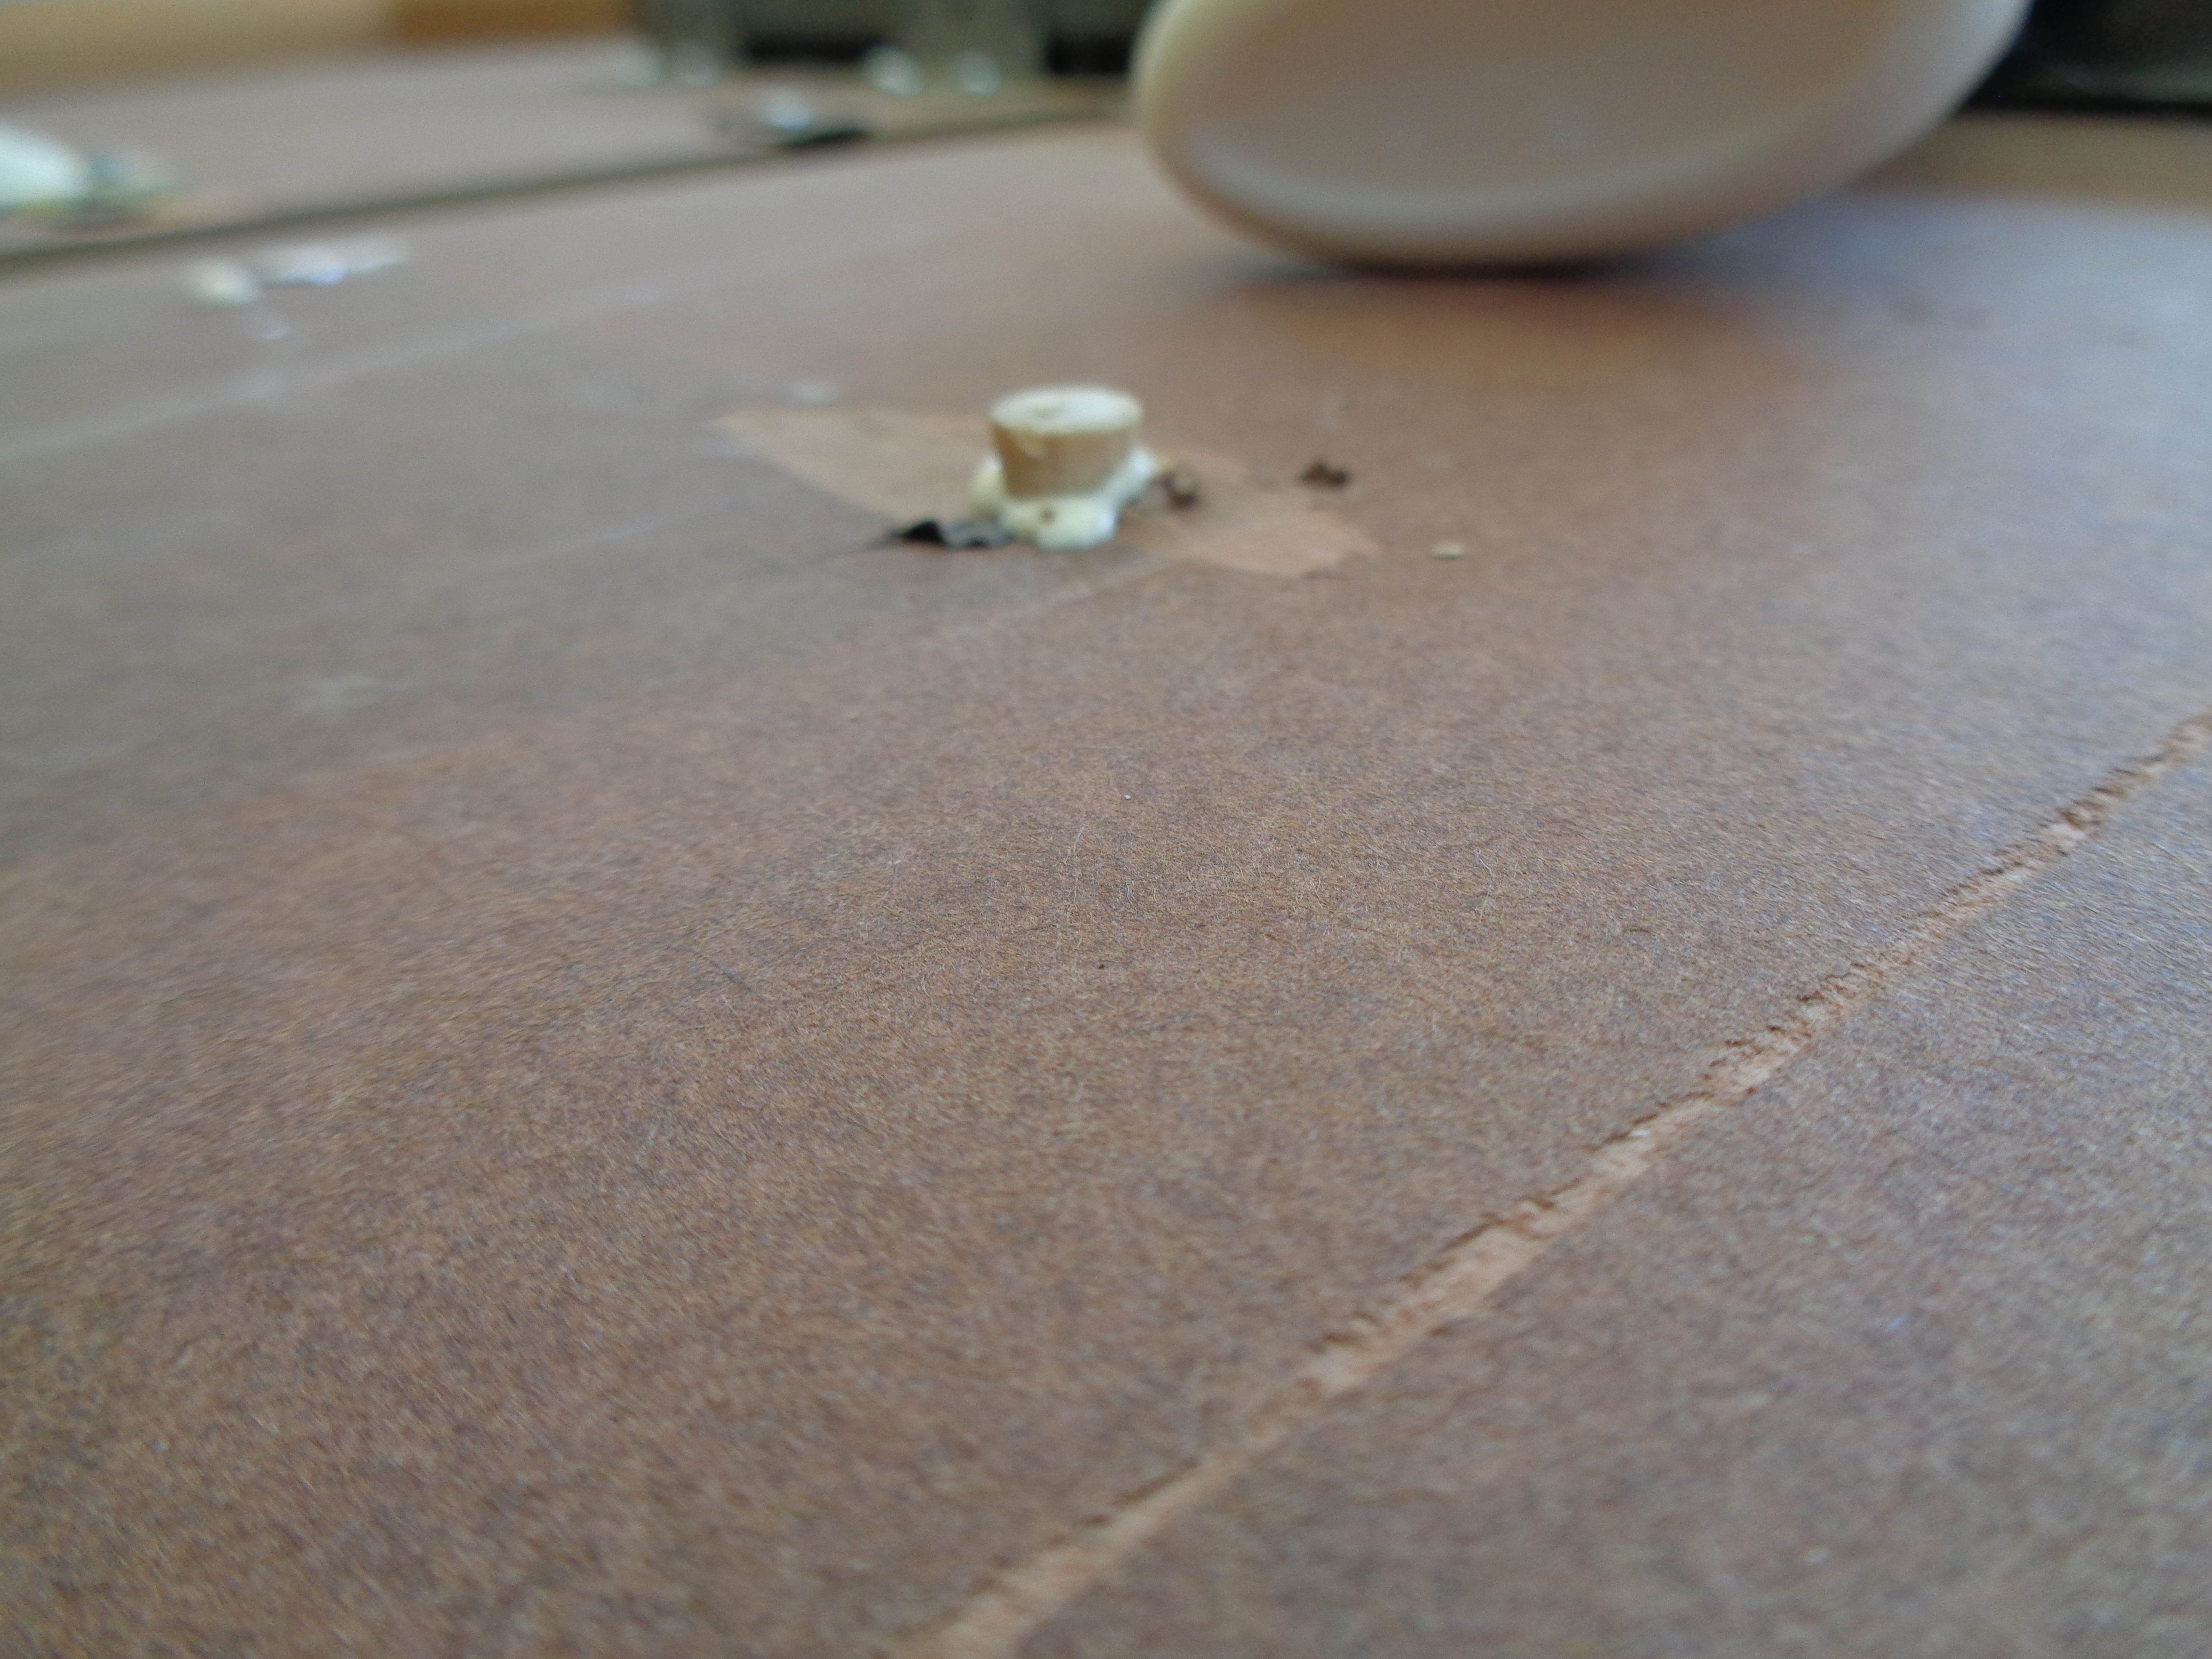
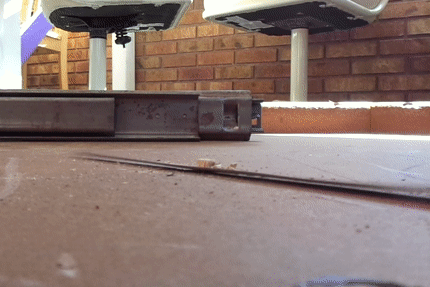
Once you ascertain that a stripped screw is the problem, position the piece so that you can easily access it.? Usually, that will mean turning the piece on its top.
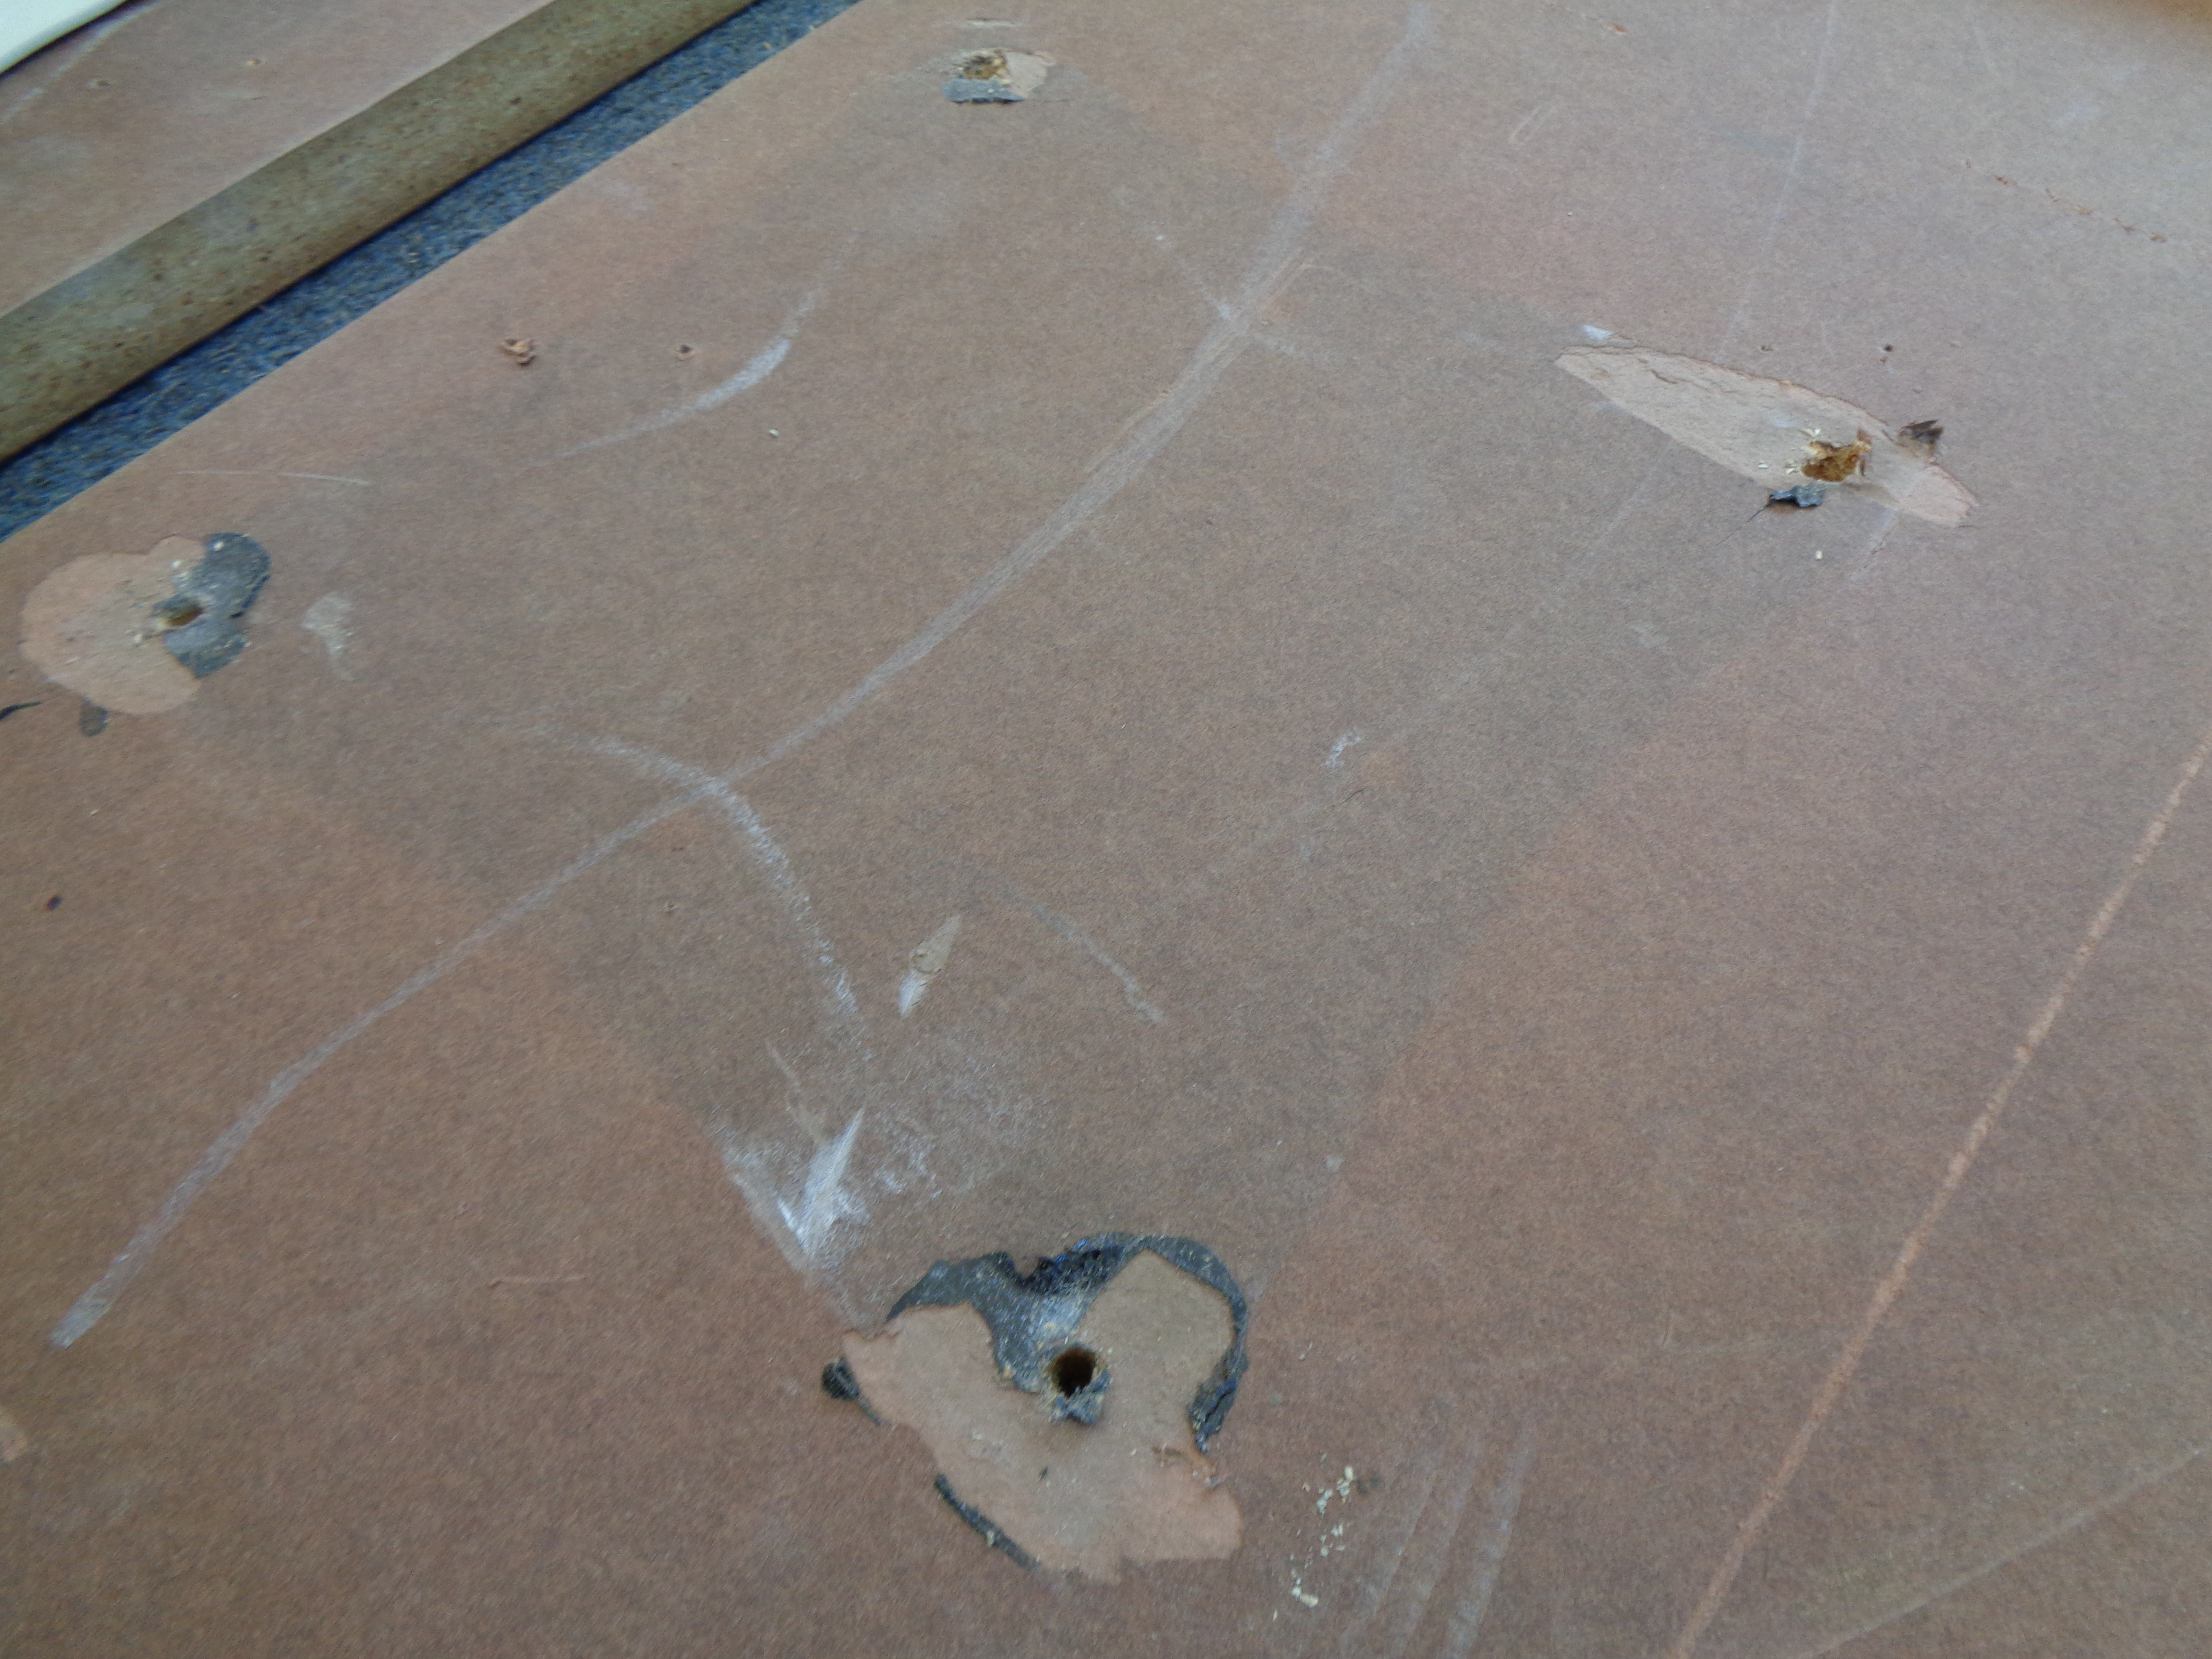
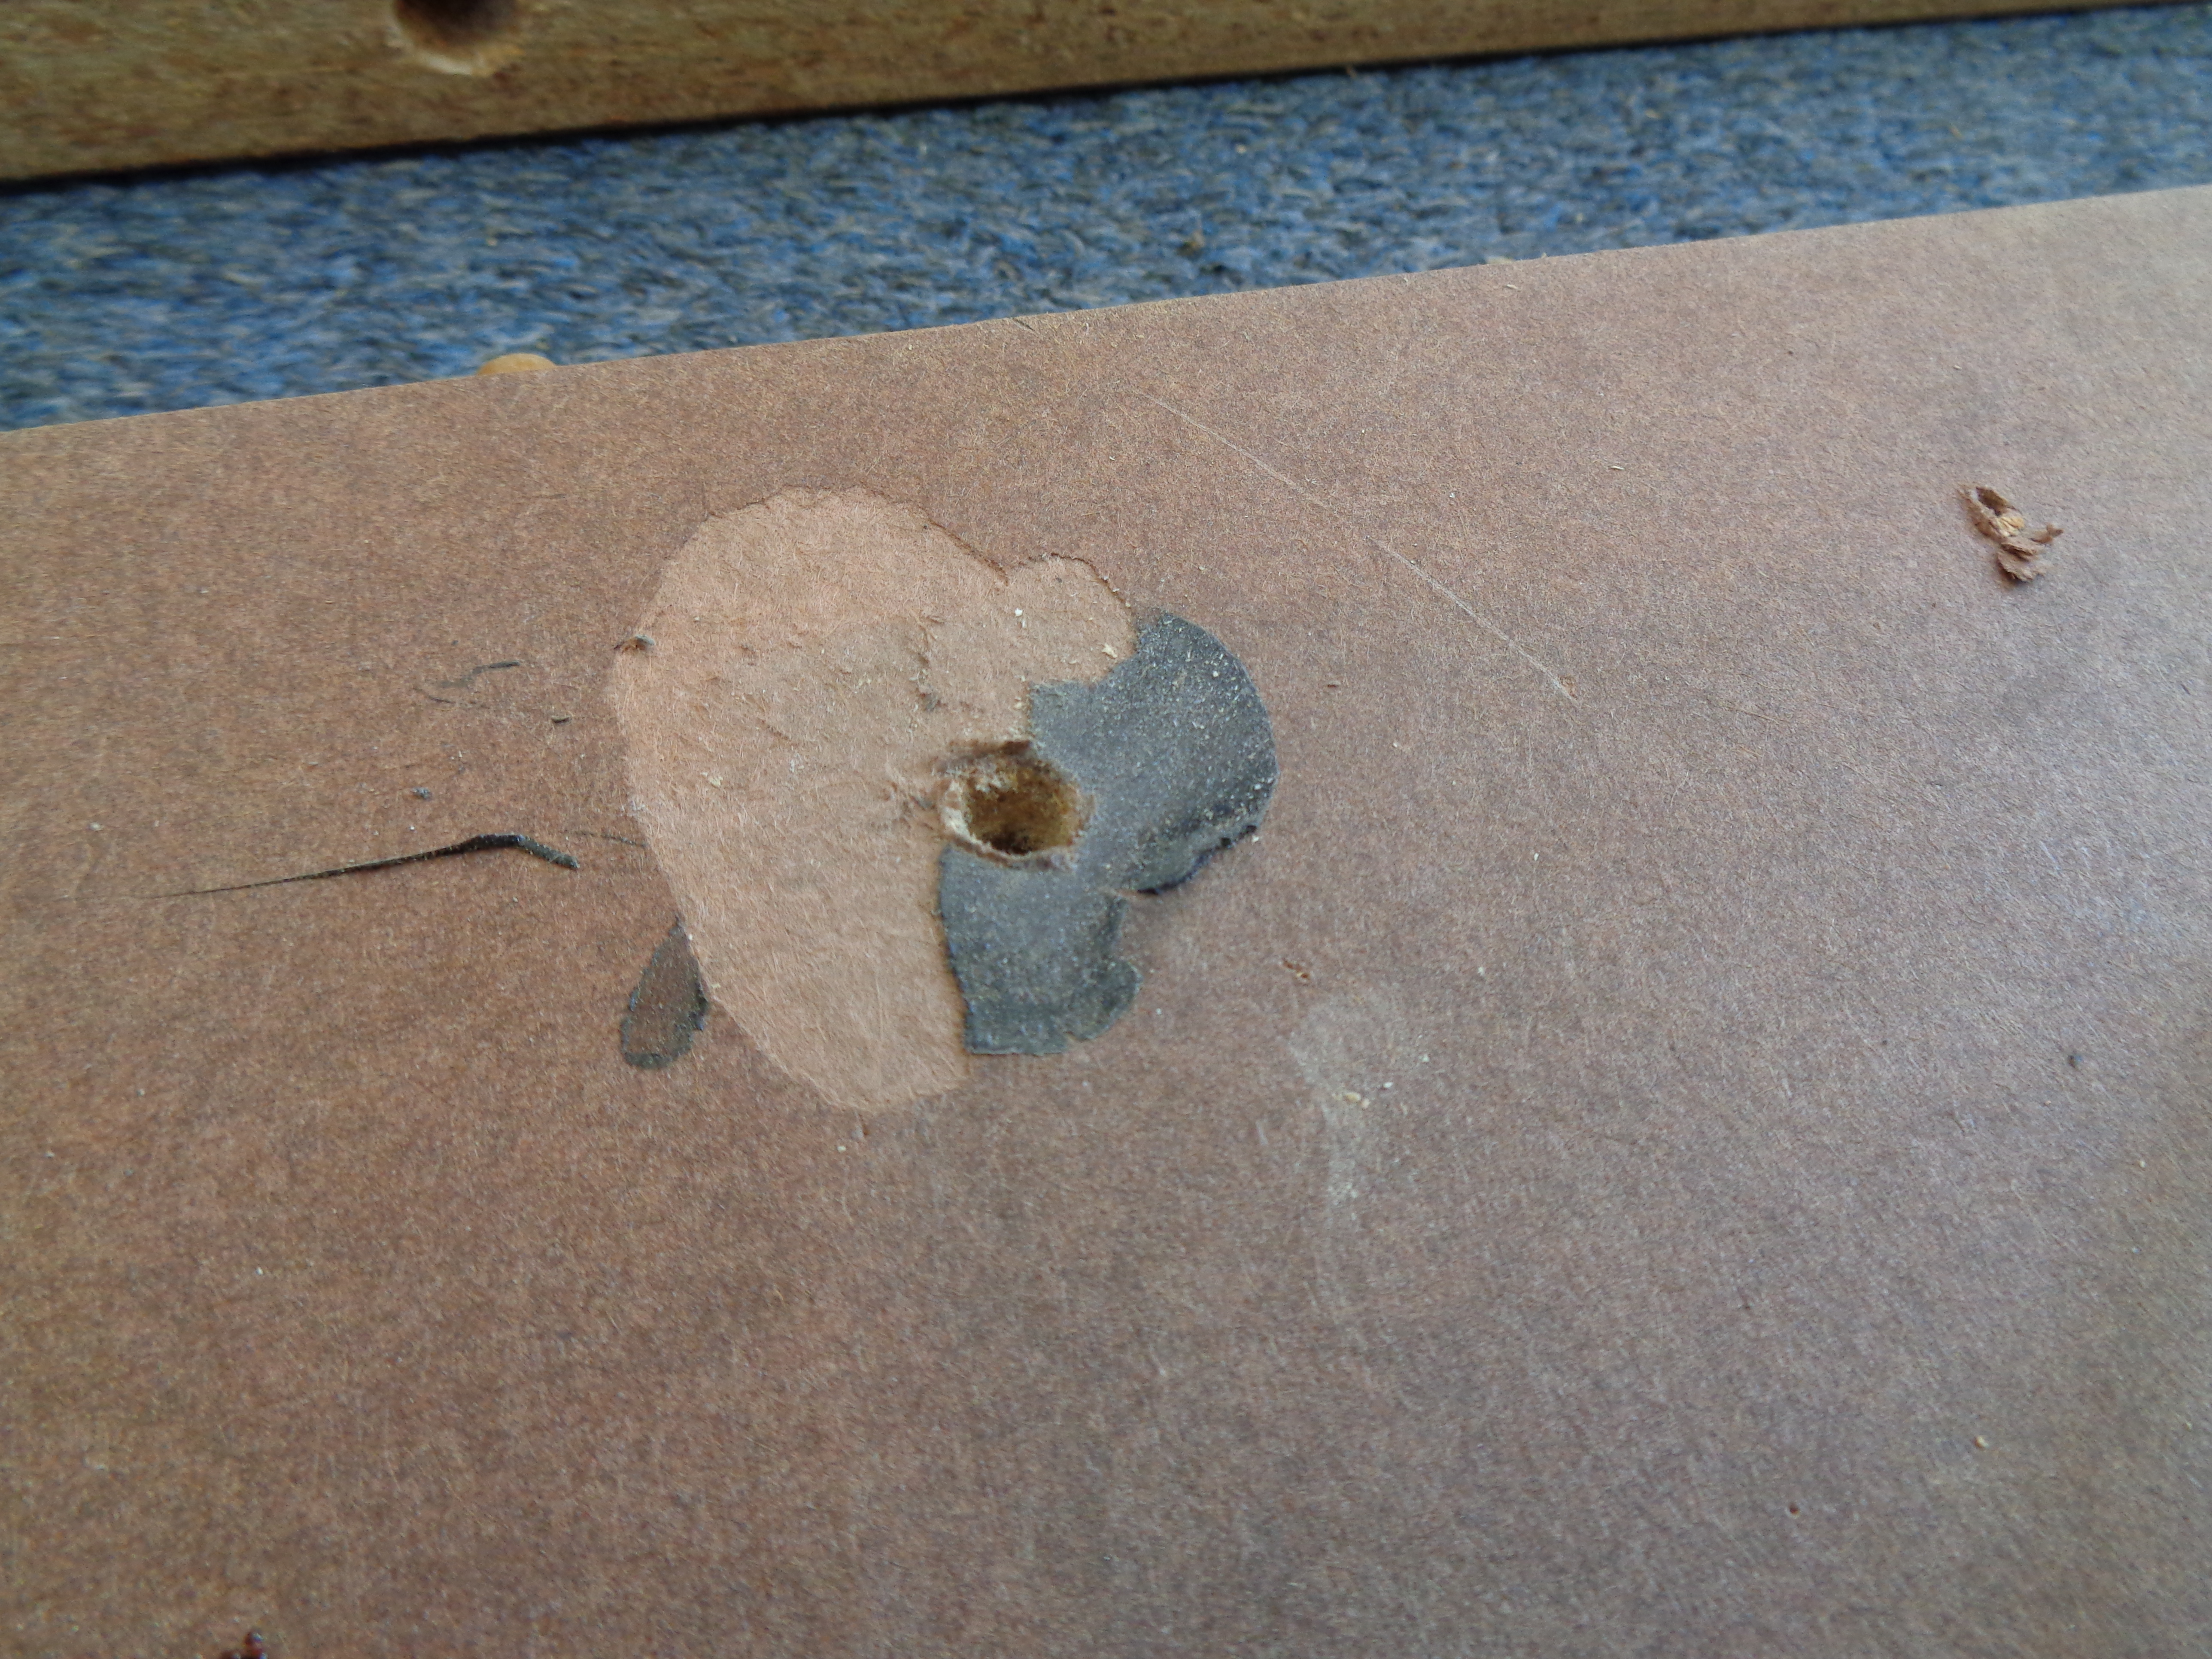
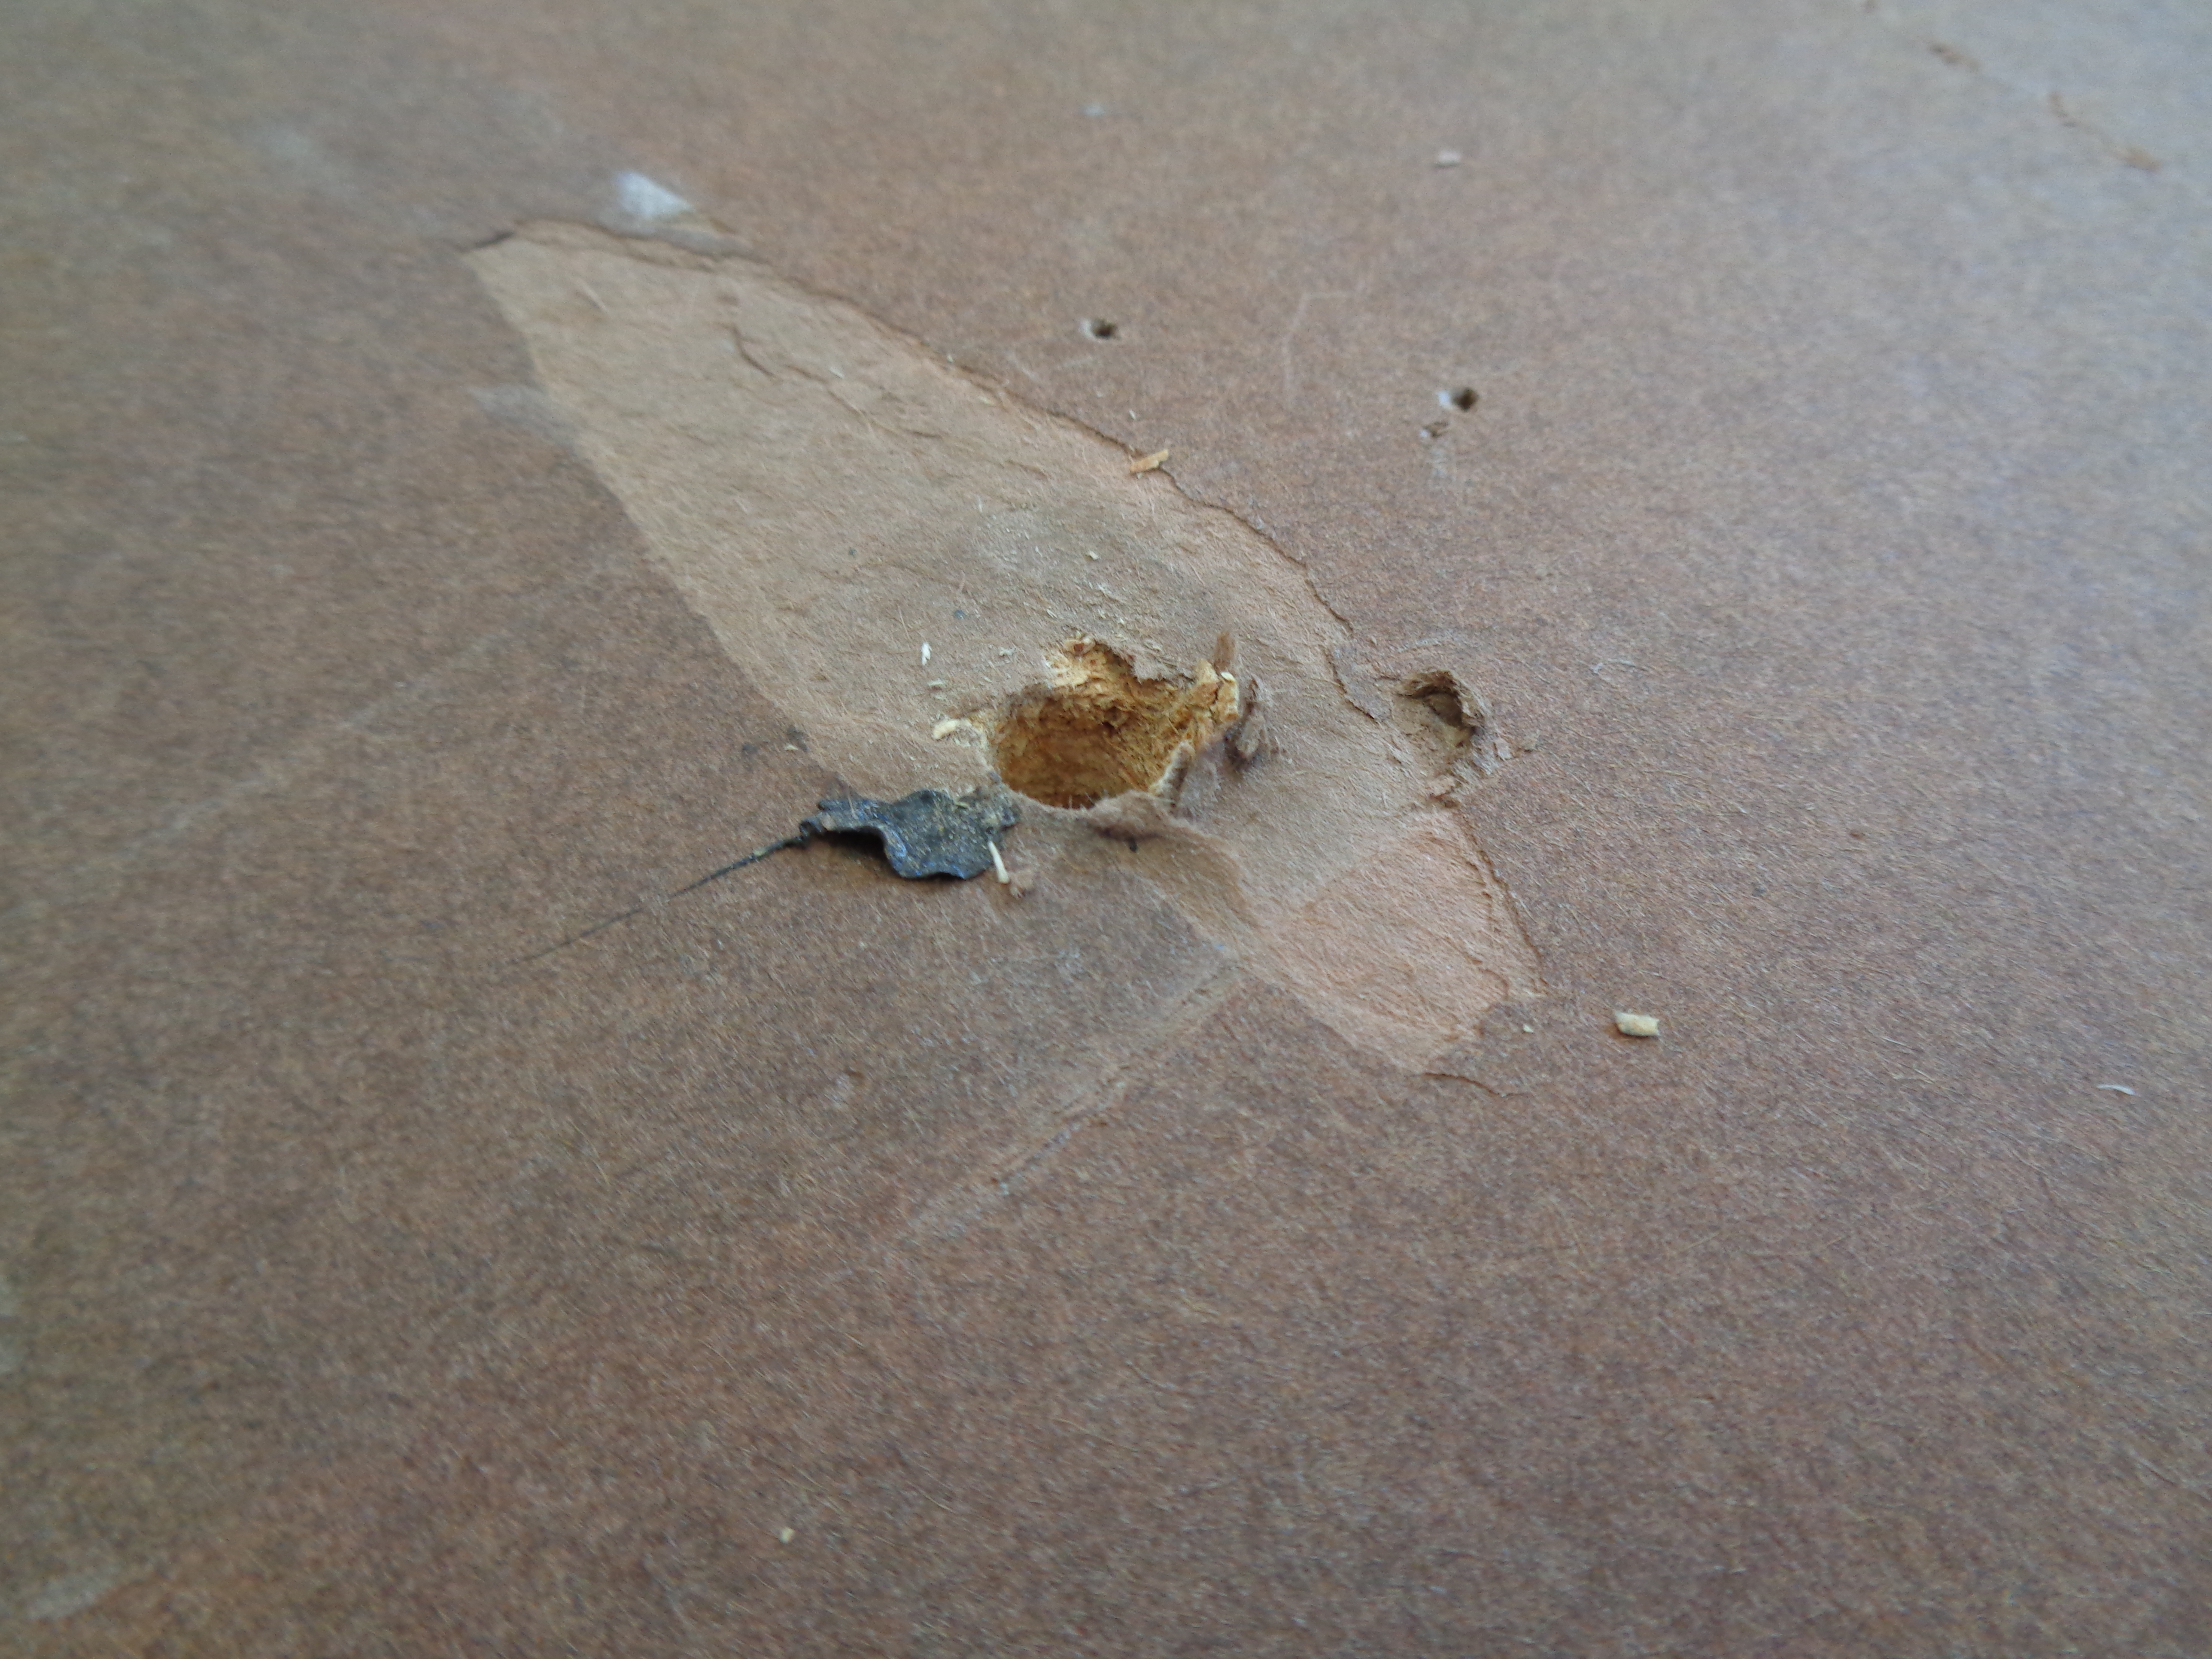
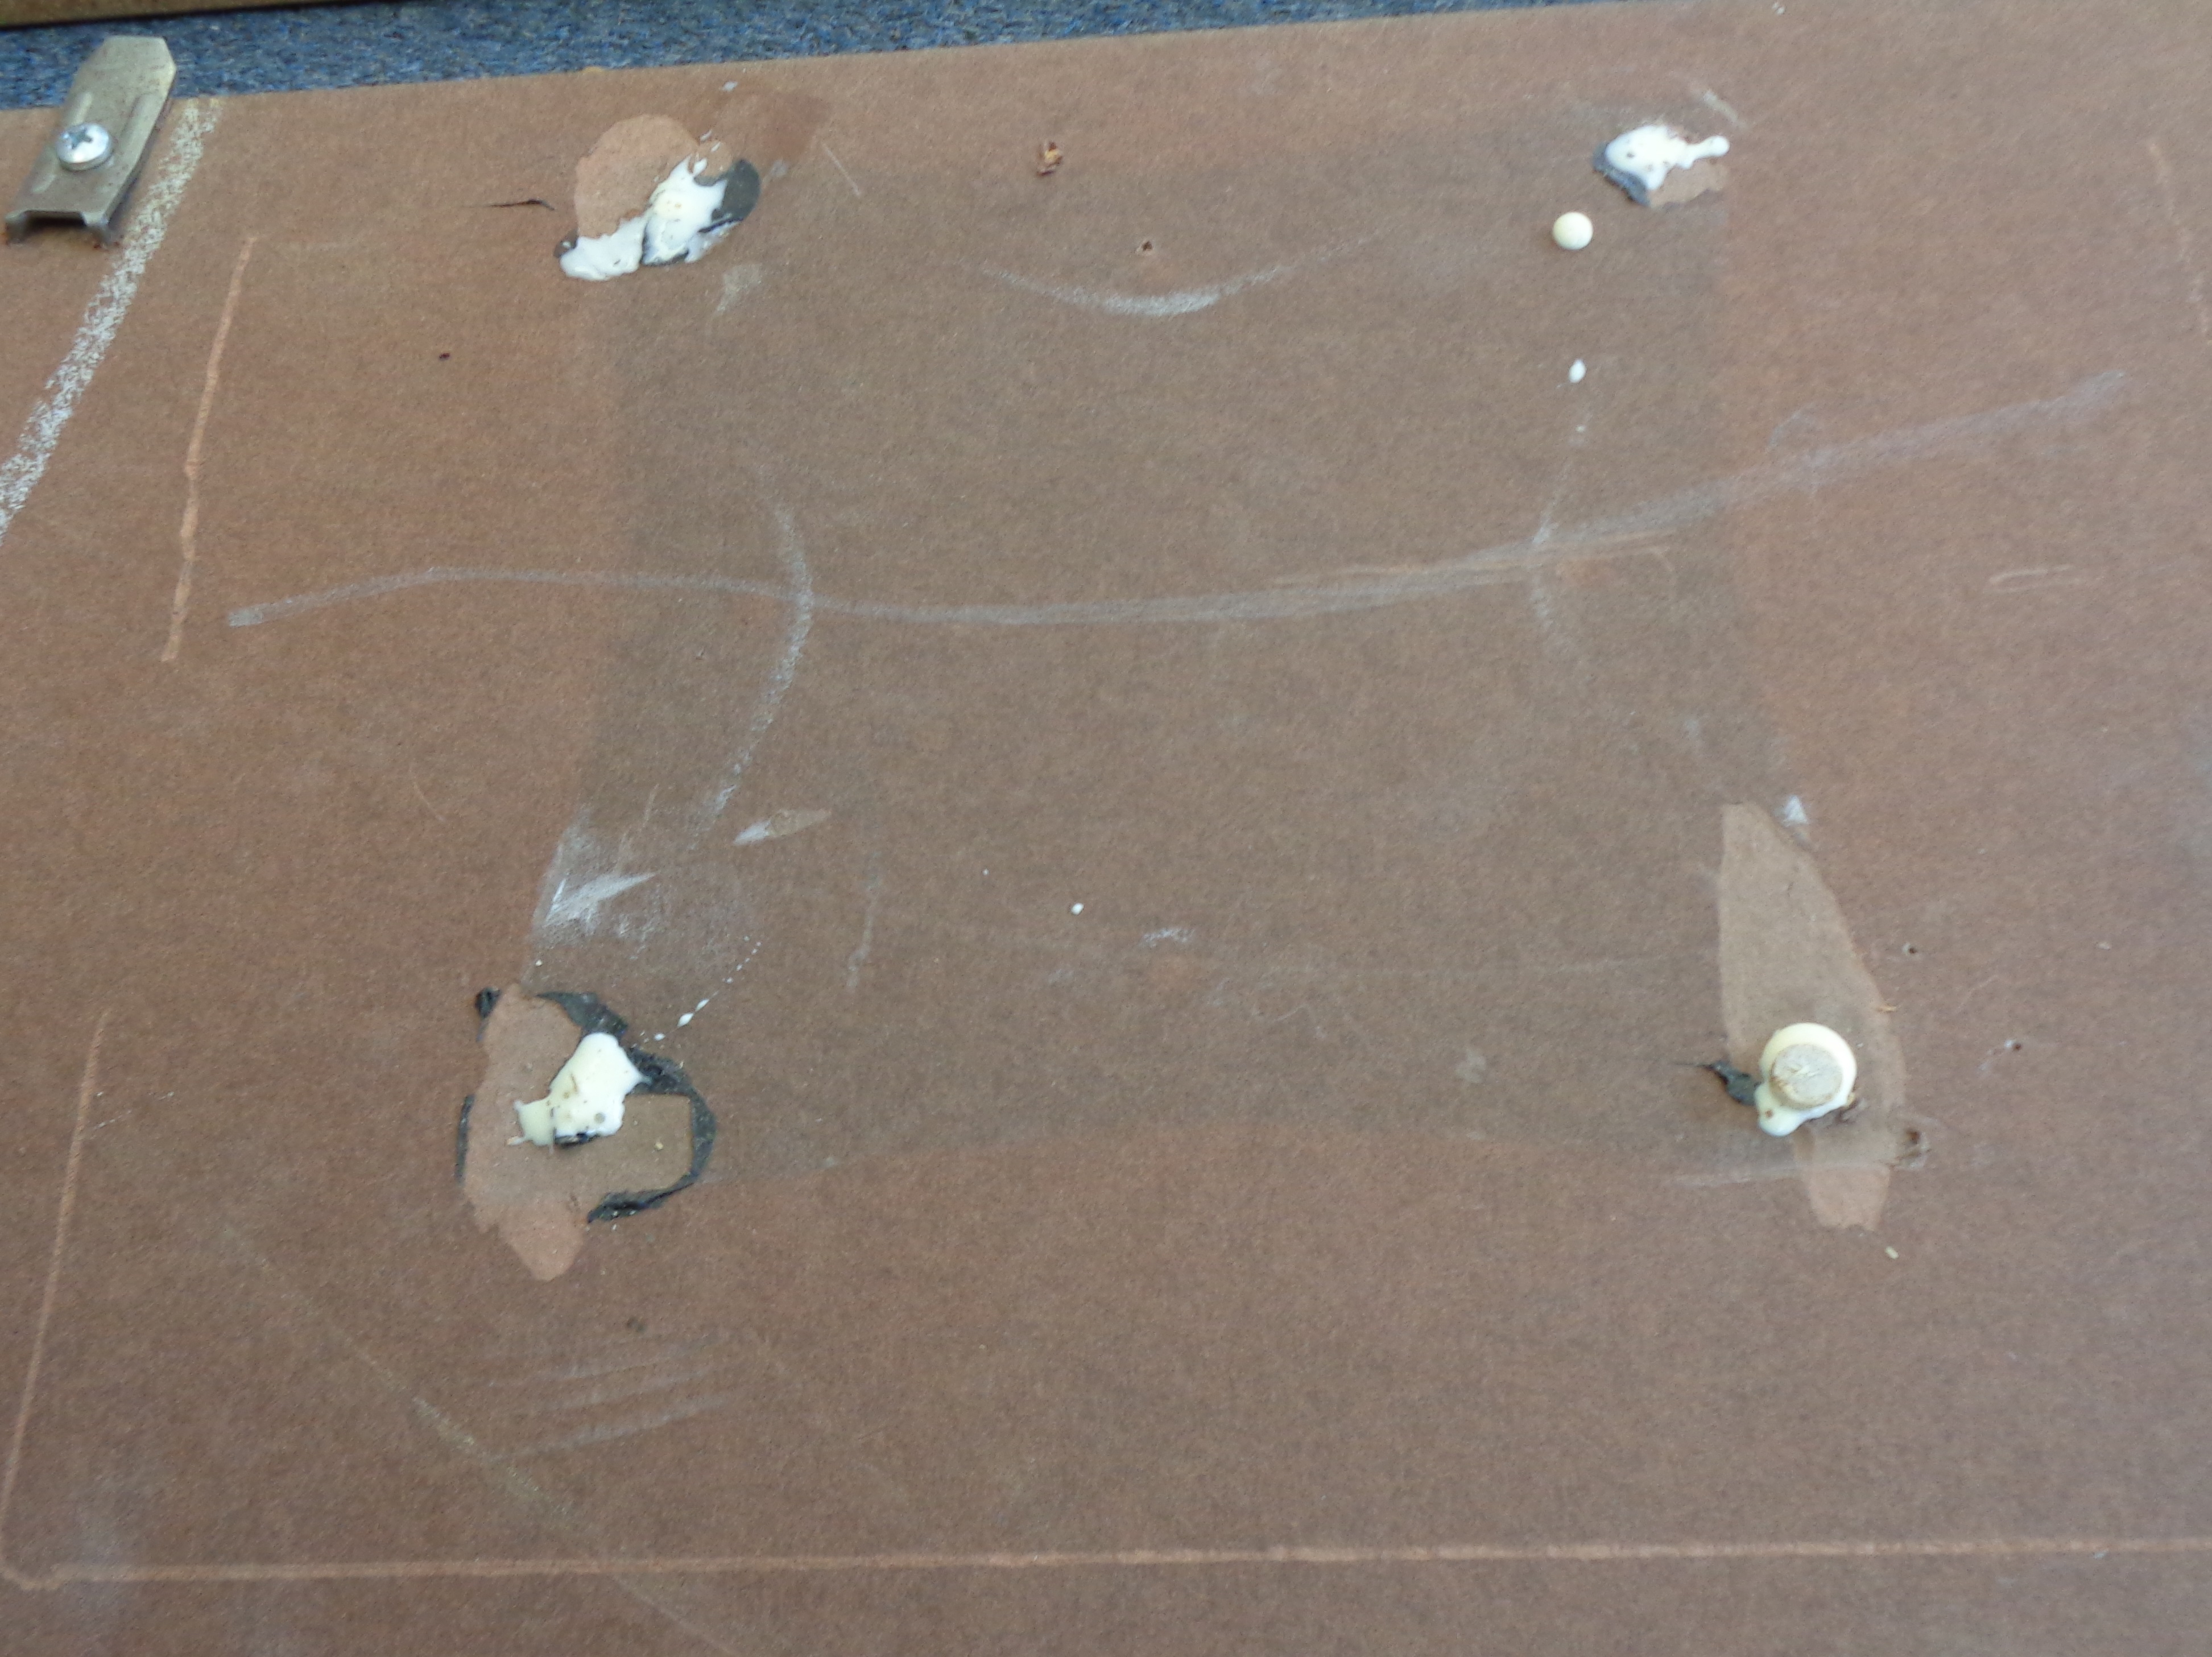
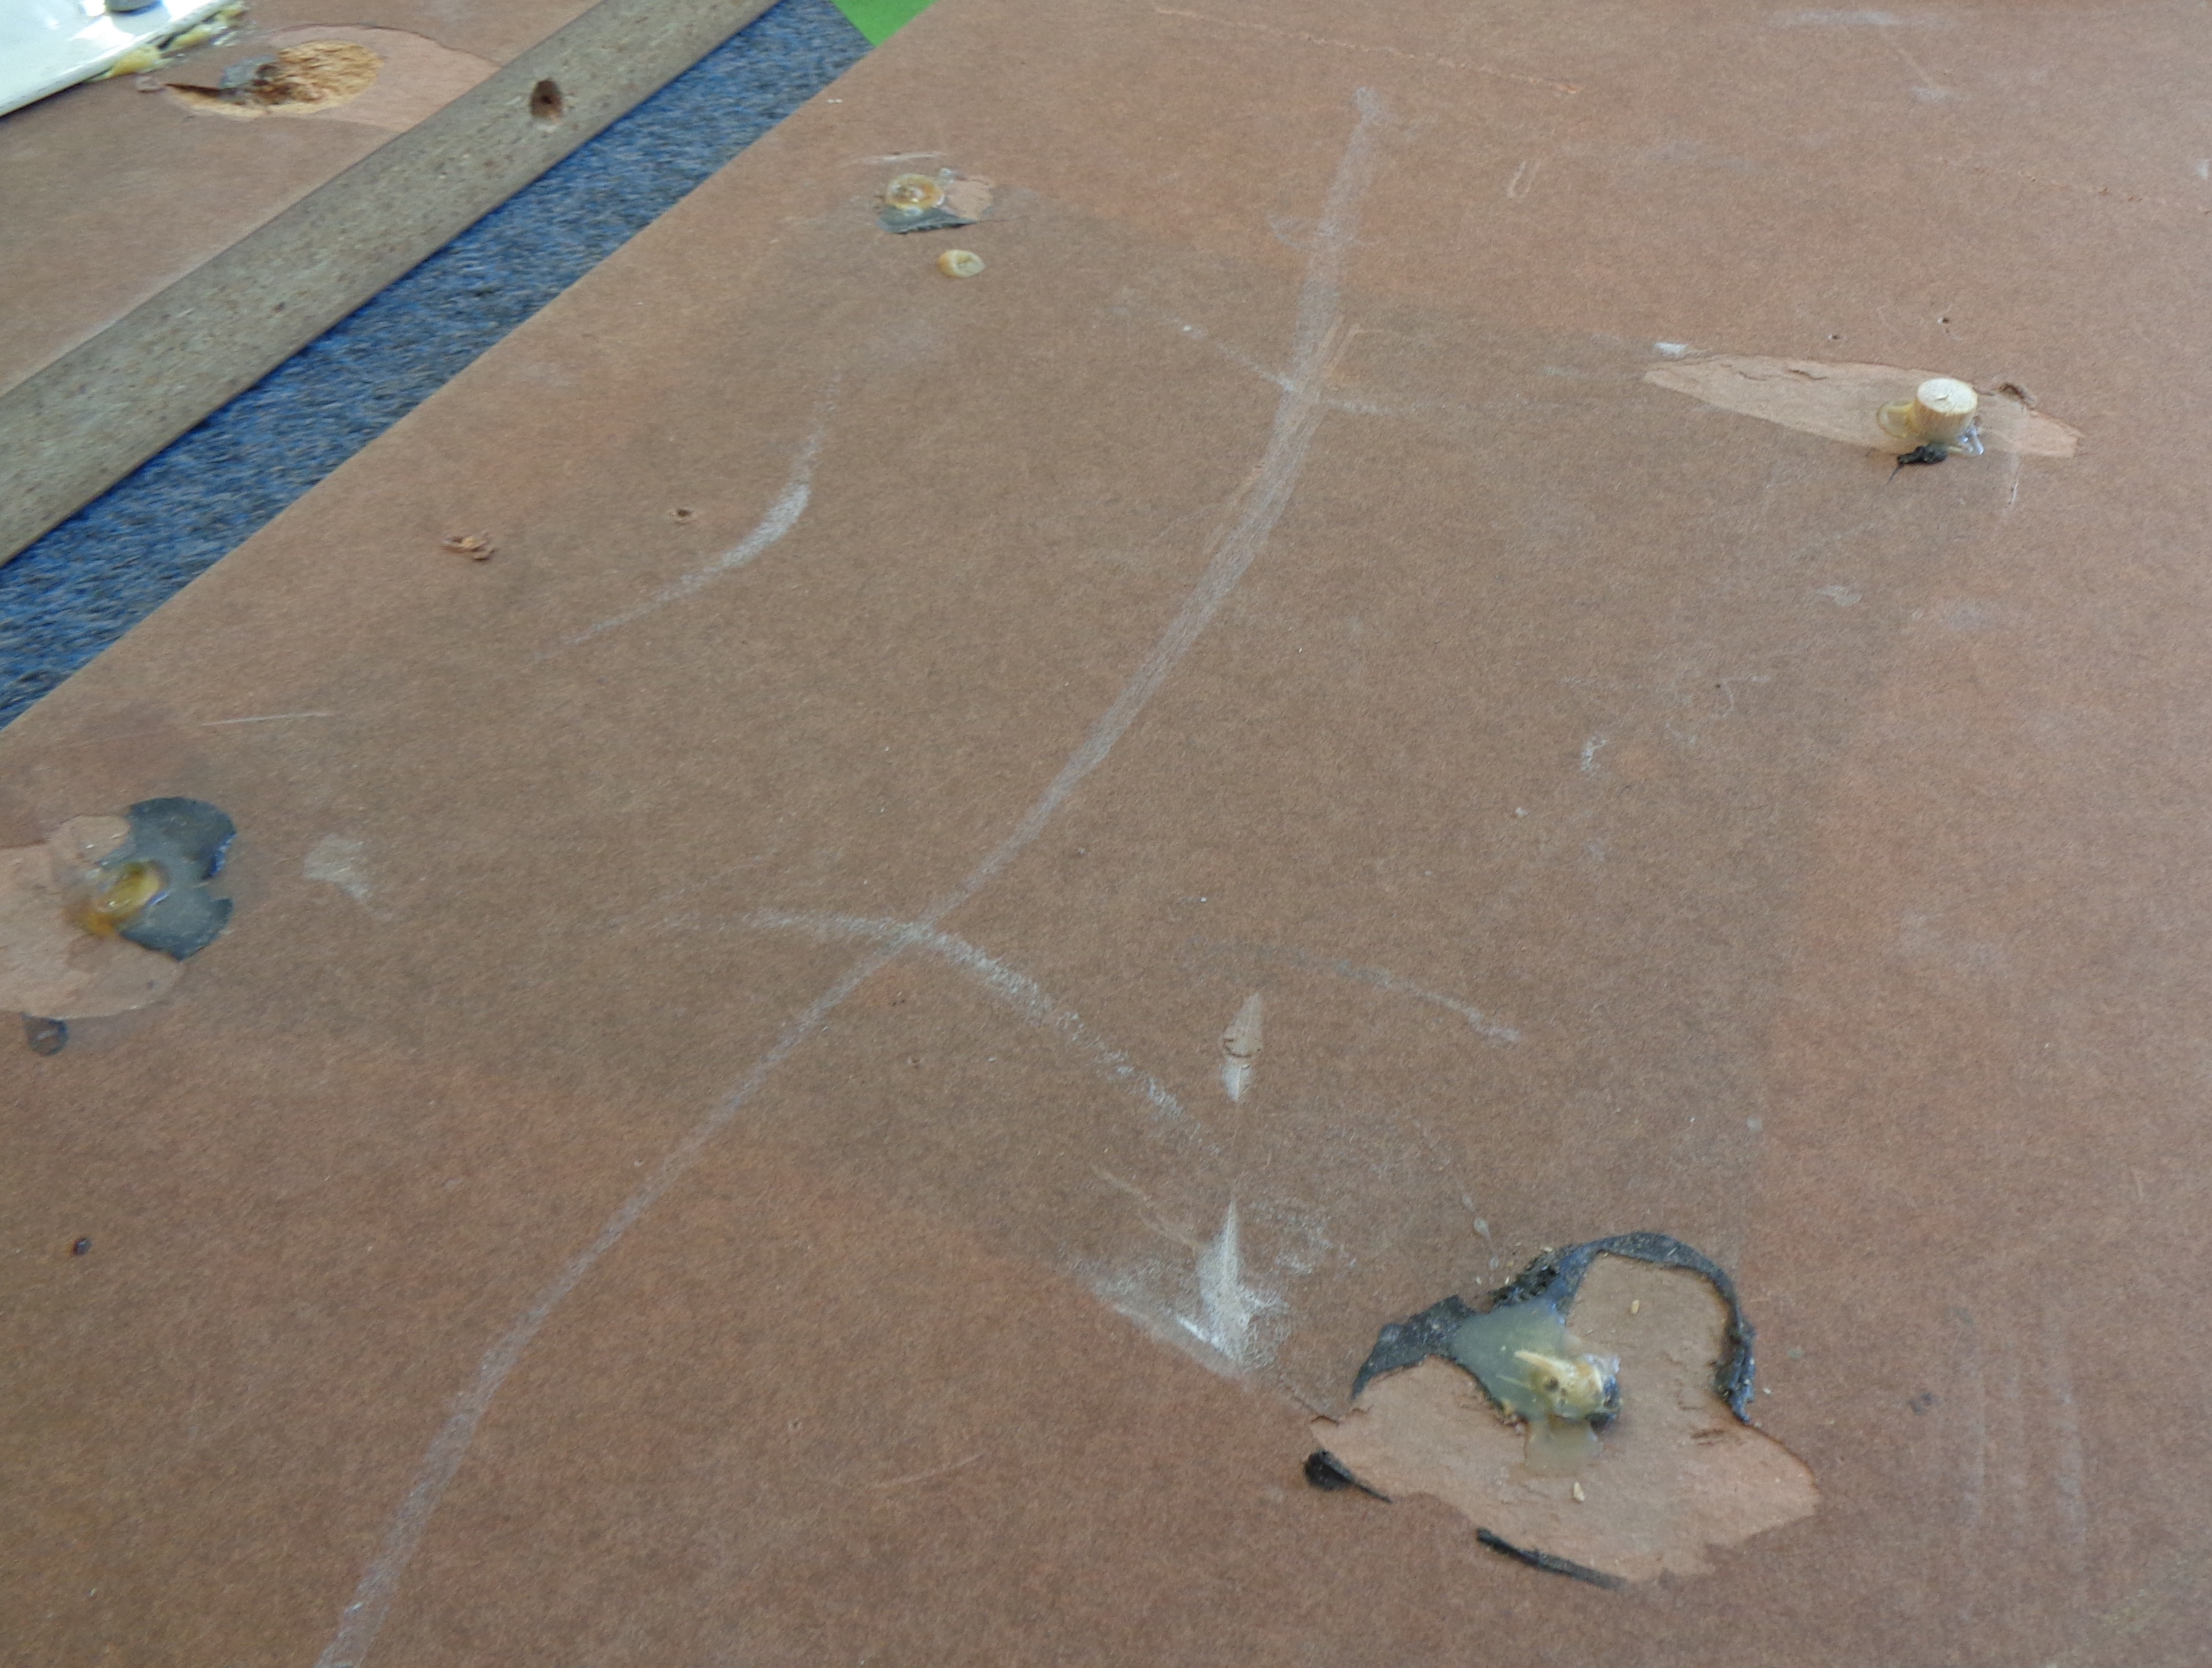
When you look at the bottom of this table you can clearly see that a repair has been done on the other leg (left photo).? Those screws were stripped to the point when the whole leg had to be moved.? Luckily as you can see in the photo on the right, the stripped screw holes we need to repair are not that badly damaged.? The four holes we are going to fill vary slightly in size, so I will show you three different ways to fix them.

As you can see this piece has been repaired before.
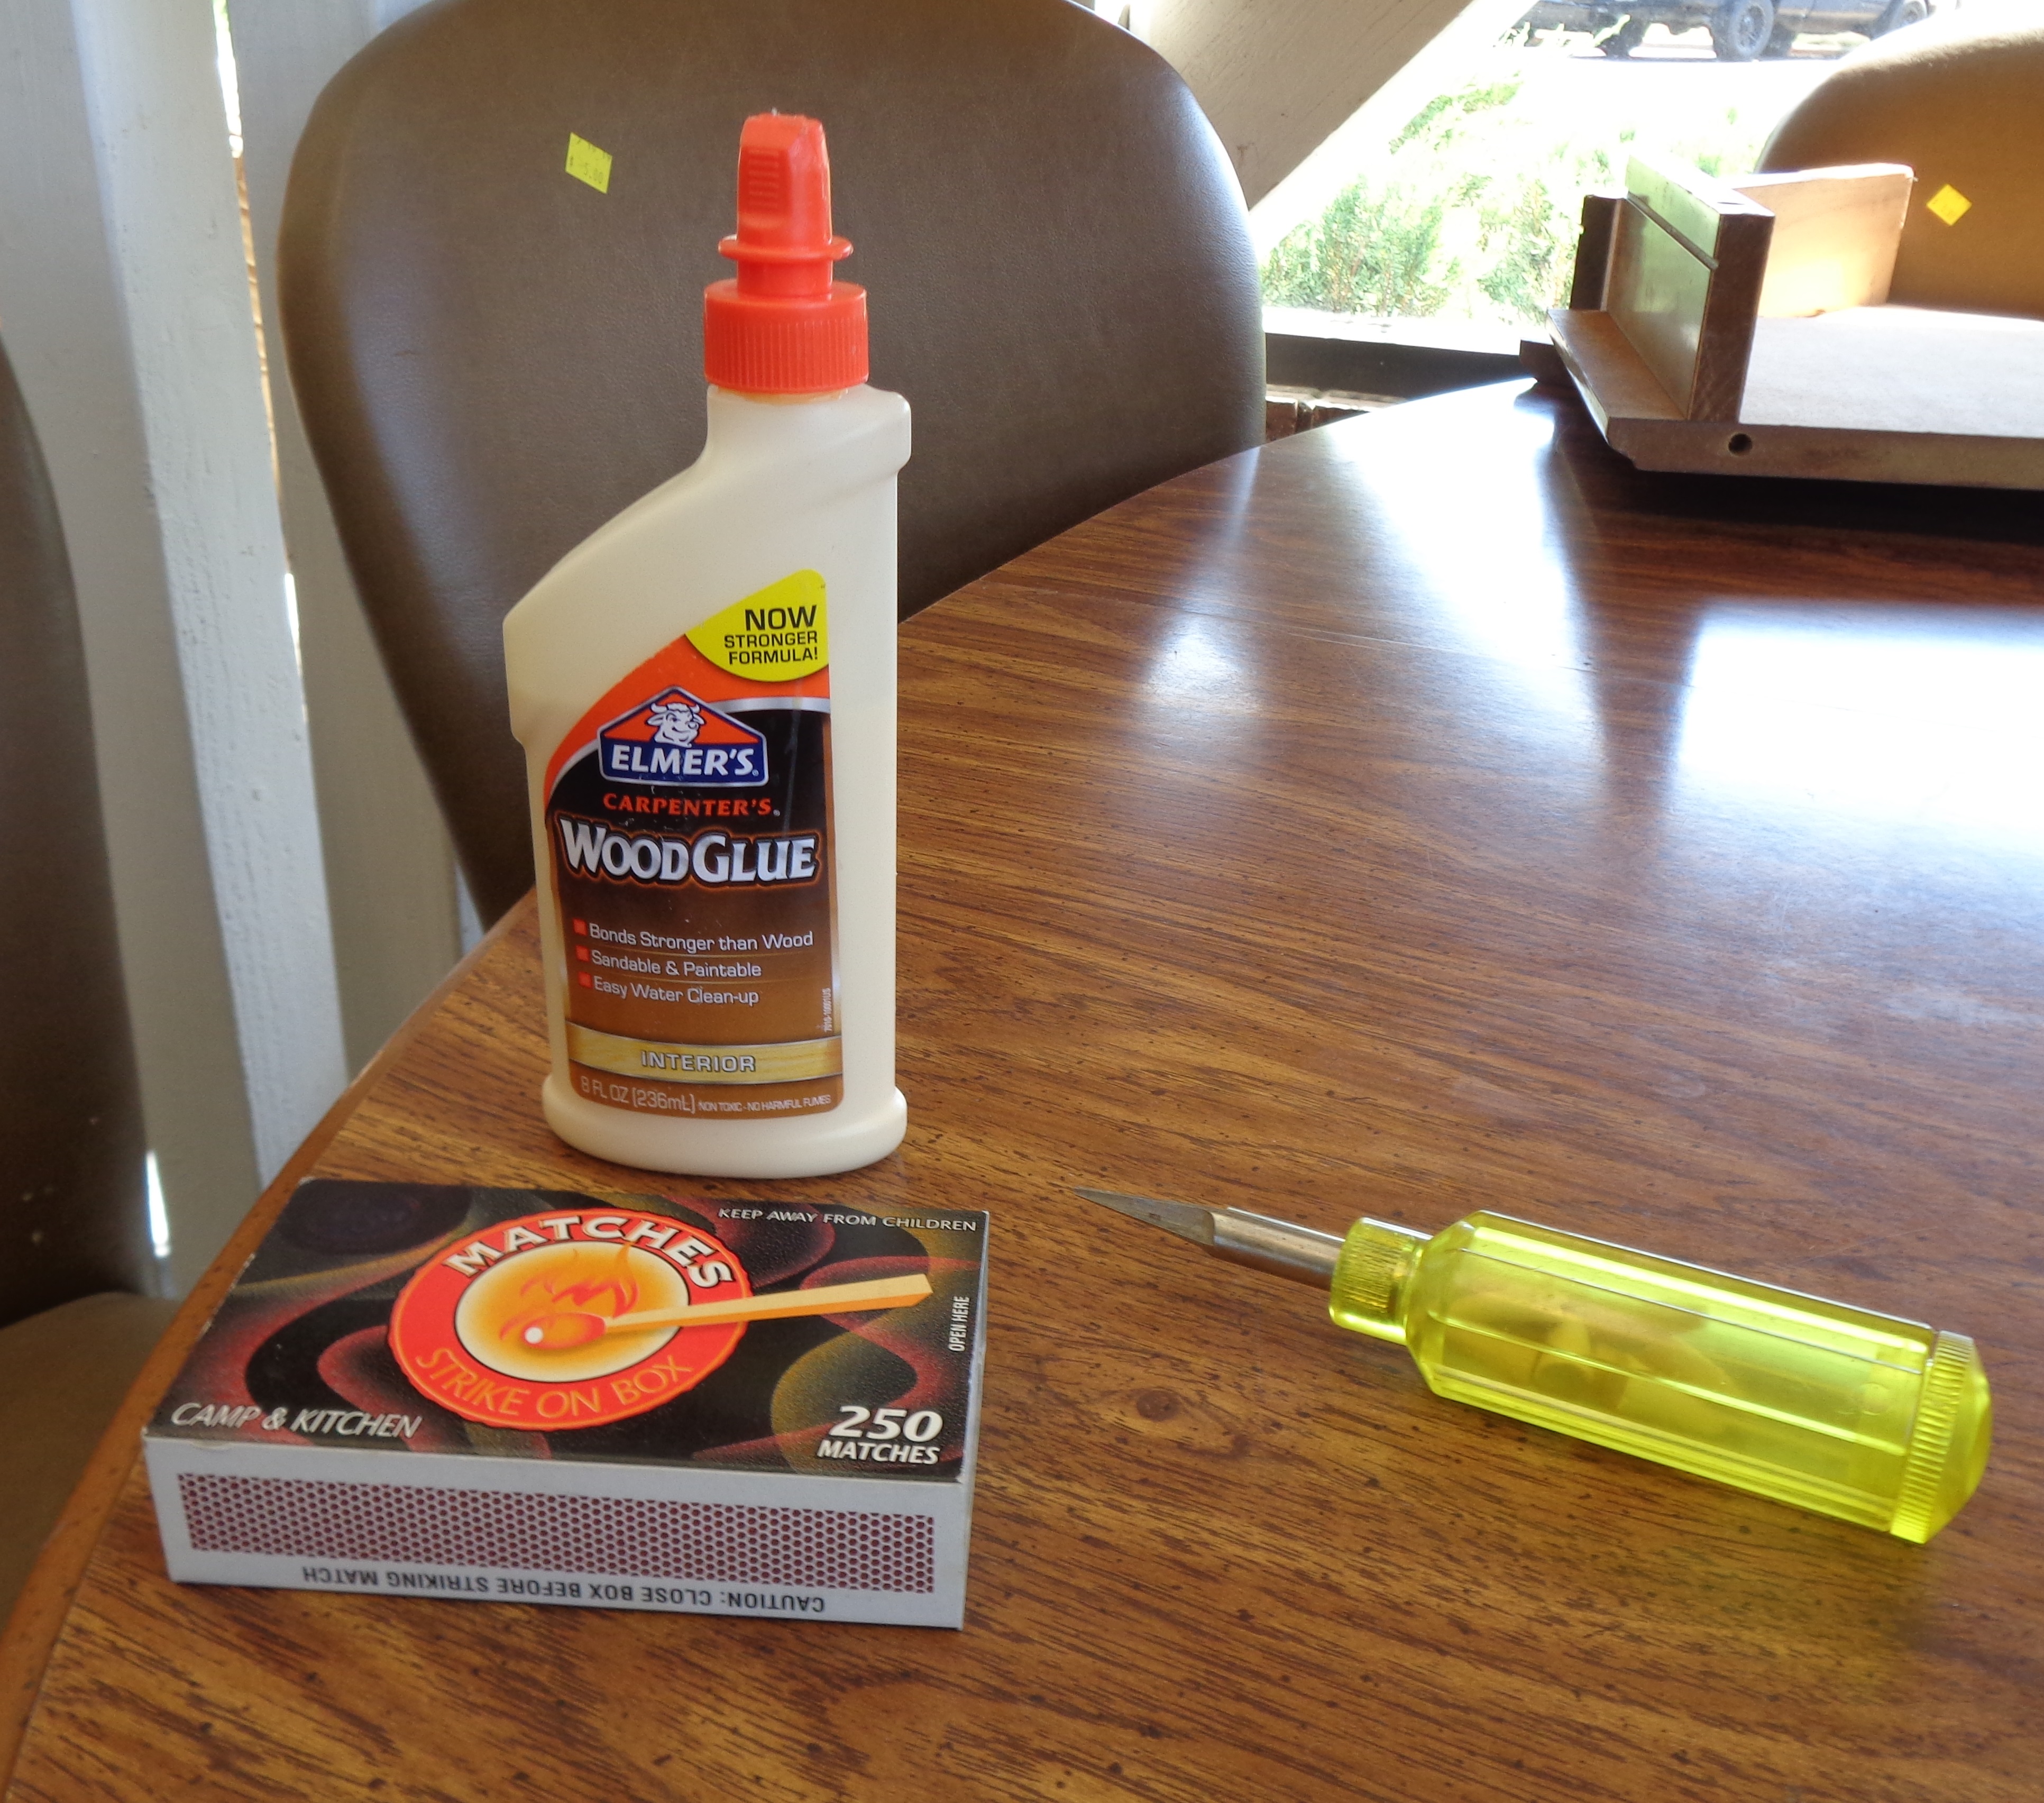
These are the basic supplies you will need:? wood glue, matchsticks and an optional tool (which comes with wooden cones), designed specifically for repairing stripped screw holes.
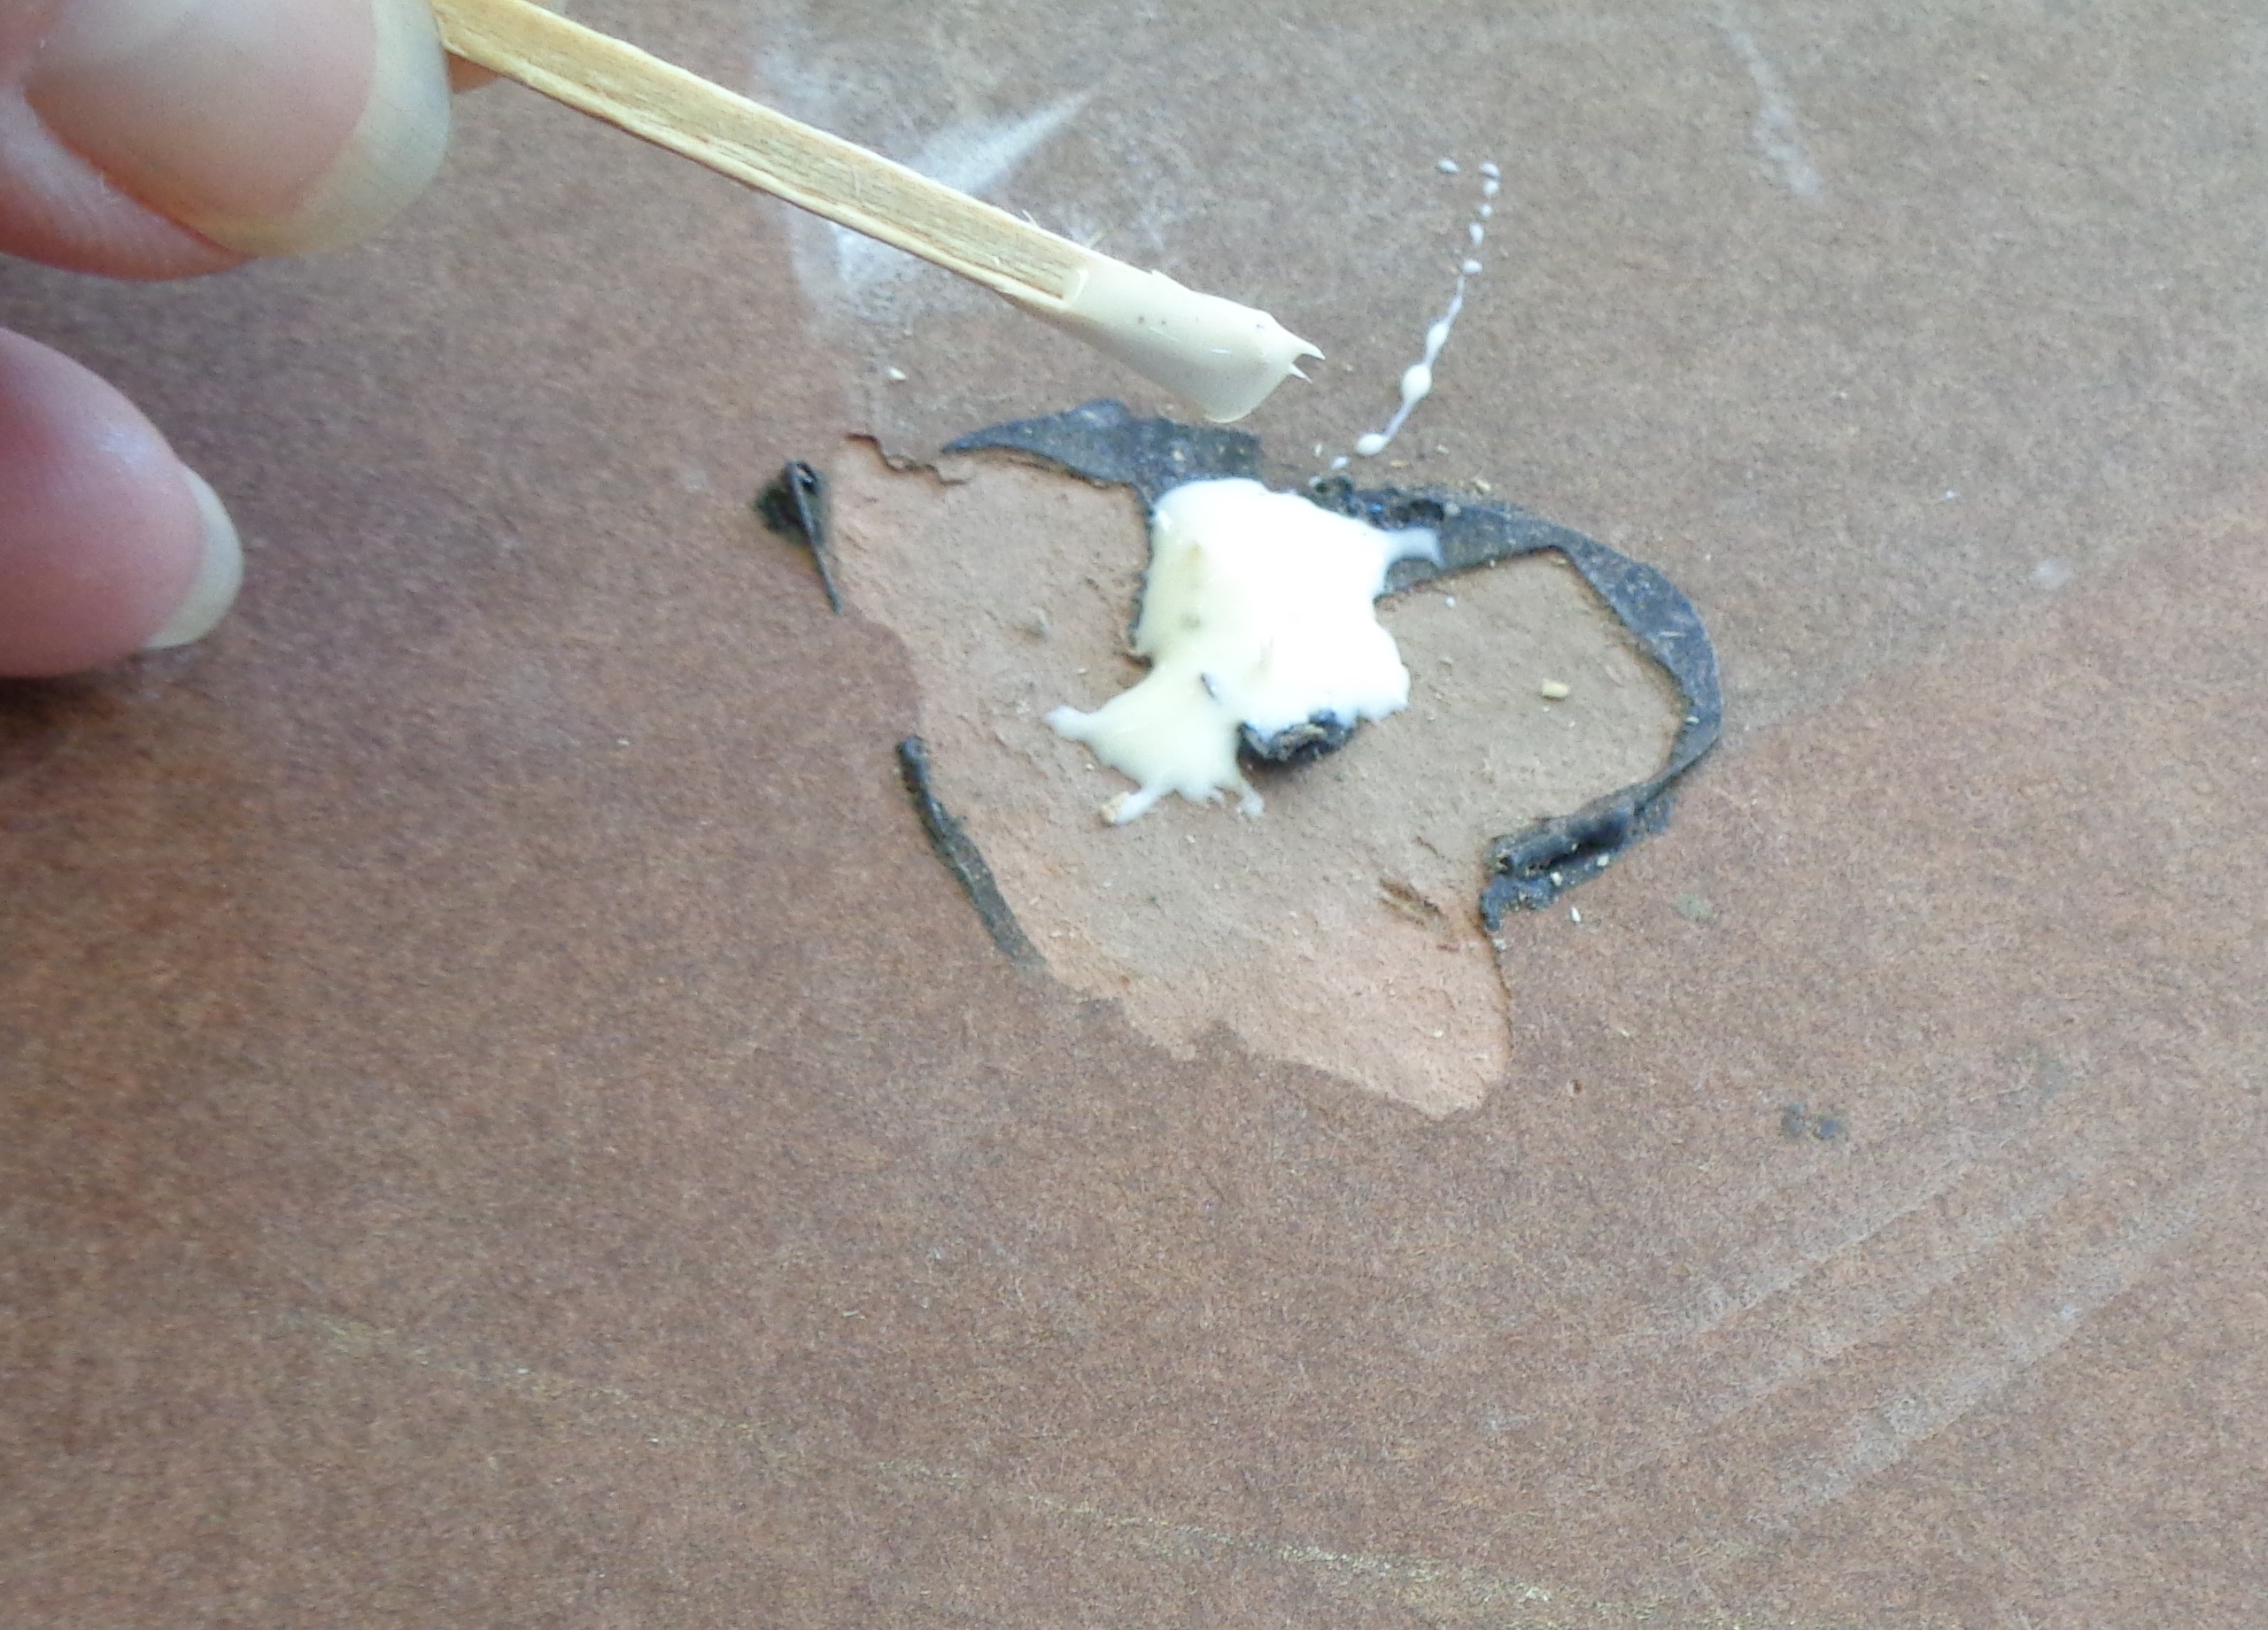
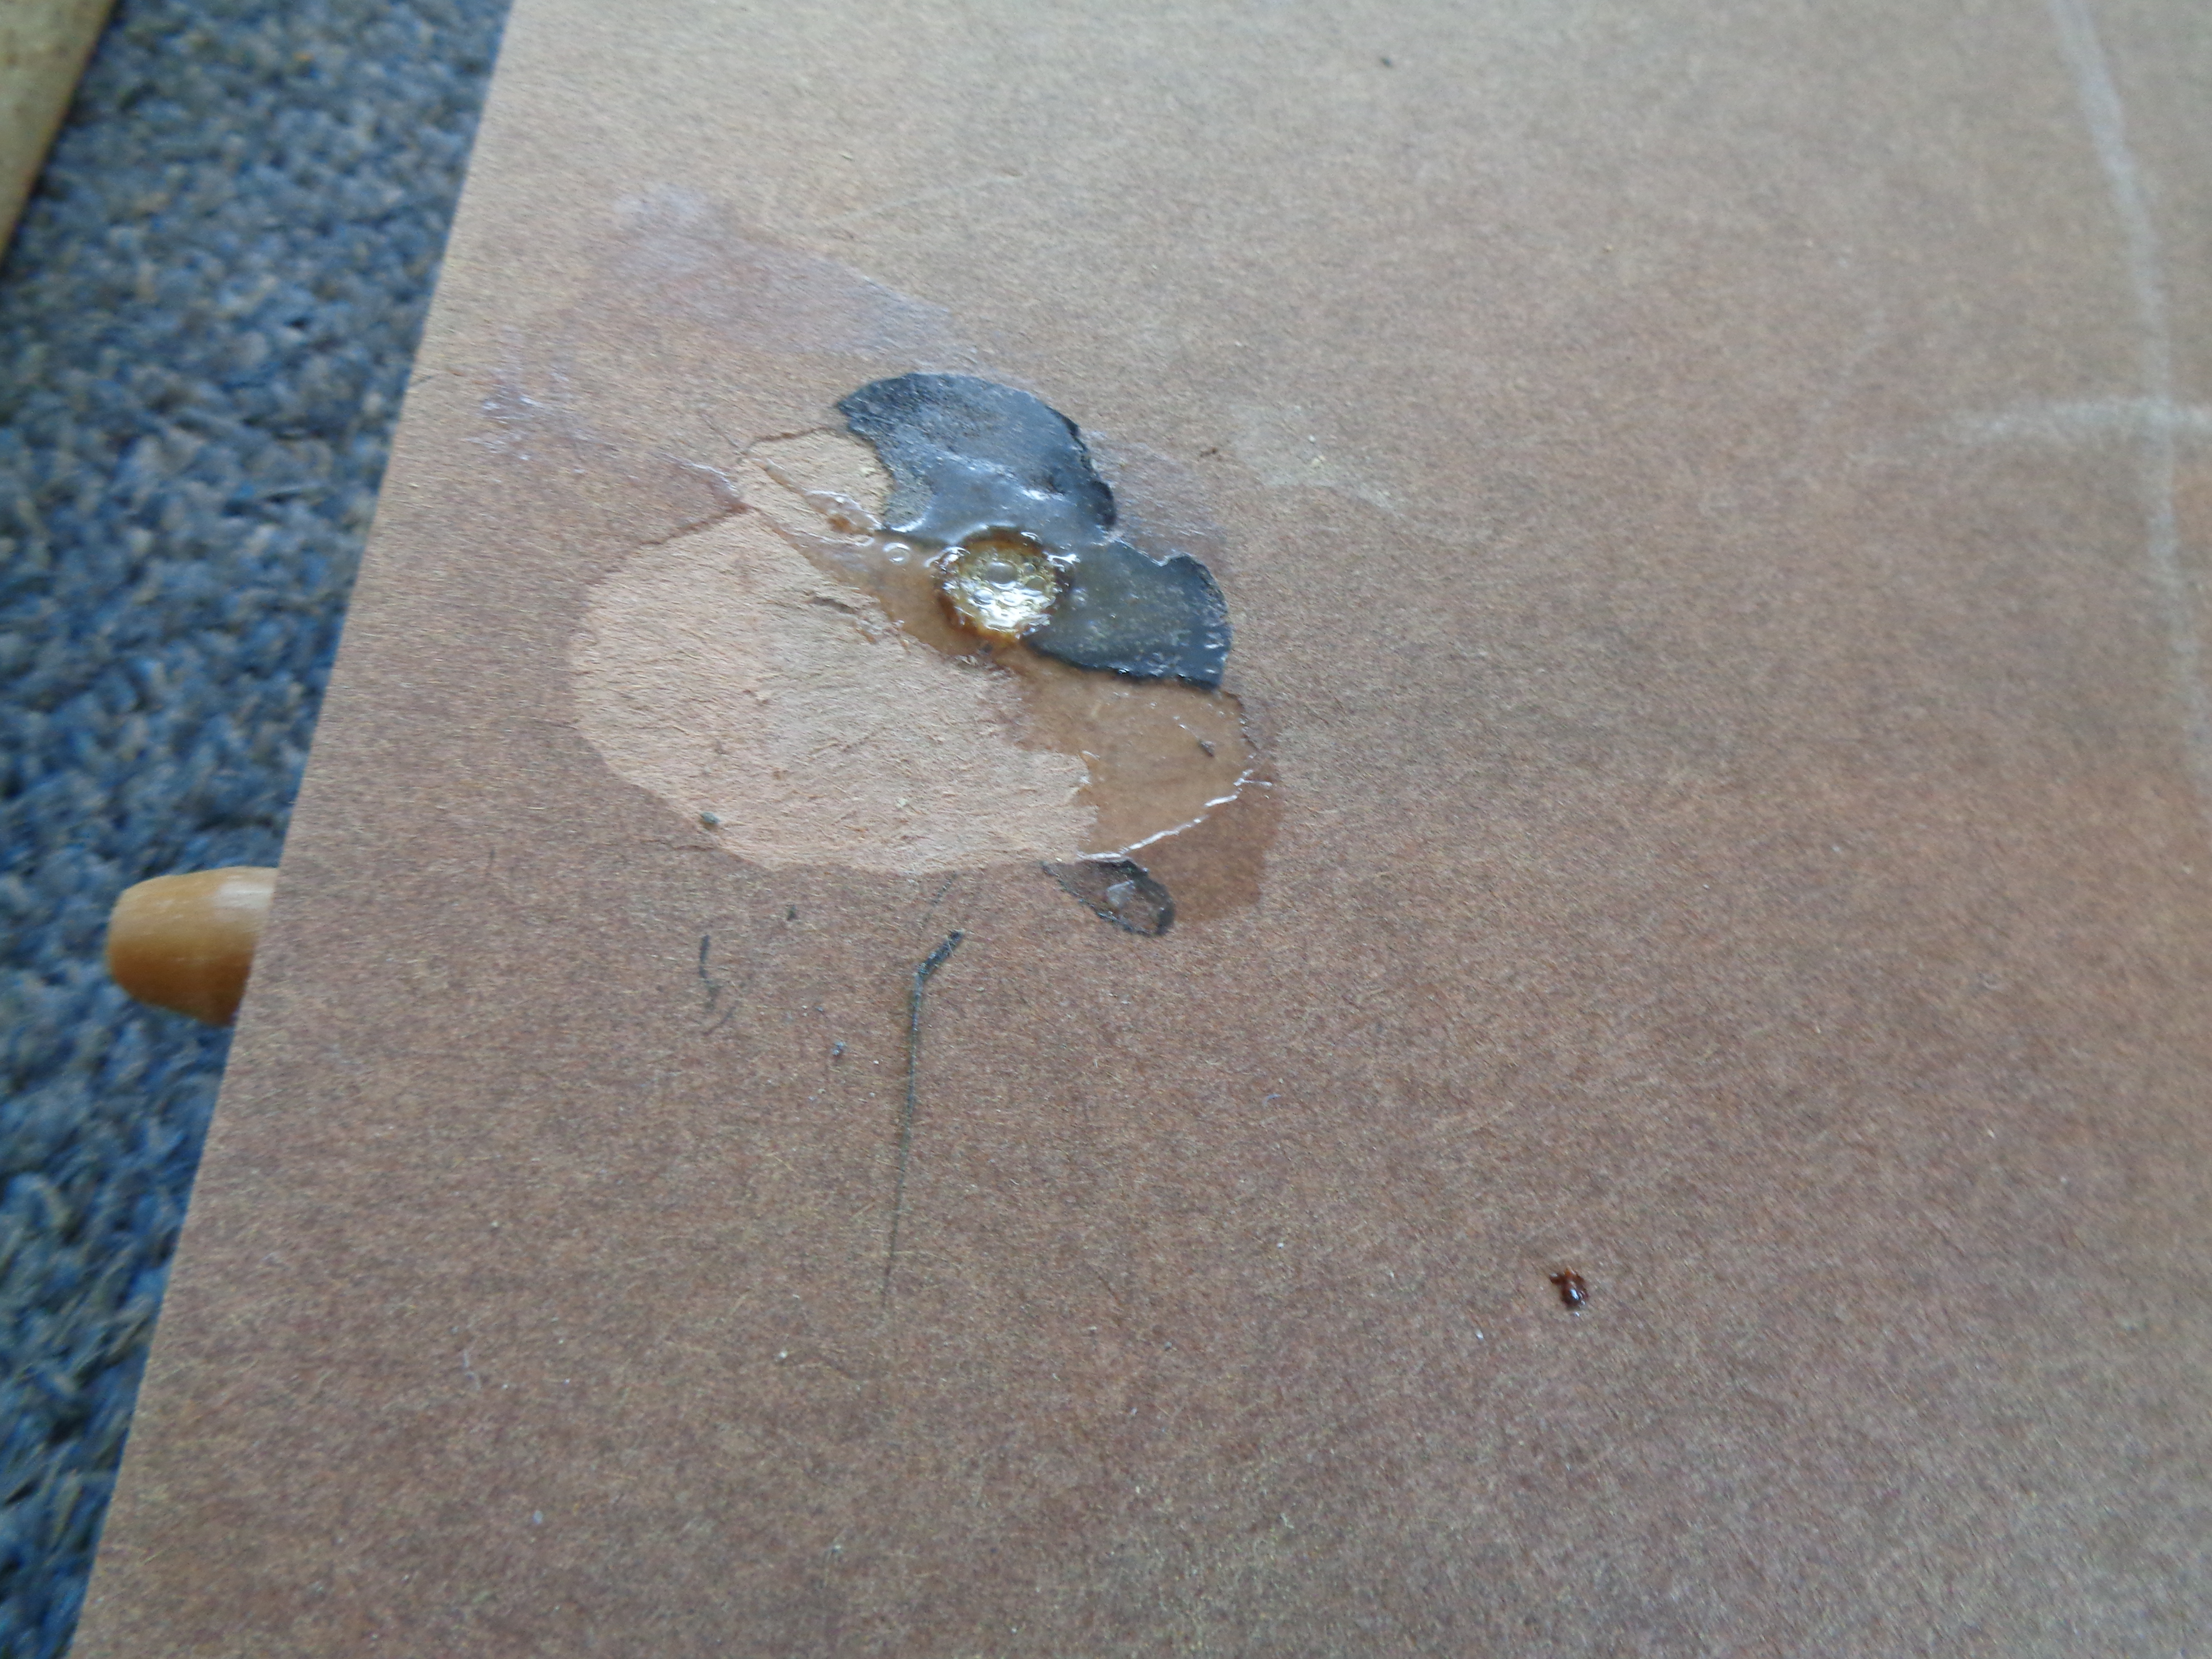
For the first two smaller holes, make sure that they are clean of debris, then simply put a drop or two of glue into the hole.? Make sure that all the air is out of the hole, you can use any long thin object to push the glue down into the hole until there is no air at the bottom.
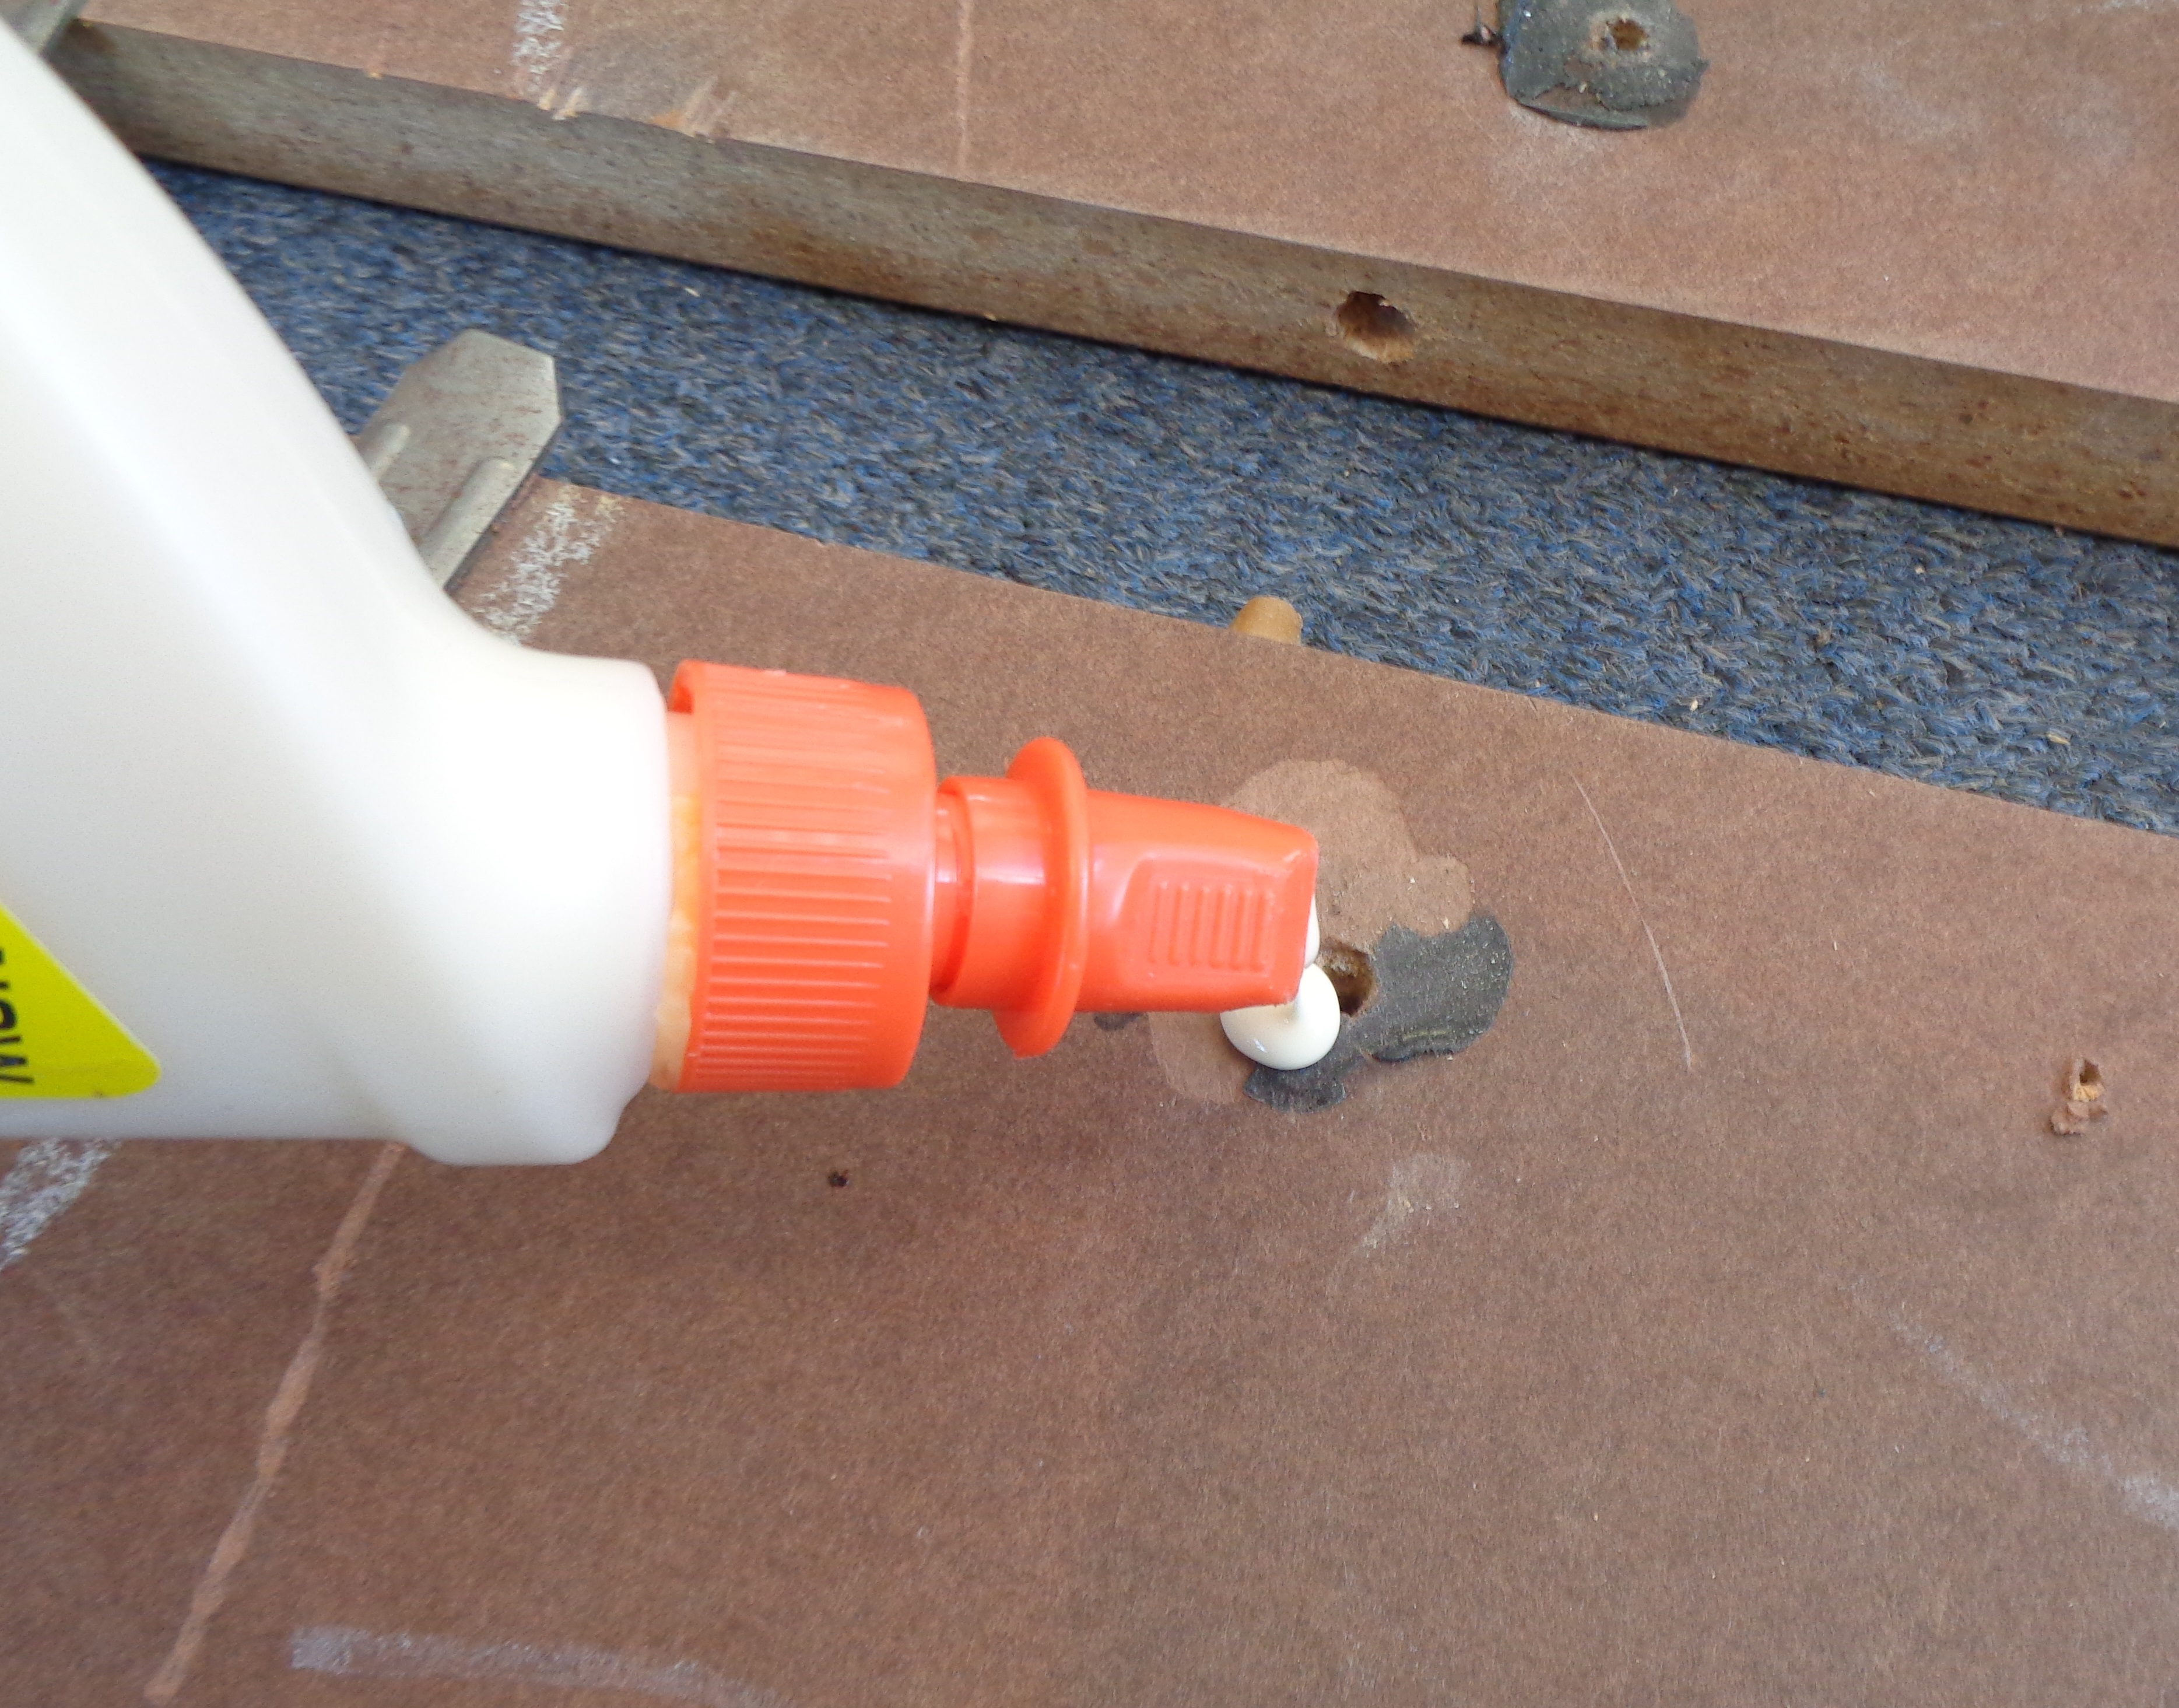
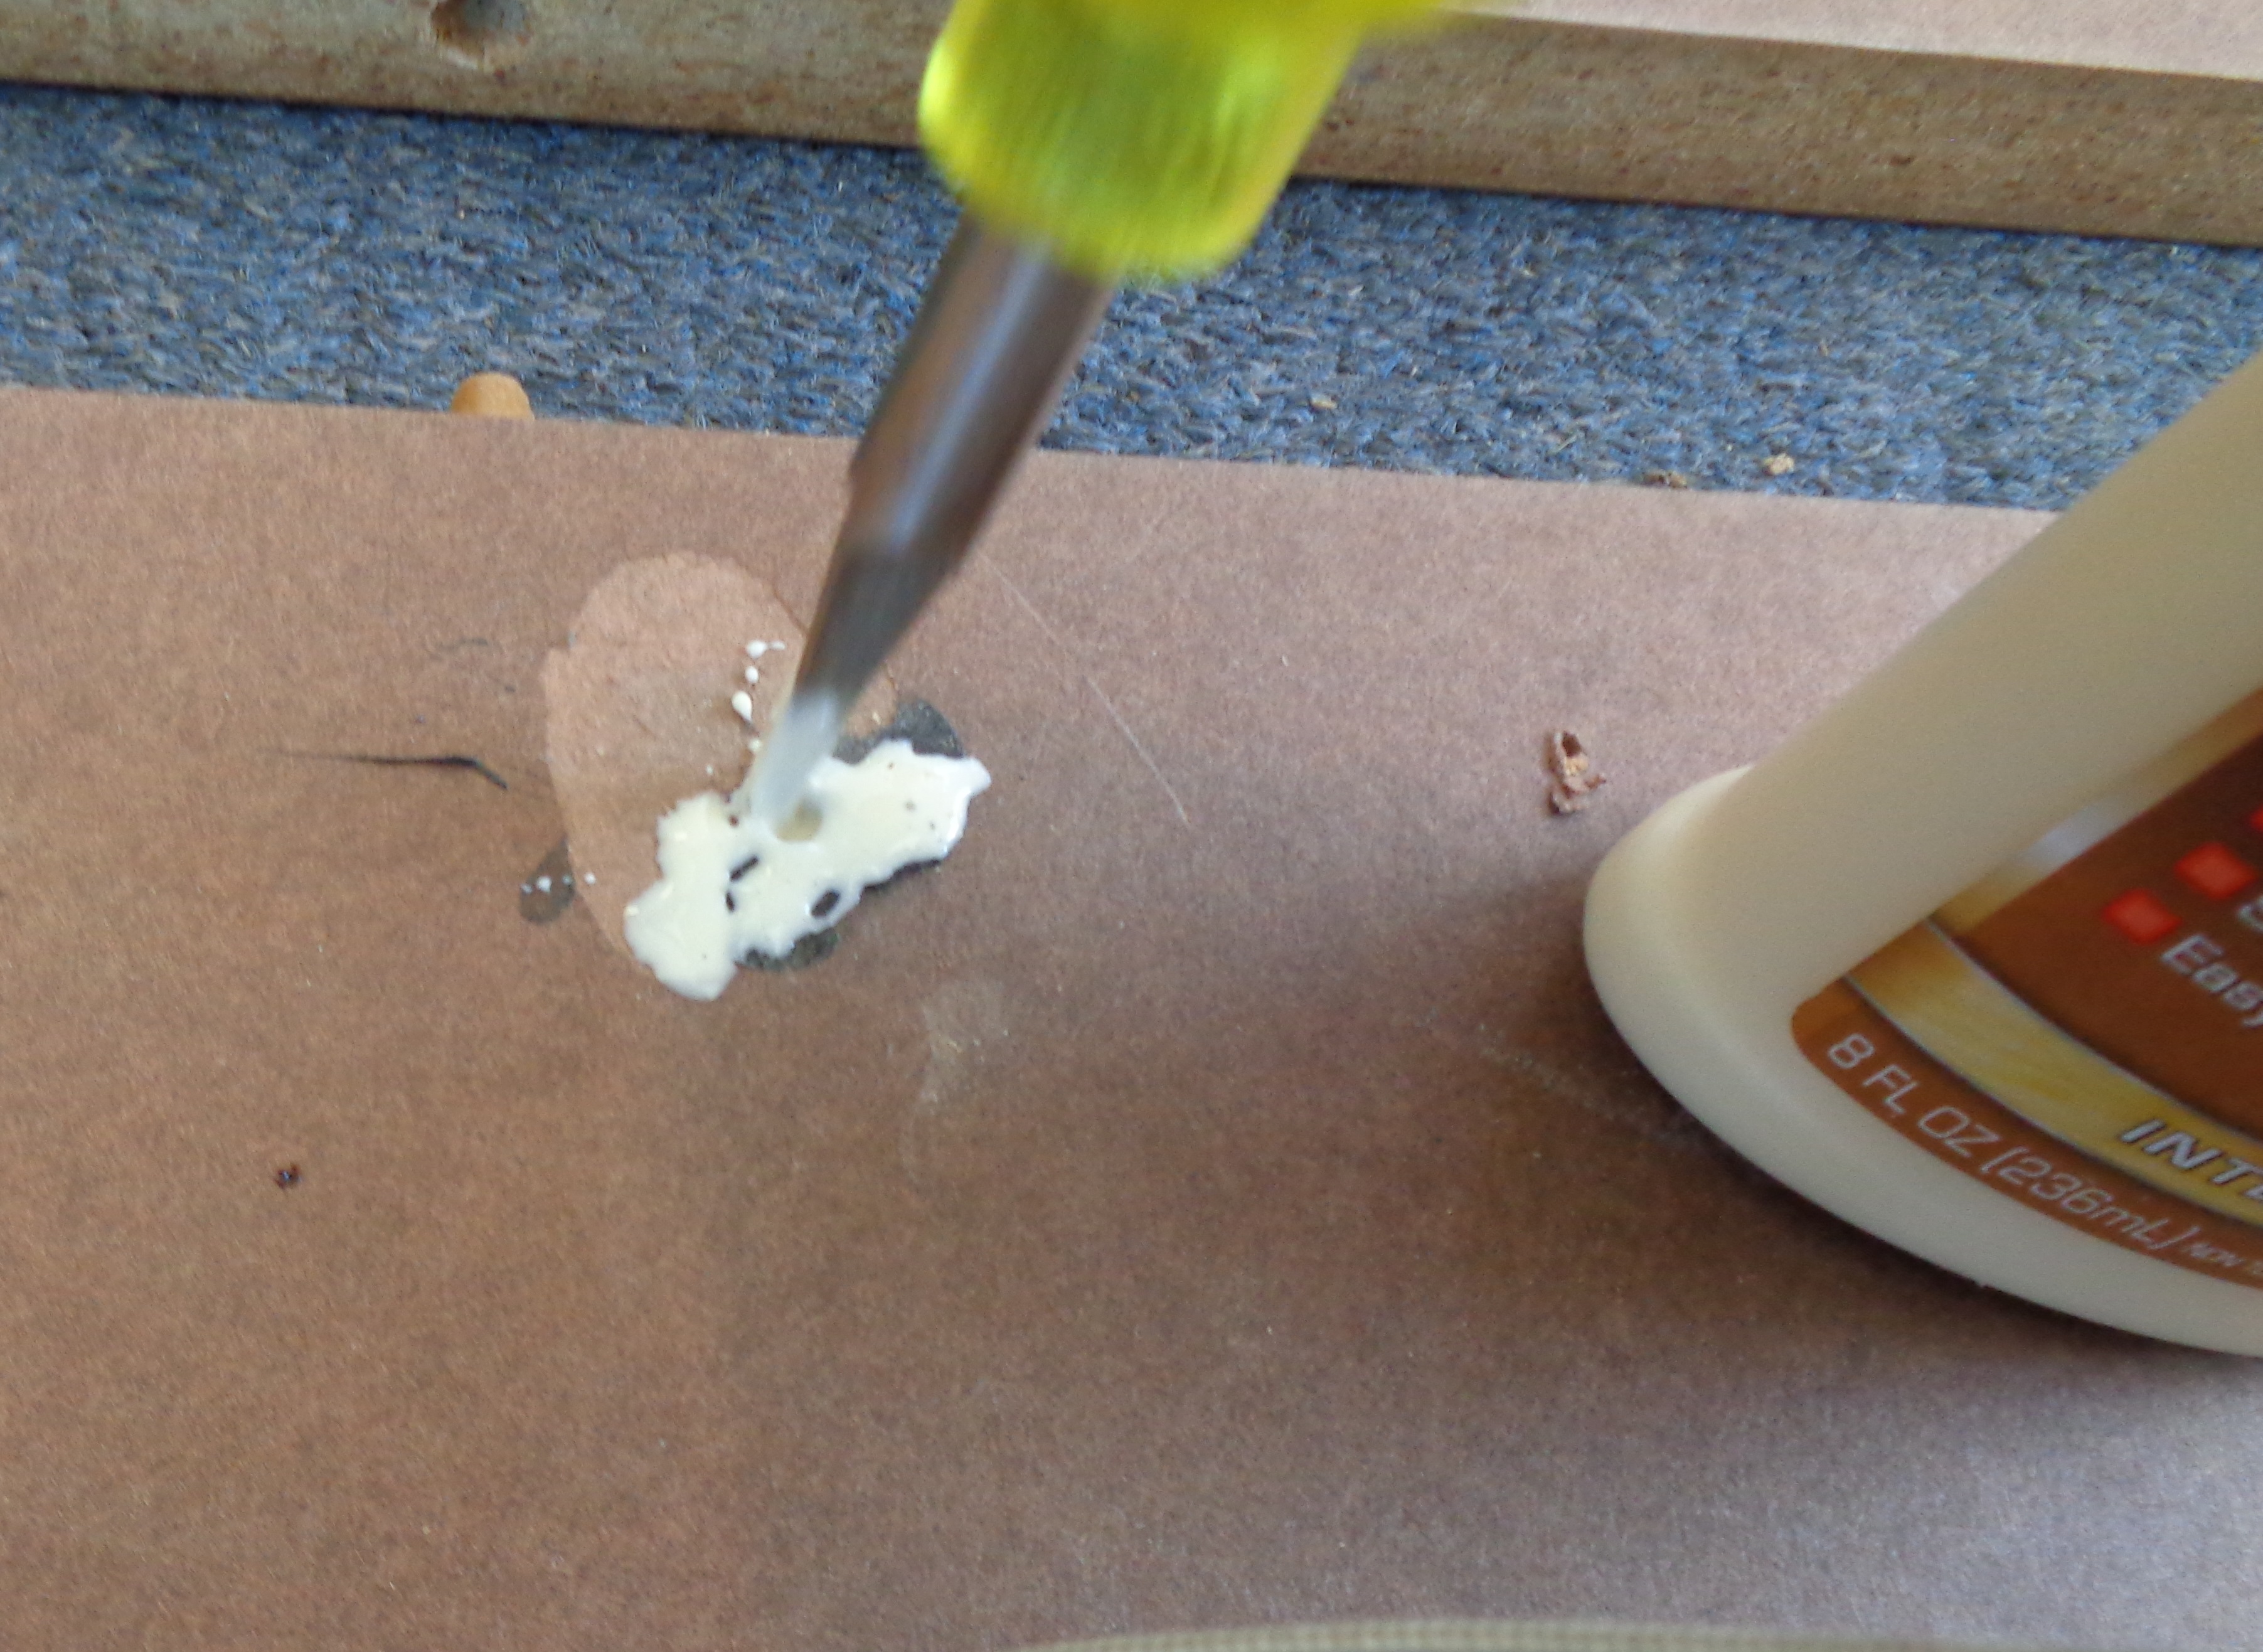
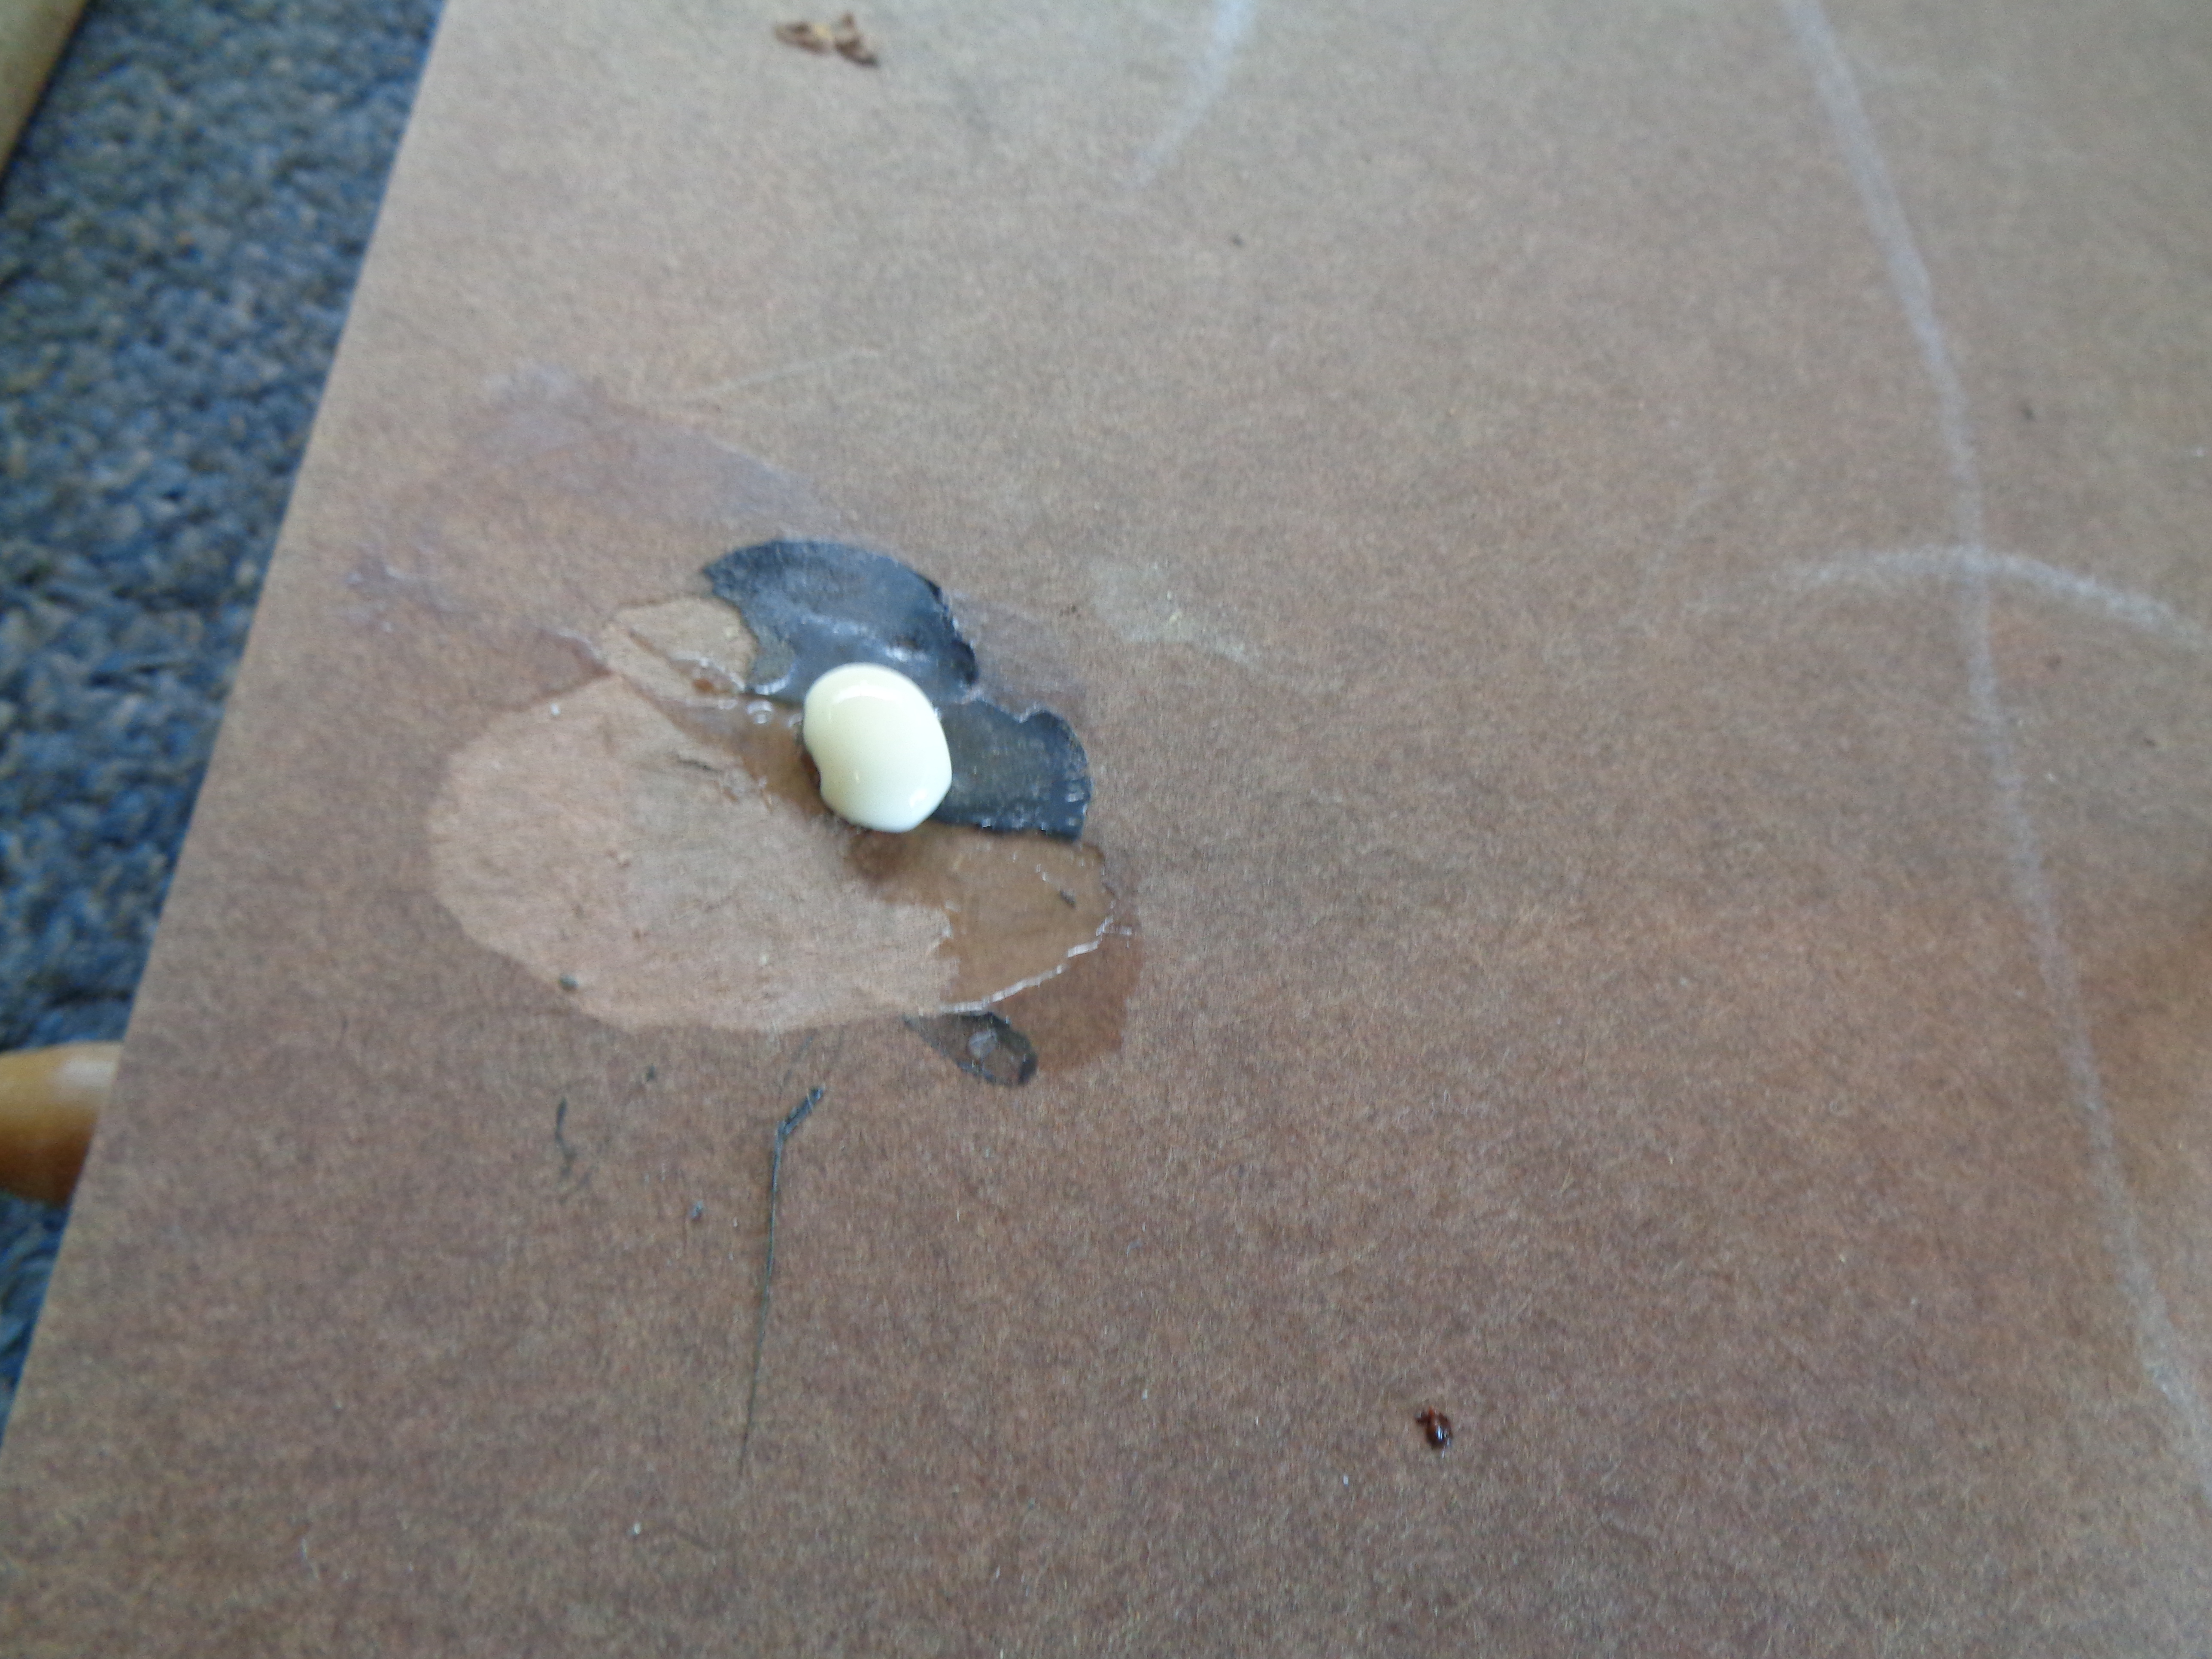
The next hole is slightly larger, so after filling it with glue, use the matchstick to push out the air.? Once that is done, simply break off the matchstick at the top of the hole and leave the end in place.
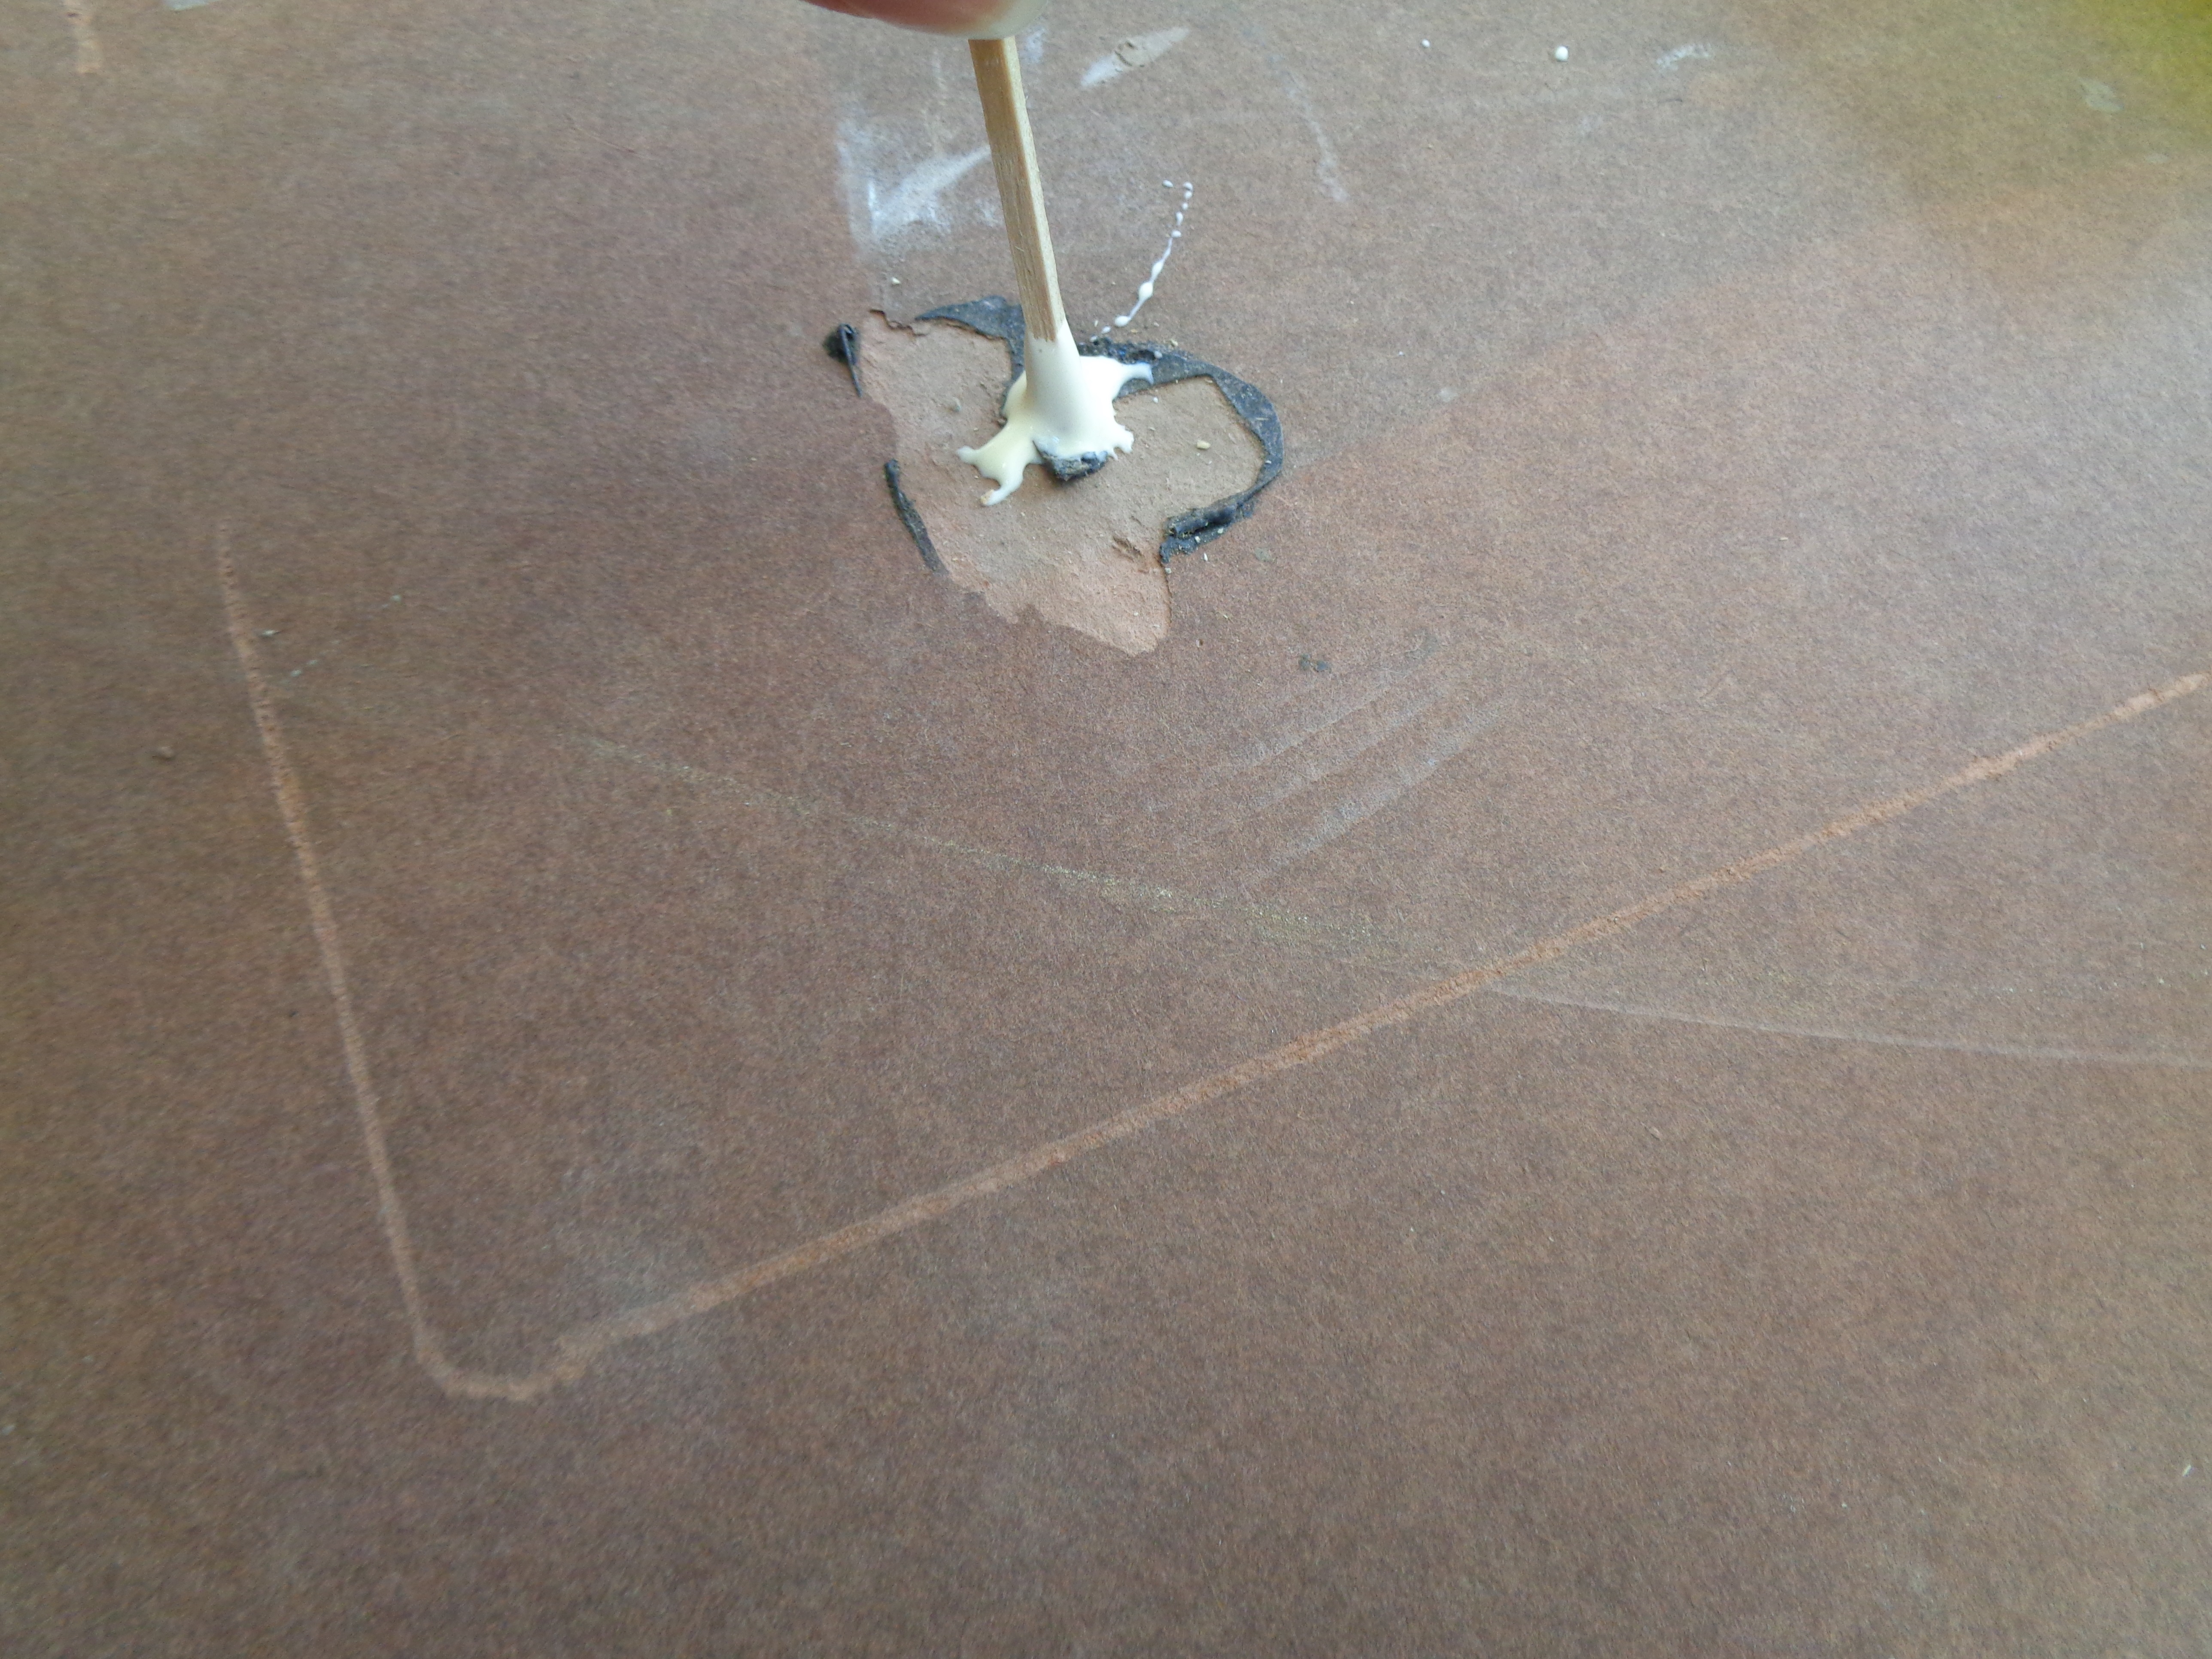
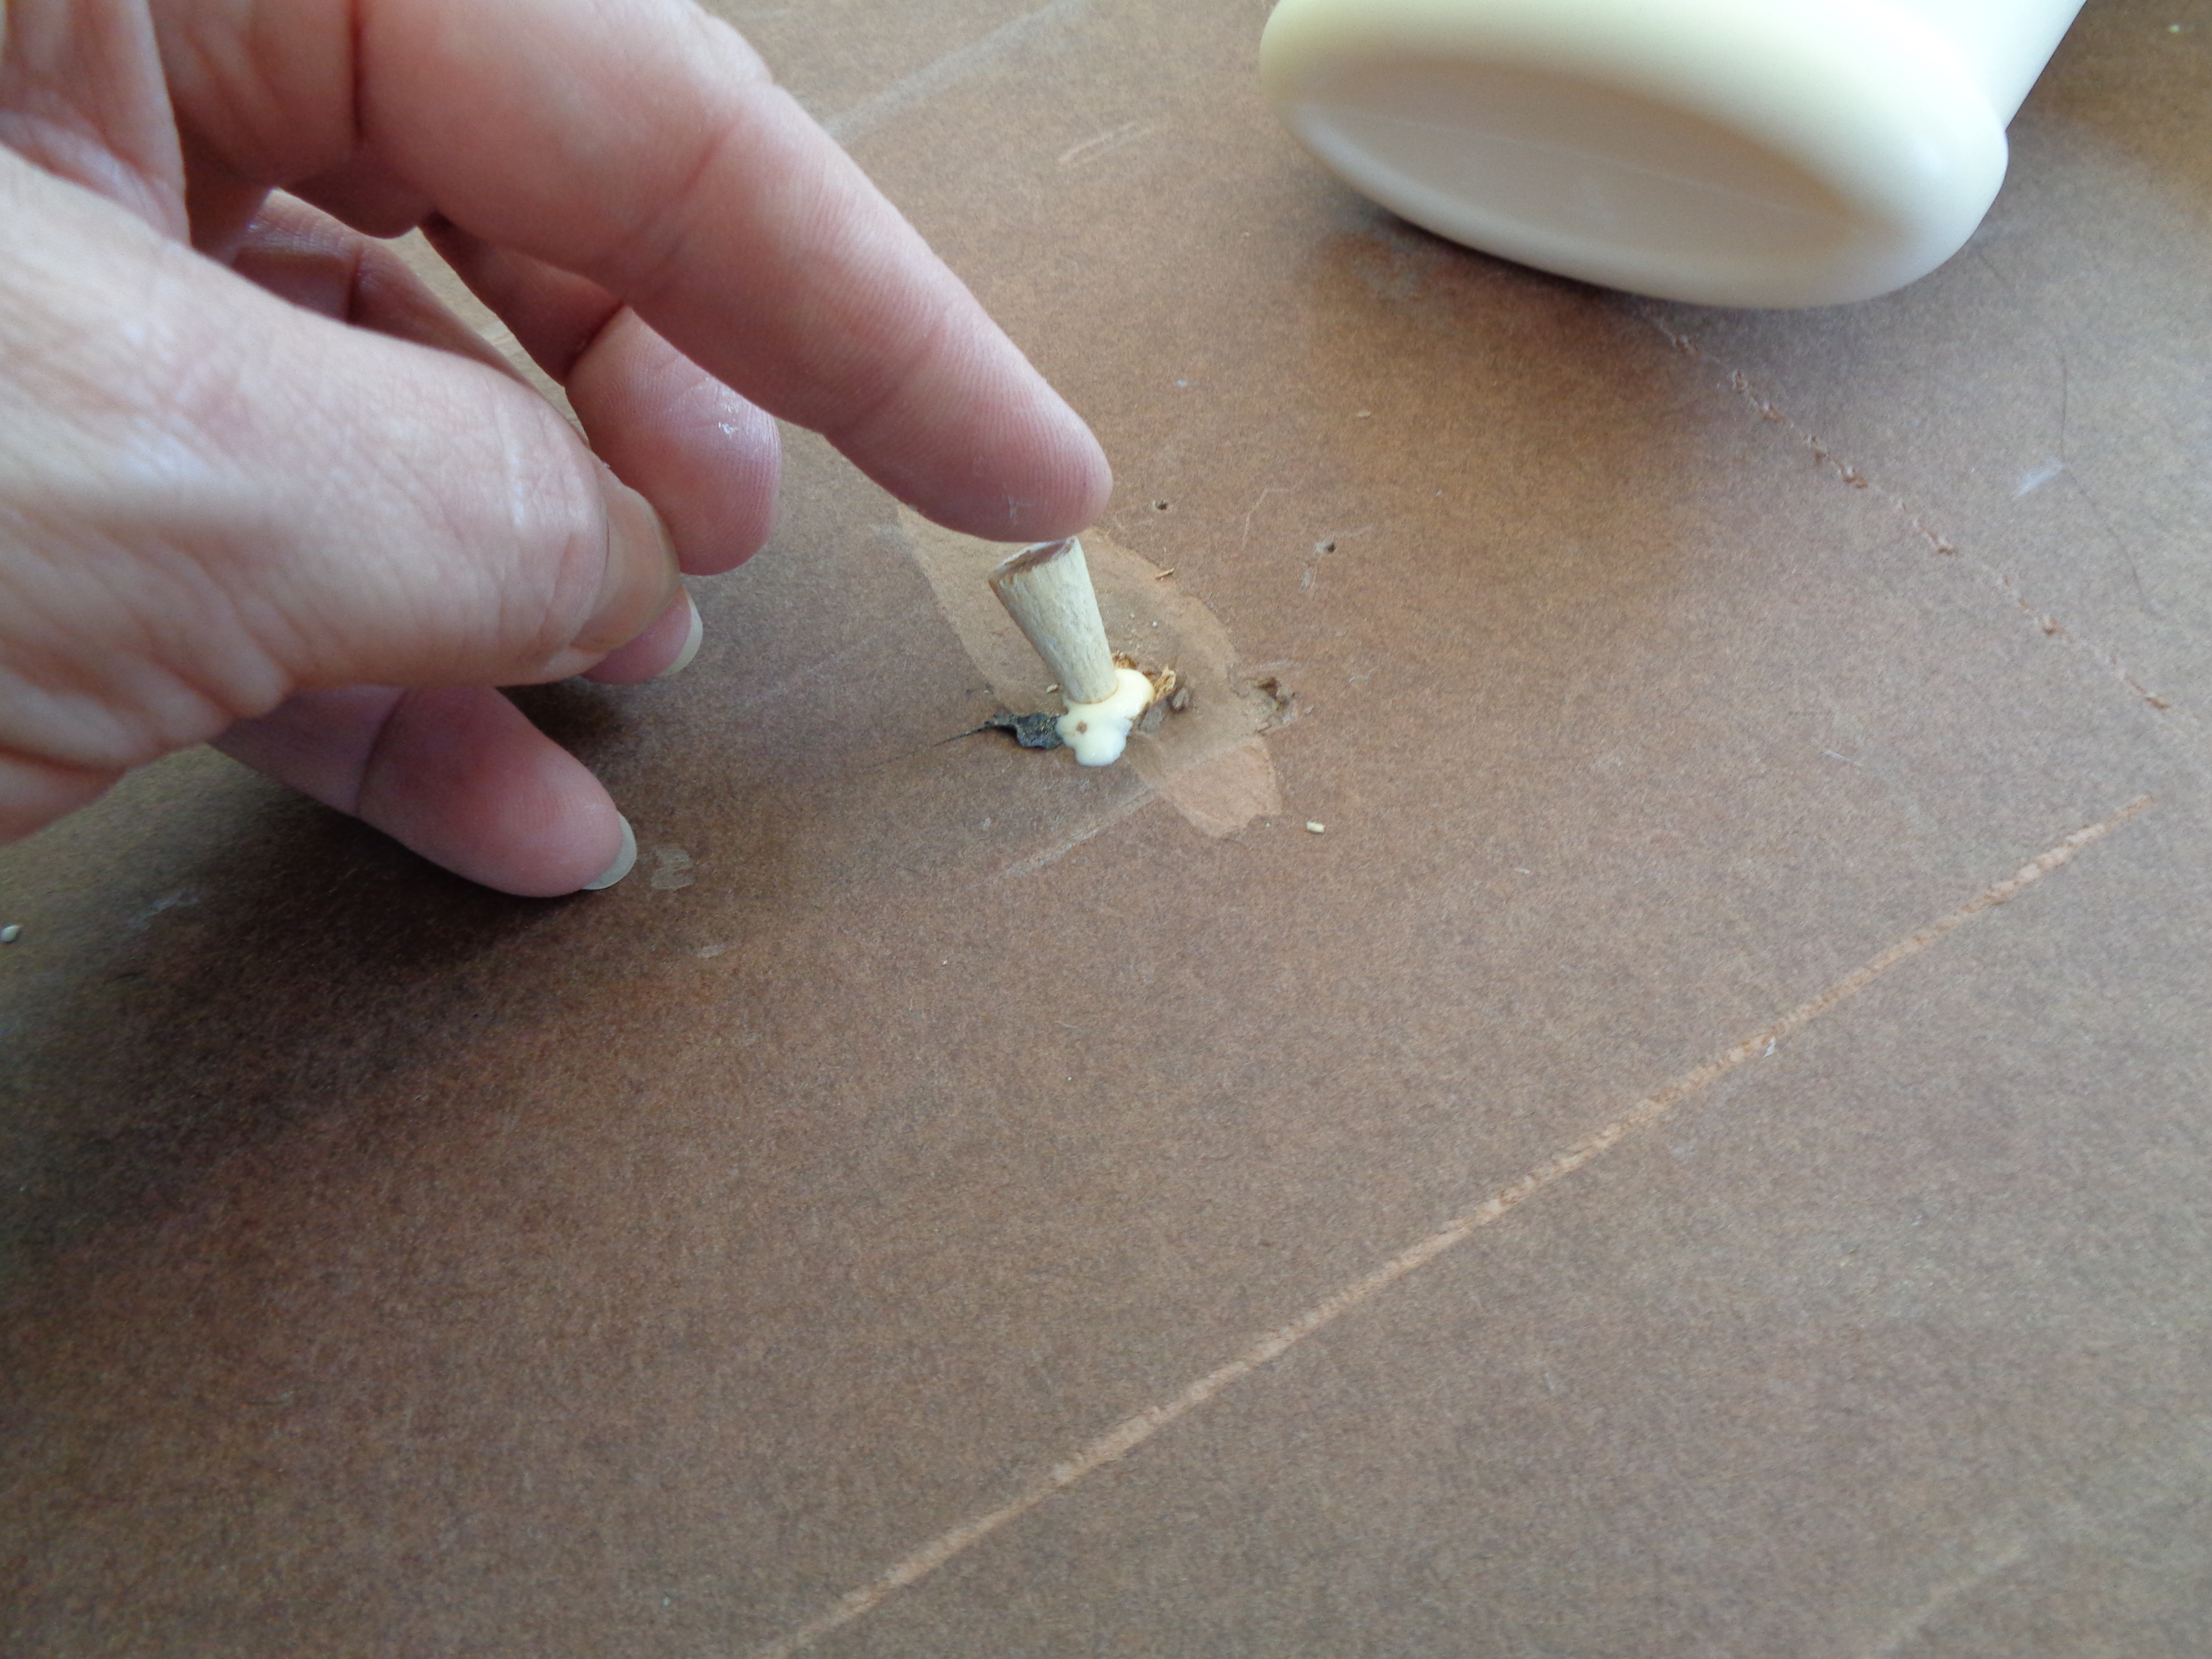
For this bigger hole, use the tool to ream it out to a cone shape, fill it with glue then add the wooden cone, making sure to press it all the way in firmly.
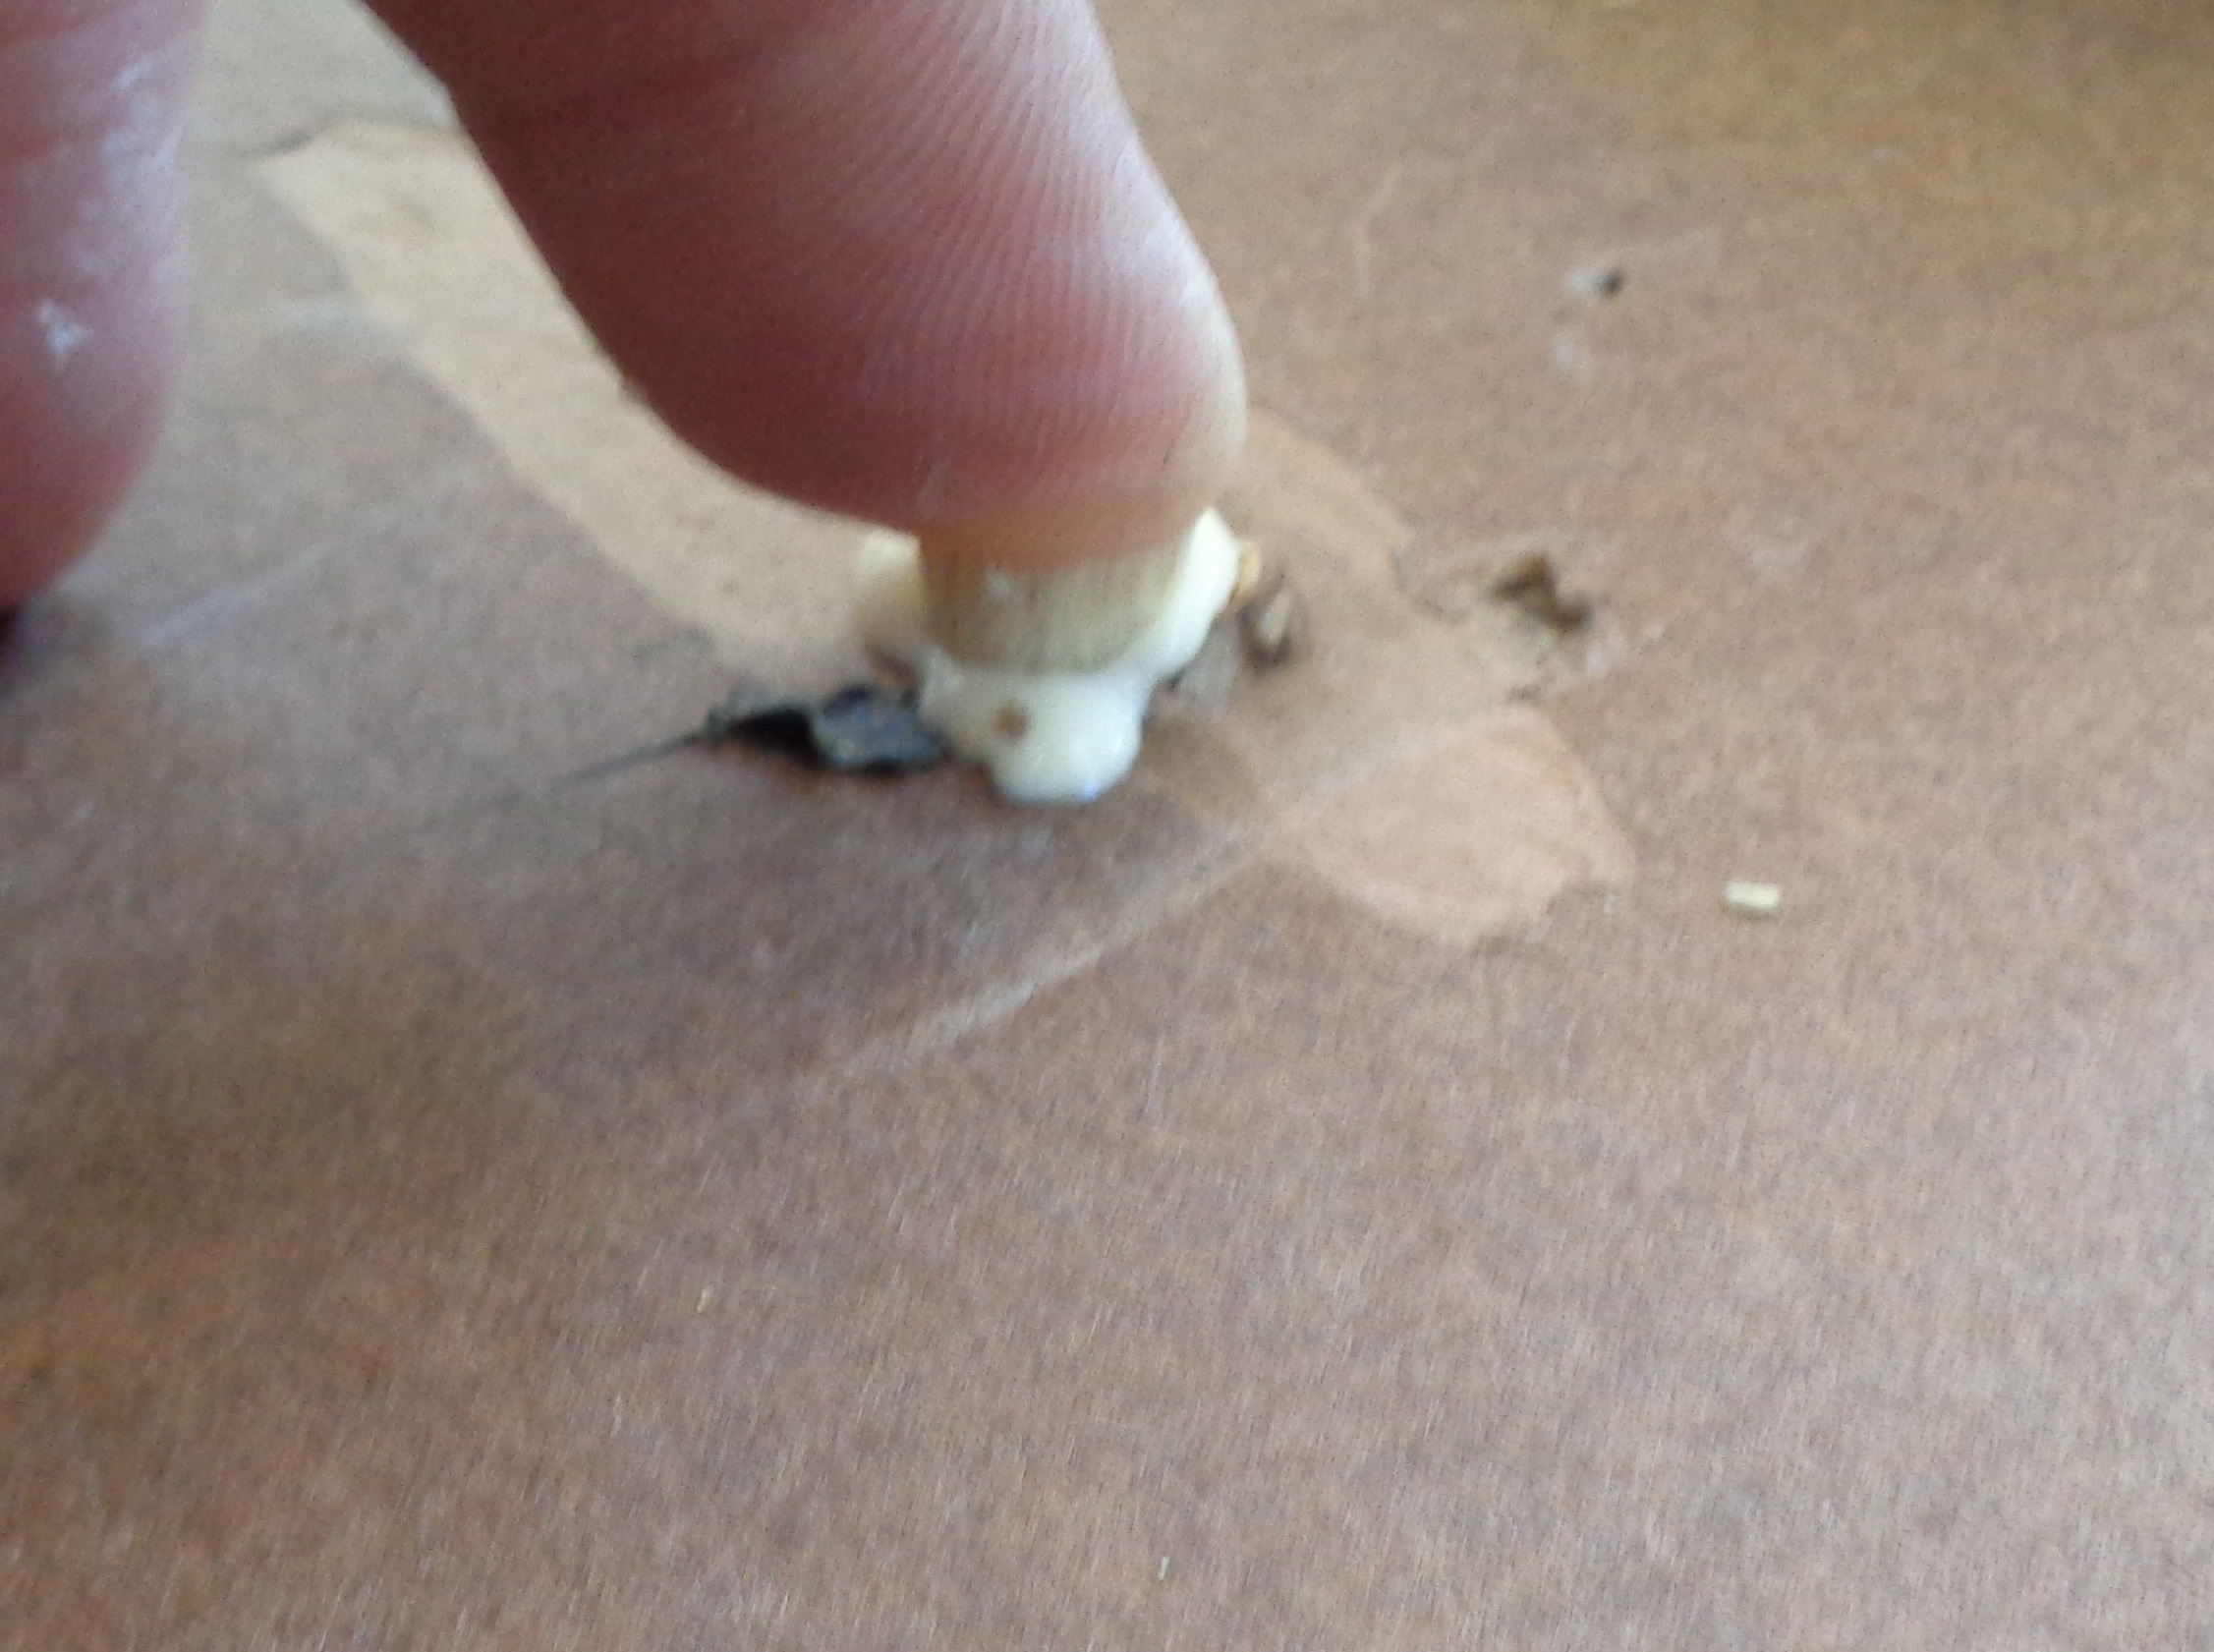
All four of the holes are now filled.? Once this is done, its all about waiting. The glue needs to be completely dry before you continue.
After a few hours check on the glue. As you can see it is still opaque, this means it is not completely dry.? Often as the glue dries, it sinks down into the hole slightly.? Just add another drop of glue on top and it is again time to wait.
Just to be safe these were left over-night and are now completely dry.
Using a keyhole saw, cut off the extra wood level with the table.
Now that the glue is dry and all areas are level, replace the table leg.
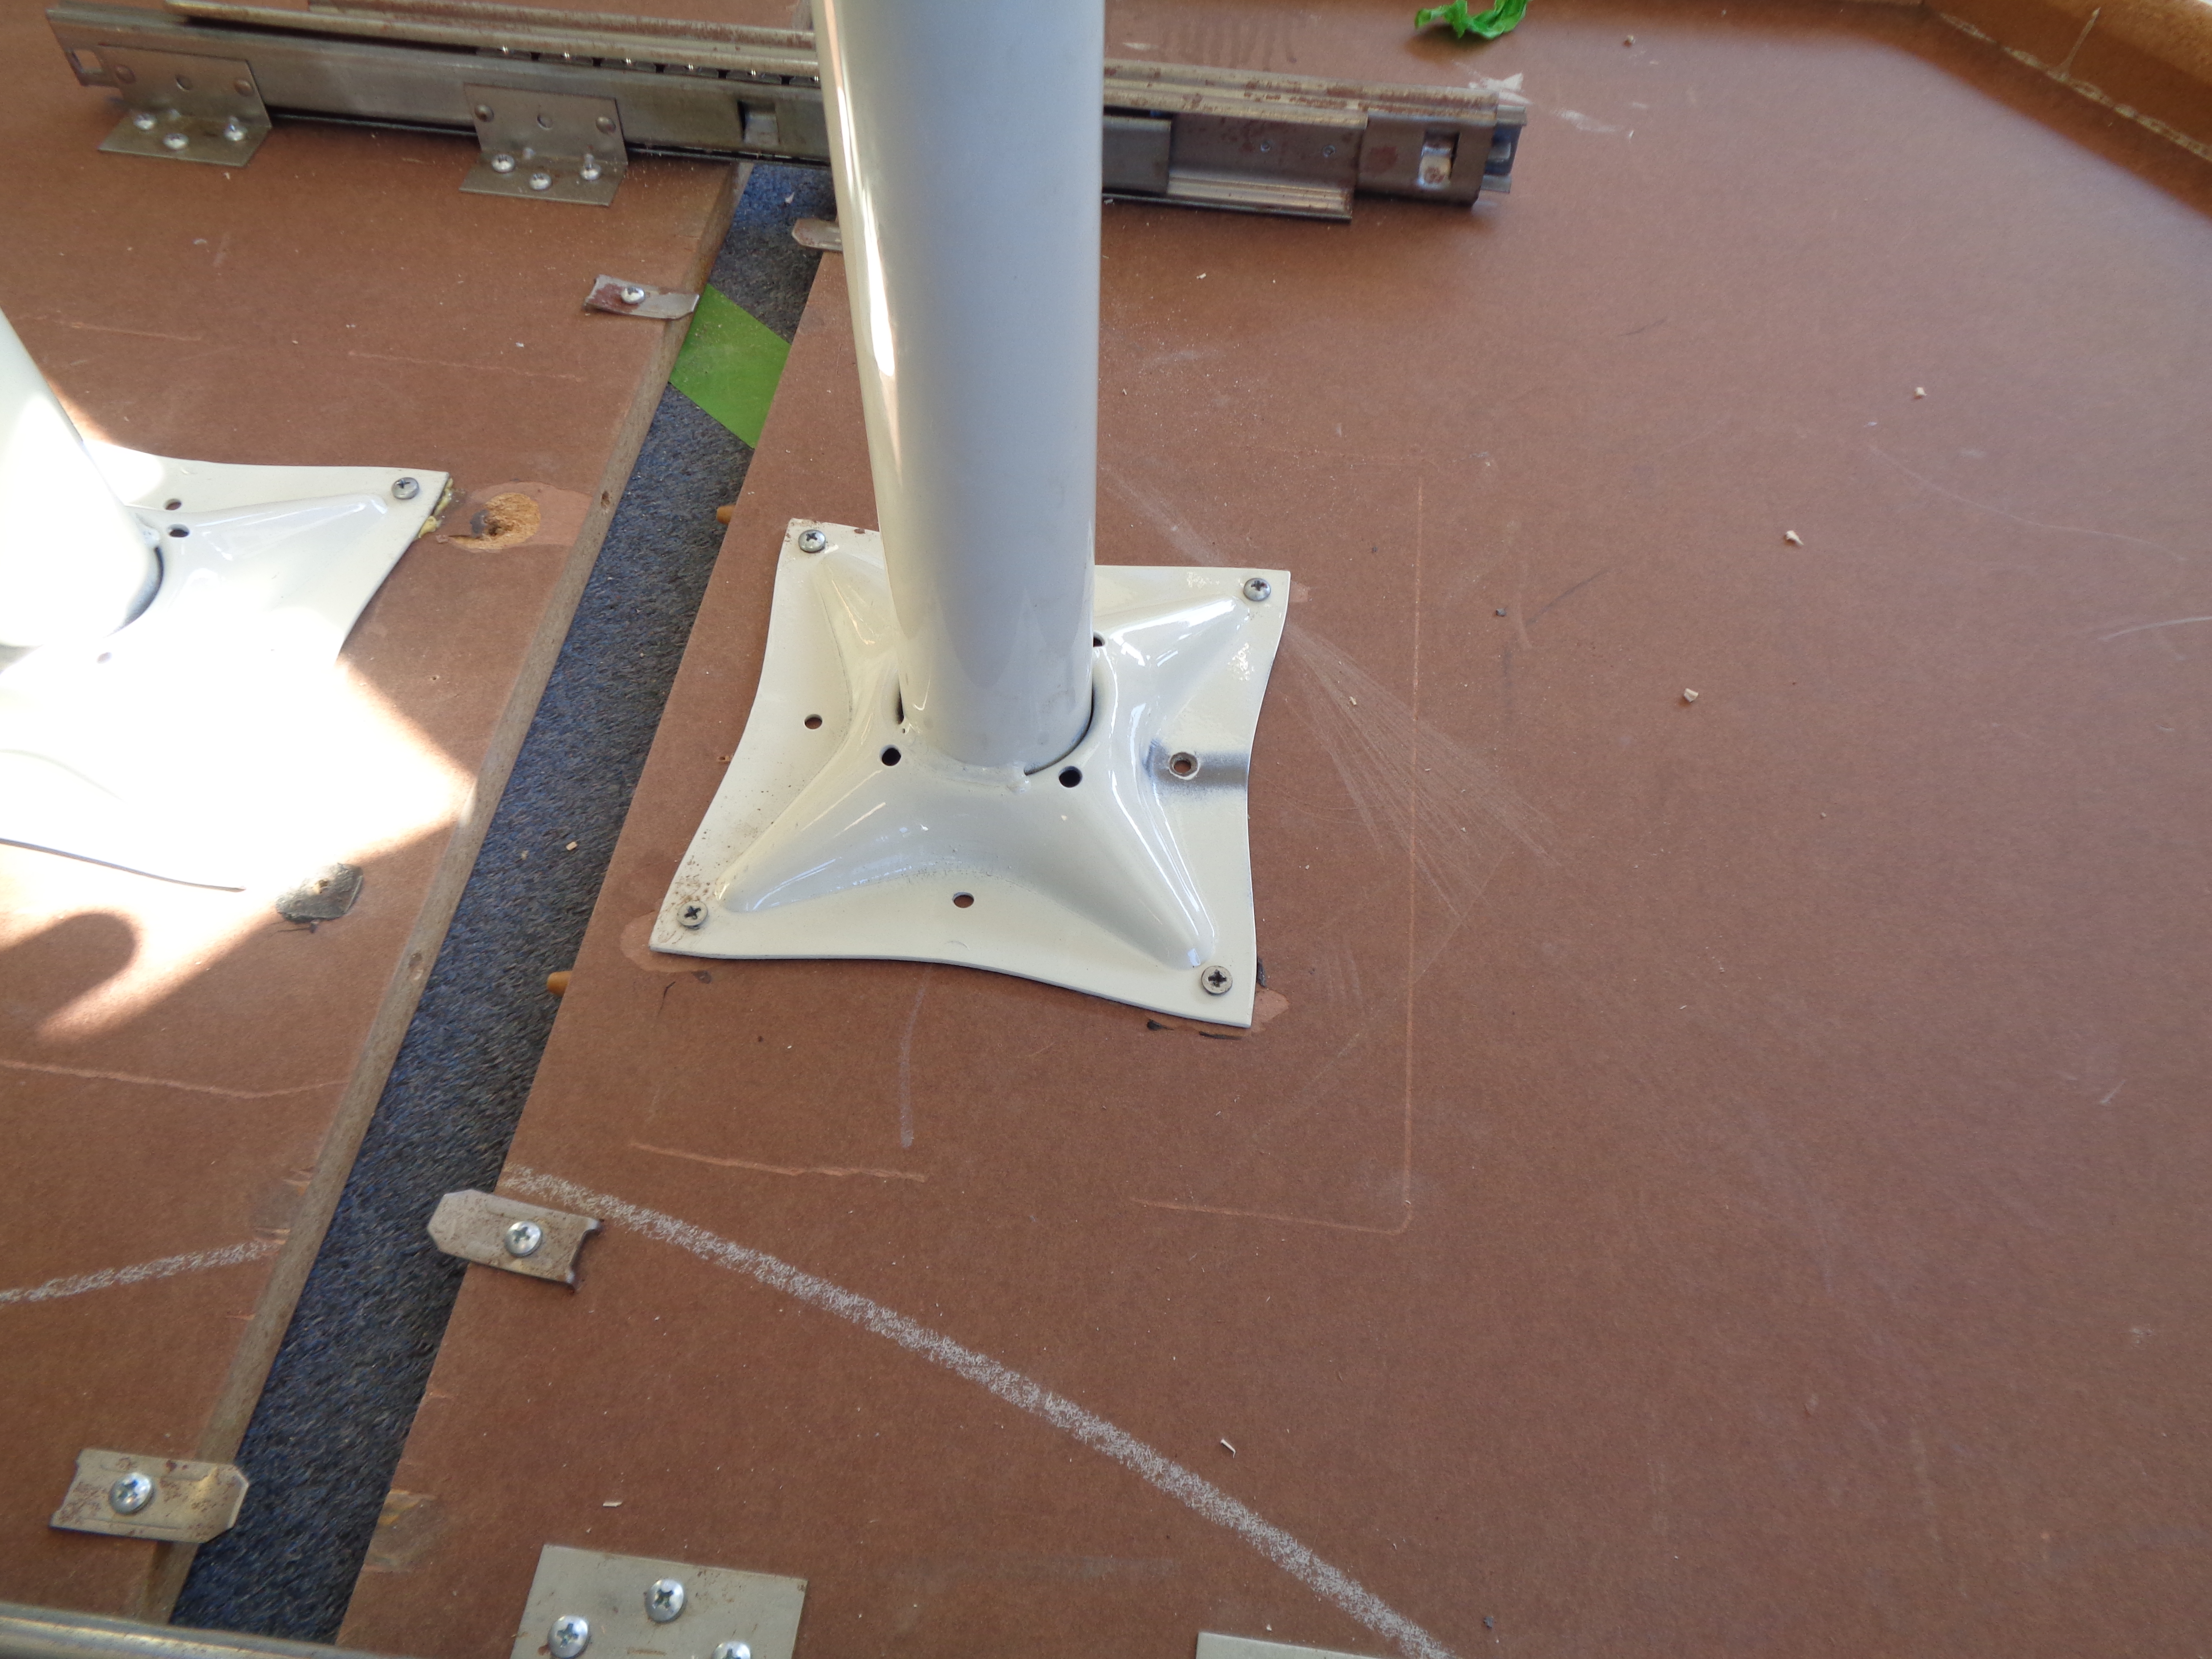
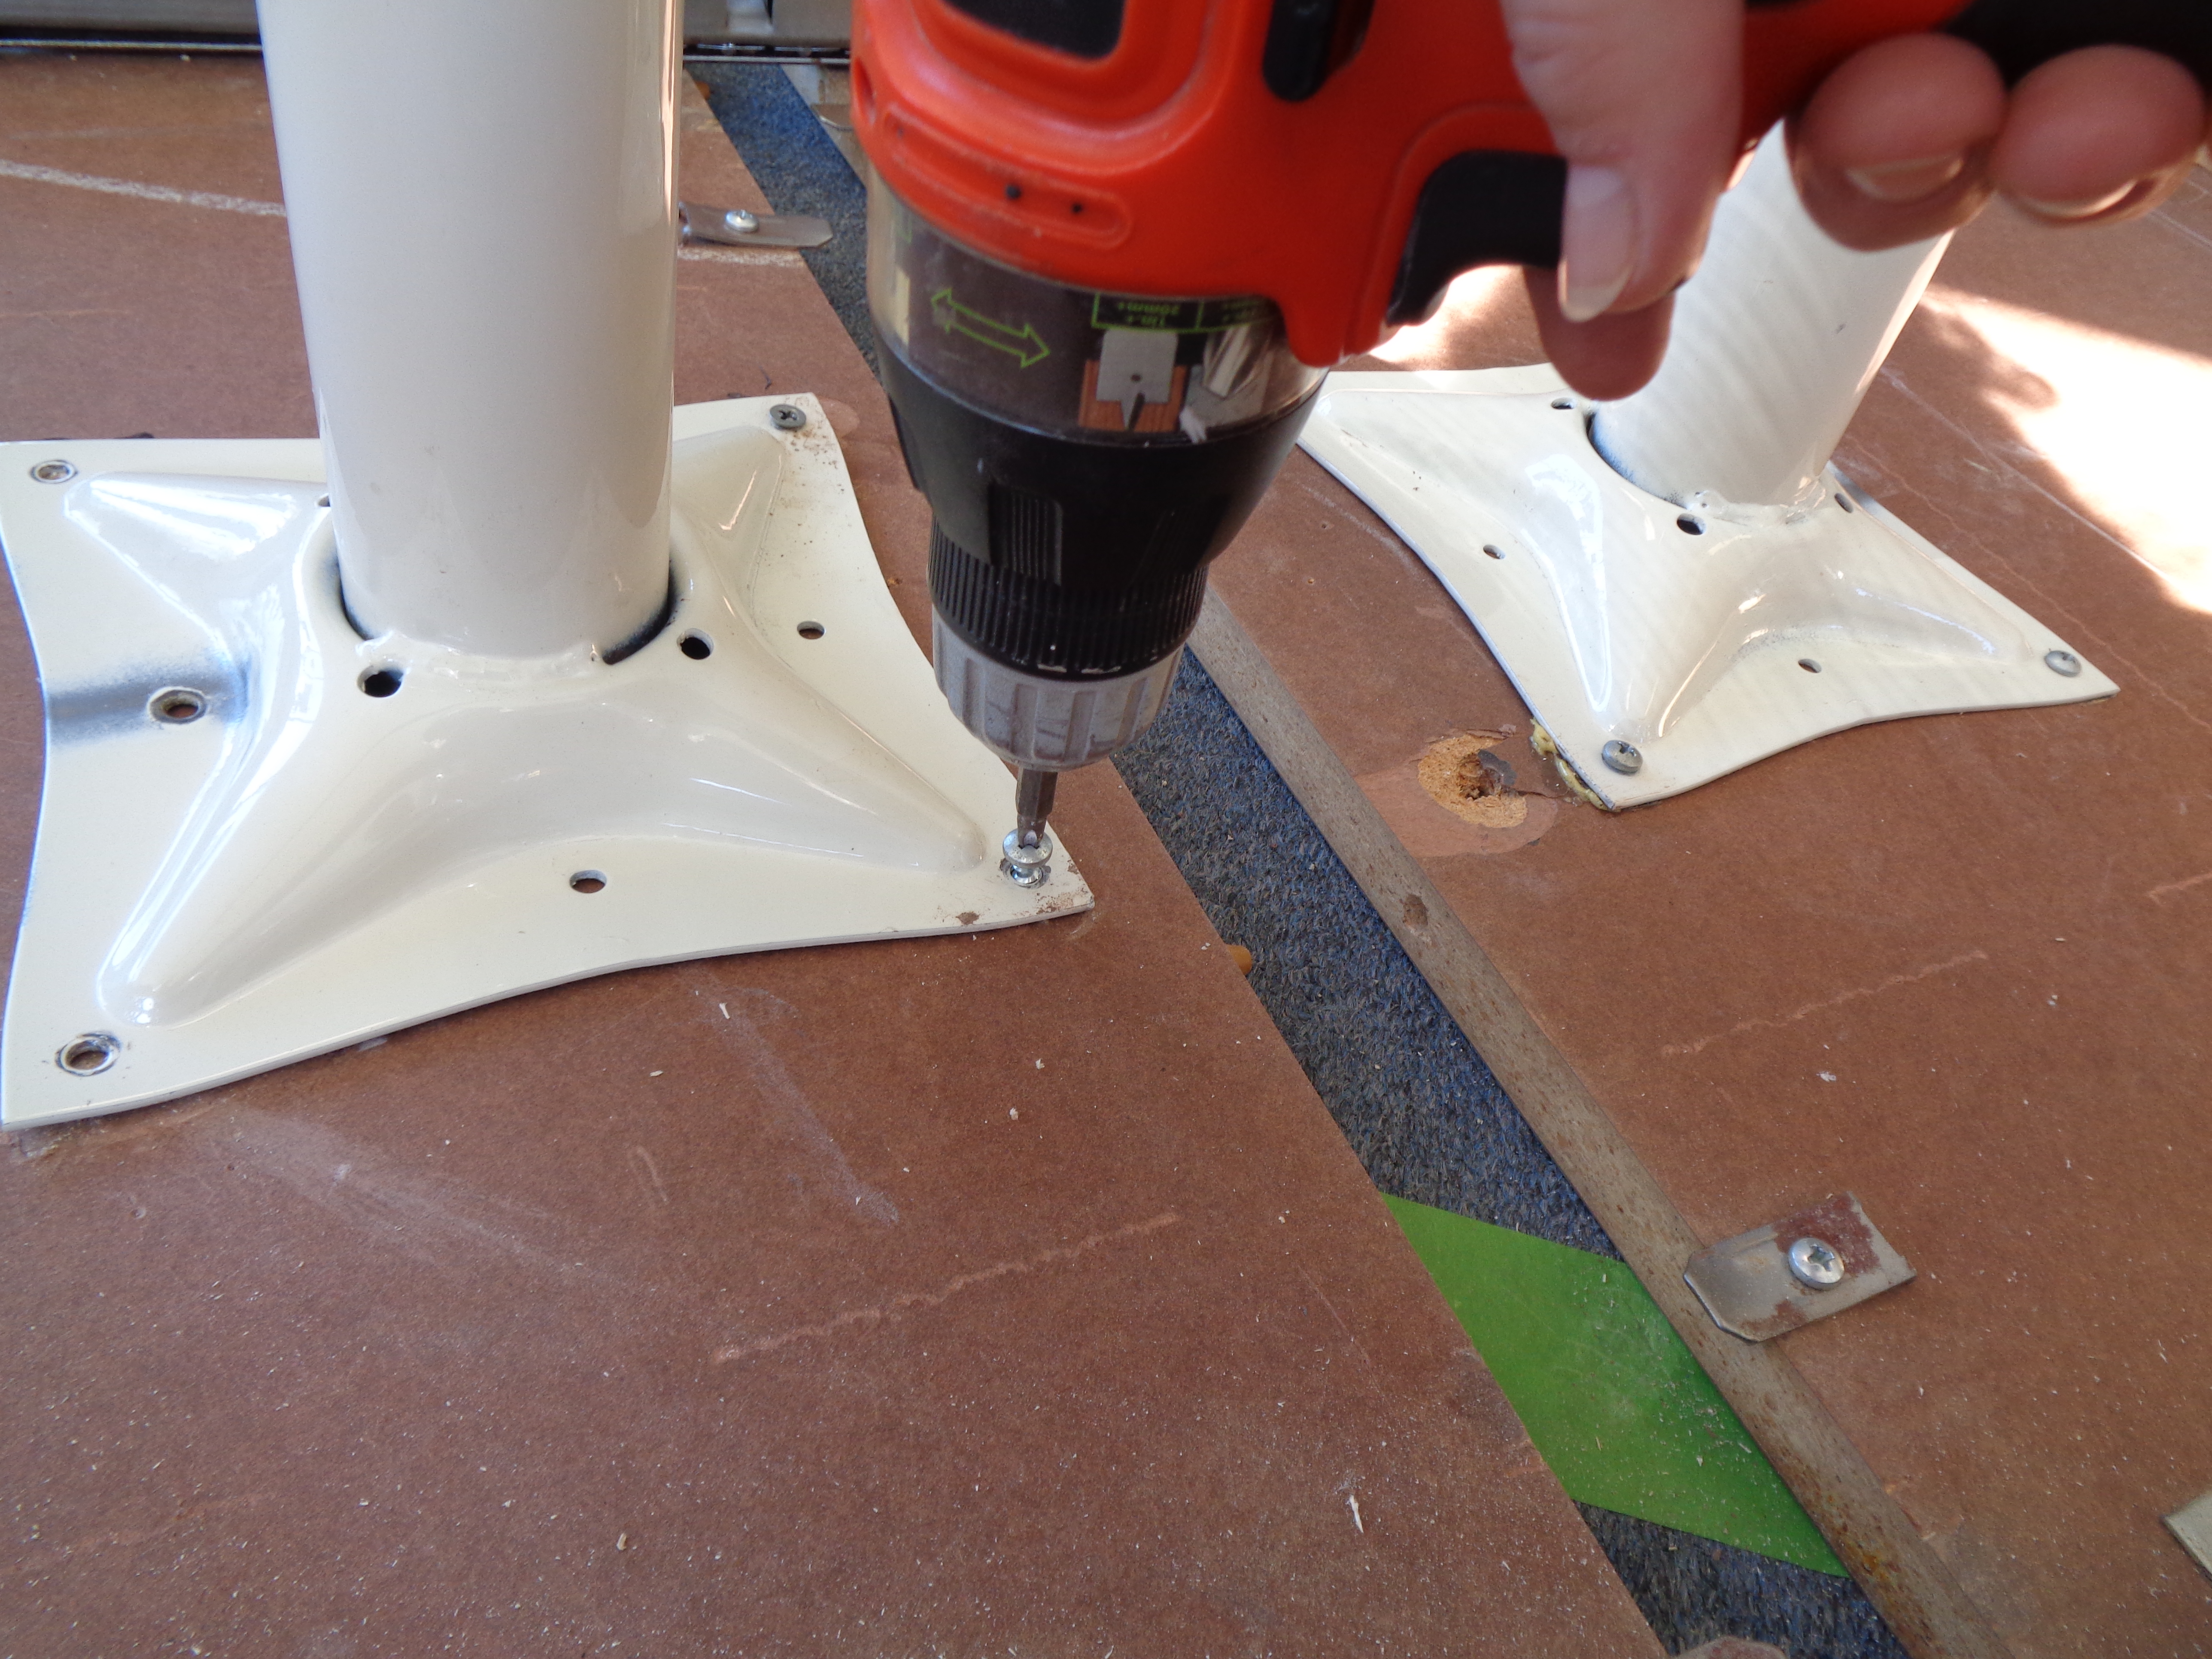
Make sure that the holes in the leg line up with the patched spots.? Then just replace all the screws.